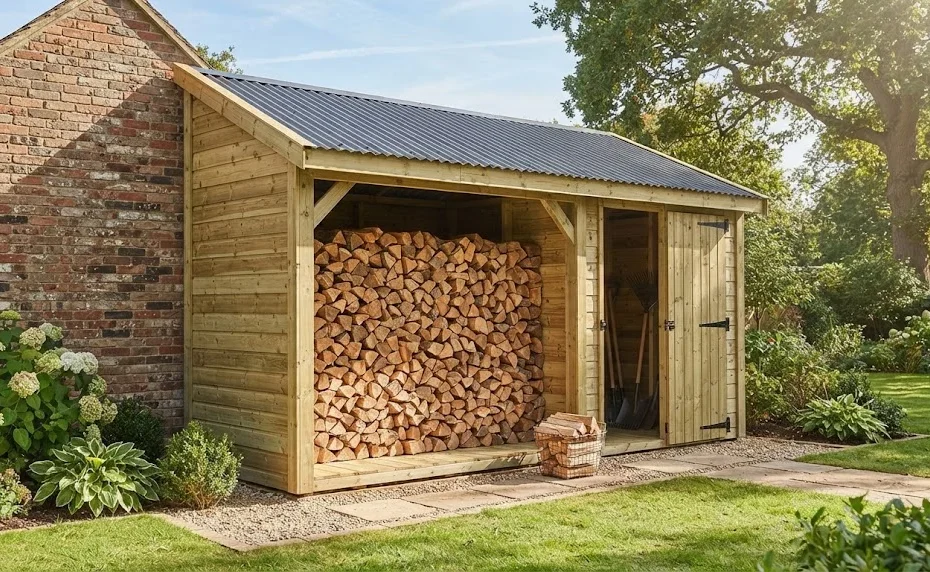
How to Build a Lean to Wood Shed
Building a Lean to Wood Shed is a practical and efficient way to store your outdoor tools and wood for the fireplace. This guide will walk you through the step-by-step process, ensuring you have a…
Building a Lean to Wood Shed is a practical and efficient way to store your outdoor tools and wood for the fireplace. This guide will walk you through the step-by-step process, ensuring you have a…


Are you looking for a comfortable and stylish addition to your outdoor space? Building your own DIY Wooden Adirondack Chair is a rewarding project that anyone can tackle. Follow this step-by-step guide to create a chair that combines classic design with your unique flair.
Before cutting any wood, carefully plan the design of your Adirondack chair. A traditional chair measures about 36 inches high at the back and about 32 inches deep. You may want to sketch the design on paper to help visualize the final product. This will guide your measurements and layout.
Using your circular saw, cut the following pieces according to these dimensions:
Be sure to double-check measurements to ensure perfect fitting!
Start by creating the seat frame. Attach the leg pieces to the corners of the seat piece using screws and wood glue for additional support. Make sure the legs are secure; this is crucial for durability. In case you need extra stability, add the cross supports between the legs.
Once your seat is assembled, locate the backrest. Position it at a slight angle for comfort—ideally around 15-20 degrees from vertical. Secure the backrest to the seat with screws, ensuring it is properly aligned.
Your DIY Wooden Adirondack Chair wouldn’t be complete without armrests! Attach the arm pieces to the top of the legs, ensuring that they are level with the backrest. You can also add a curved cut to the front of the arms for a more attractive design. Use screws to secure them firmly.
Smooth out any rough edges using 80-grit sandpaper and finish with 120-grit sandpaper. This step is essential for preventing splinters and ensures a comfortable feel when you sit in your chair.
To preserve your chair and enhance its look, apply an exterior wood finish or paint. Choose a color that compliments your outdoor area, and make sure to cover all areas, including undersides and edges for full protection.
Allow your newly built chair to dry thoroughly as per the product instructions. Once dry, find the perfect spot in your yard or patio. Grab a cold drink, kick back, and enjoy your handiwork!
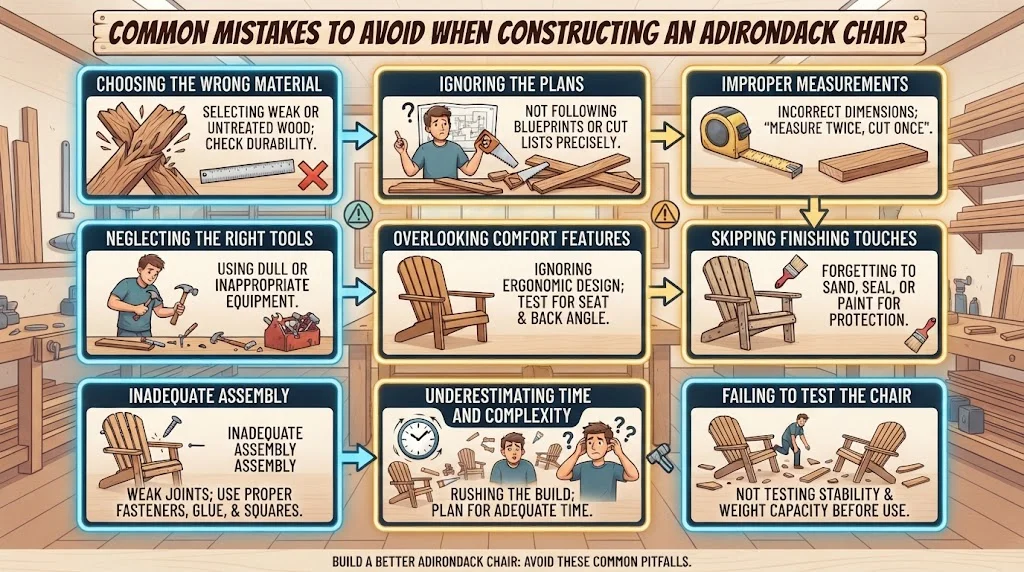
Building your own Adirondack chair can be a rewarding project, but it’s easy to make mistakes along the way. Here are some common pitfalls to watch for that can help ensure your DIY Wooden Adirondack Chair turns out beautifully and lasts for many summers to come.
One of the first mistakes new builders make is selecting the wrong type of wood. While hardwoods like teak and mahogany are excellent choices for their durability, they can be expensive. Softwoods like pine are more budget-friendly, but they may require more maintenance over time. Be sure to choose a weather-resistant wood, or treat your chair with a sealant to protect it against the elements. A popular resource for wood can be found at Wood Magazine.
Skipping detailed plans and jumping straight into the build can lead to mistakes. It’s crucial to follow a step-by-step guide carefully. The Adirondack chair design can be complex, with specific angles and adjustments needed for comfort and stability. Make sure to use quality plans; you can find reliable ones at Ana White.
Precision is key. One of the most common mistakes is incorrect measurements. Always double-check your dimensions against your plans. Using a tape measure accurately will save you from unnecessary rework. Remember, “measure twice, cut once.” If it helps, create a checklist of your measurements to avoid errors during the building process.
Using inadequate or inappropriate tools can lead to mistakes. You don’t need a complete workshop, but having essential tools can make your build smoother:
If you’re unsure about which tools to use, websites like Popular Mechanics can offer insights on the best tools for your DIY projects.
The angle of the seat and backrest is crucial for comfort. If you angle them incorrectly, your chair might not be enjoyable to sit in for long periods. Aim for a backrest angle of about 100–110 degrees. Also, ensure that the seat is wide enough and deep enough to offer comfort. Test the dimensions using cushions or a similar item to help visualize the final product.
One common oversight is skipping the finishing touches. Properly sanding the wood to prevent splinters, applying a weatherproof finish, and coating the chair with paint or sealant can significantly increase its longevity. After the build, take your time to finish; it can make a huge difference in both look and durability.
Tight joints and screws are vital for the stability of your chair. If you don’t secure the pieces properly, your chair may wobble or collapse. Use wood glue in addition to screws for added strength, and make sure you’re using screws long enough to secure each joint adequately.
Many first-time builders underestimate the time required to complete a DIY project. Be realistic about your skills and set aside enough time for the construction process. Rushing can lead to mistakes. Plan for breaks and give yourself time to get it right.
Before you start enjoying your new chair, make sure to test its stability and comfort. Sit in it, move around, and ensure everything feels secure. A quick test can save you potential regrets later on.
Building an Adirondack chair can be an enjoyable challenge. By avoiding these common mistakes, you can create a stunning chair that not only enhances your outdoor space but also serves as a testament to your DIY skills. Don’t hesitate to reach out to communities, forums, or websites like Woodworking Talk for additional support and advice!
Building a DIY Wooden Adirondack Chair is a wonderful project that brings a mix of comfort and style to your outdoor space. However, the success of your project greatly relies on the type of wood you choose. Different woods have distinct characteristics, making it vital to select the right material to ensure durability, aesthetic appeal, and comfort.
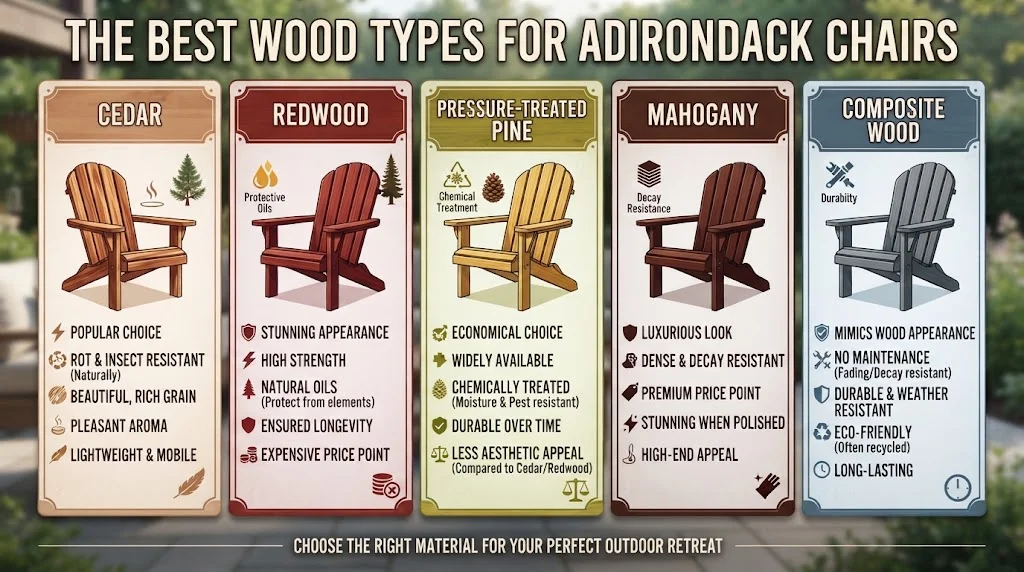
Once you’ve selected the right wood for your Adirondack chair, consider applying finishes to enhance its appearance and protection. Here are some treatment options:
Finding the right wood is essential for your project. Local lumber yards typically offer a variety of woods and can provide helpful advice on your project. Additionally, stores like Home Depot and Lowe’s are excellent resources for purchasing wood.
For specialized woods, you might consider using an online retailer like Western Red Cedar. They have numerous options for different types of woods that are perfect for outdoor projects.
Choosing the right wood for your DIY Adirondack chair is crucial to completing a project that is not only beautiful but also durable and functional. Consider each wood’s specific properties and how they fit with your own needs. With the right materials and a little effort, you’ll have a chair perfect for relaxing outdoors!
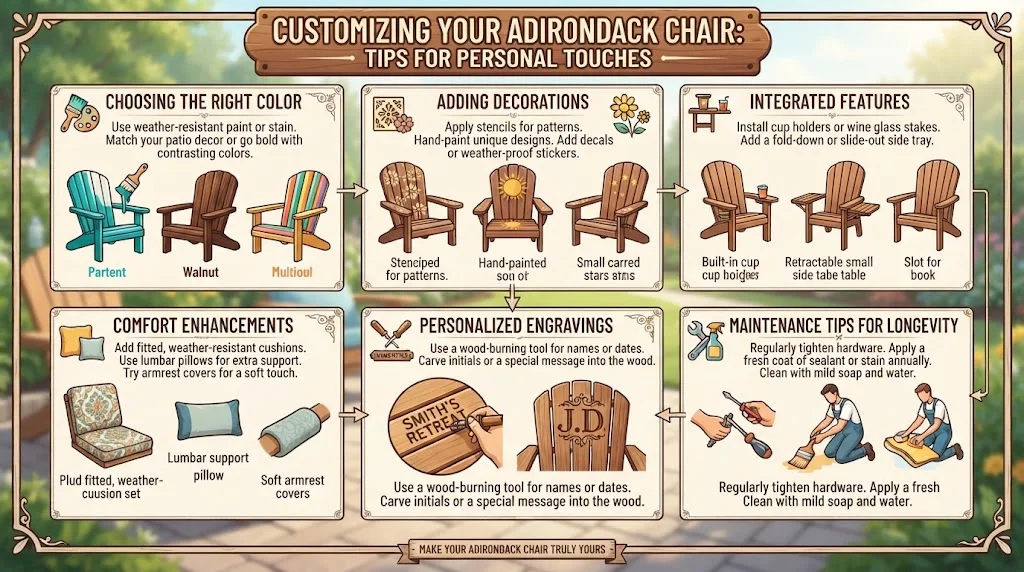
Wooden Adirondack chairs are timeless pieces that provide comfort and style to any outdoor space. Customizing your chair can turn a simple seat into a unique work of art, reflecting your personal taste and style. Below are some practical tips on how to personalize your Adirondack chair, making it truly yours.
The color of your Adirondack chair can dramatically change its appearance. Whether you prefer bright, bold colors or soft pastels, the choice is yours. Here are some ideas:
Once you decide on a color, make sure to choose outdoor-grade paint or stain for durability. For more information on colors and stains, visit Wood Magazine.
Decorations can make your Adirondack chair stand out. Here are some ways to embellish your creation:
To increase the functionality of your Adirondack chair, consider adding integrated features:
These features not only provide convenience but also enhance your chair’s design. For more on customizing furniture features, check out Instructables.
Your Adirondack chair should be as comfortable as it is beautiful. Consider these enhancements:
Many fabric stores or online retailers specialize in outdoor fabrics. For more ideas on fabrics, visit Fabric.com.
An engraving can add a personal touch to your chair. You can include:
Engravings can often be done with a woodburning tool or by a professional service. This unique detail will make your chair one-of-a-kind.
To keep your customized Adirondack chair looking great, follow these maintenance tips:
By giving your chair the care it deserves, you can enjoy it for many seasons to come.
Customizing your Adirondack chair not only enhances its aesthetic appeal but also makes your experience more enjoyable. With these tips, you’ll create a personalized piece that’s both beautiful and functional, perfect for your outdoor oasis.
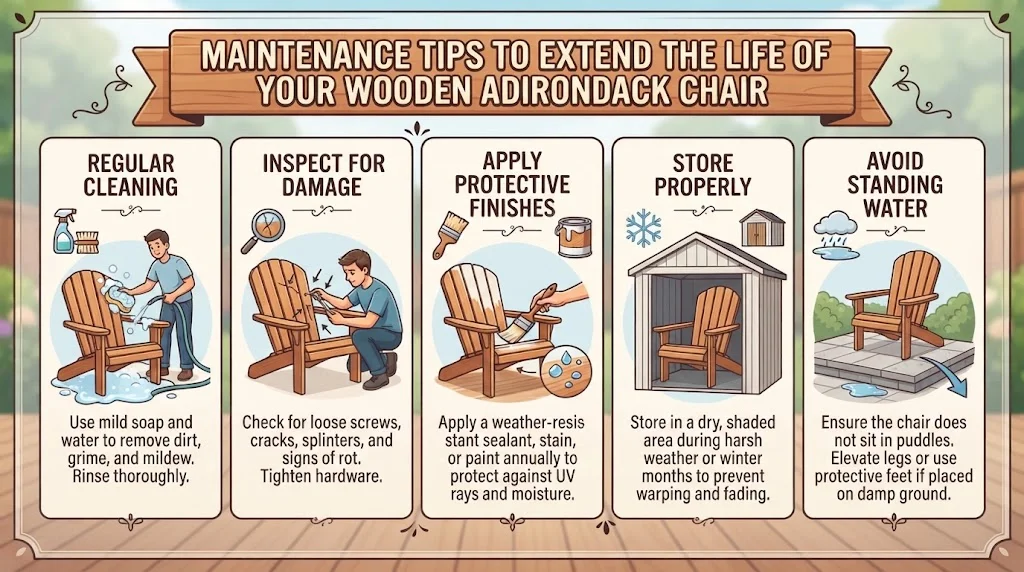
Protecting your wooden Adirondack chair is essential to ensure it lasts for many seasons. With proper care and maintenance, you can enjoy its comfort and aesthetic appeal for years to come. Here are some effective maintenance tips that will help you extend the life of your cherished outdoor furniture.
Keeping your Adirondack chair clean is the first step in its maintenance. Remove dirt, dust, and debris regularly. Here’s how:
Carrying out regular inspections helps identify any potential issues early. Make it a routine to check your chair for:
Wood can be vulnerable to the elements. Applying a protective finish can go a long way in safeguarding it:
When your Adirondack chair faces extreme weather, proper storage is key to maintaining its integrity:
Wood can absorb water, leading to rot or mildew. To prevent this:
| Maintenance Task | Frequency |
|---|---|
| Clean with soap and water | Every 1-2 months |
| Inspect for damage | Monthly |
| Reapply protective finish | Every 2-3 years |
| Store or cover in extreme weather | Seasonally |
Your wooden chair can attract insects, particularly in warmer months. To keep this at bay:
For additional information on maintaining wooden furniture, check out Wood Magazine or visit Home Depot for tools and materials.
Following these maintenance tips will not only extend the life of your Adirondack chair but also keep it looking beautiful through every season. Enjoy your outdoor relaxation space for years to come!
Building your own DIY Wooden Adirondack Chair can be a rewarding experience that enhances your outdoor space. By following the step-by-step guide, you are well on your way to crafting a beautiful and comfortable chair that you can enjoy for years to come. Remember to pay attention to common mistakes that can arise during construction, as avoiding these pitfalls will lead to a more successful project overall.
Choosing the right wood is crucial for durability and aesthetics. Consider options like cedar or redwood, which not only provide strength but also repel insects and withstand the elements. Personalizing your chair can make it even more special; adding custom touches like paint, stain, or decorative patterns allows you to reflect your style.
Once your chair is complete, don’t forget about its care and maintenance. Regular cleaning and applying weather-resistant finishes will keep your DIY Wooden Adirondack Chair looking great and extend its lifespan. By taking these steps, you’ll ensure that your hard work pays off, and your chair remains a centerpiece of relaxation in your backyard.
Embrace the joy of sitting back in your handcrafted Adirondack chair, knowing that not only did you build it yourself, but you also created a cozy spot for family gatherings, book reading, or simply soaking in the beauty of nature. Happy building, and enjoy many enjoyable afternoons with your personalized oasis!
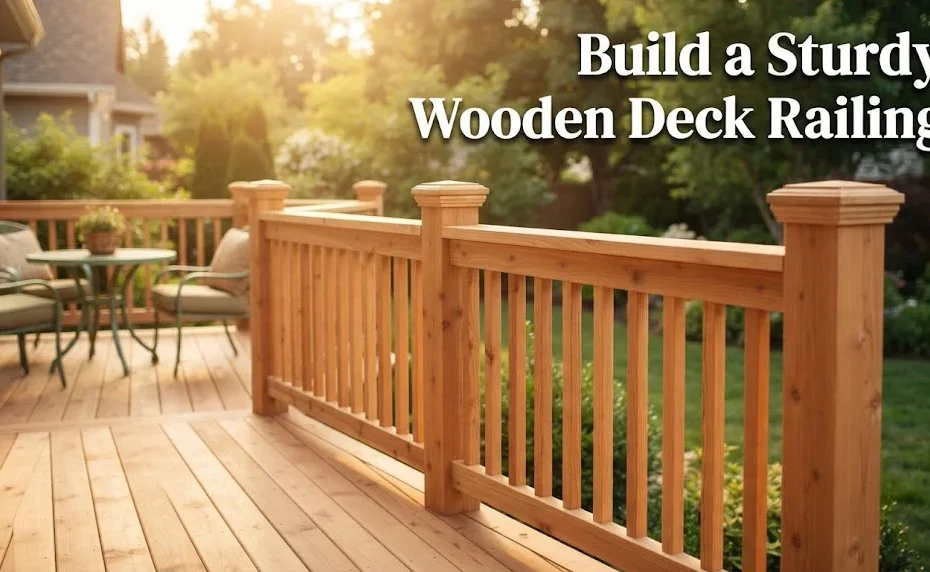
Building a wooden deck railing not only enhances the beauty of your outdoor space but also ensures safety while enjoying your deck. In this step-by-step guide, you’ll learn how to create a sturdy and attractive…
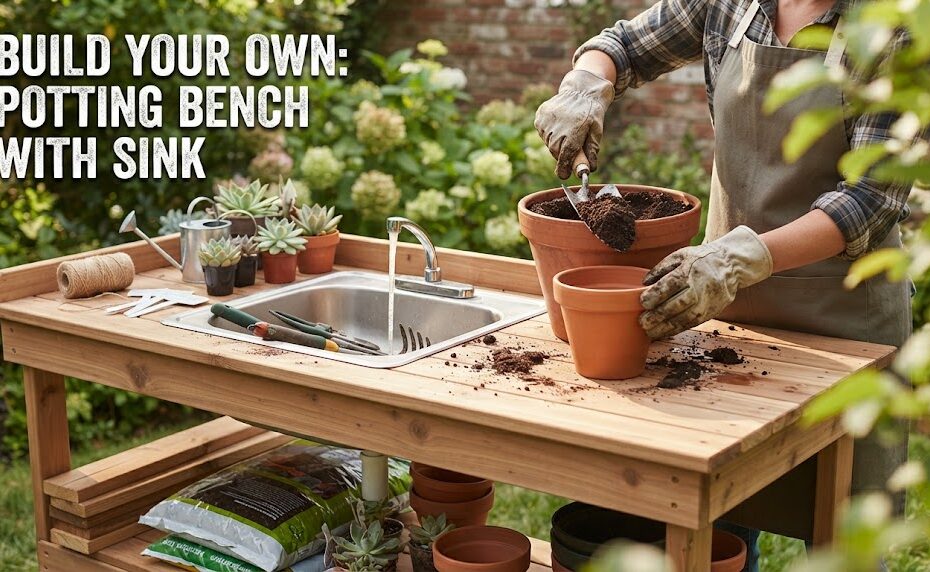
Creating a DIY Wooden Potting Bench with Sink can be a rewarding project that enhances your gardening experience. It provides a dedicated space to pot plants, clean tools, and manage your gardening supplies efficiently. By…
Building a Wooden Chicken Coop Design requires careful consideration of several essential features to ensure your chickens are safe, comfortable, and productive. A well-planned coop can enhance the overall poultry-keeping experience, making it crucial to…
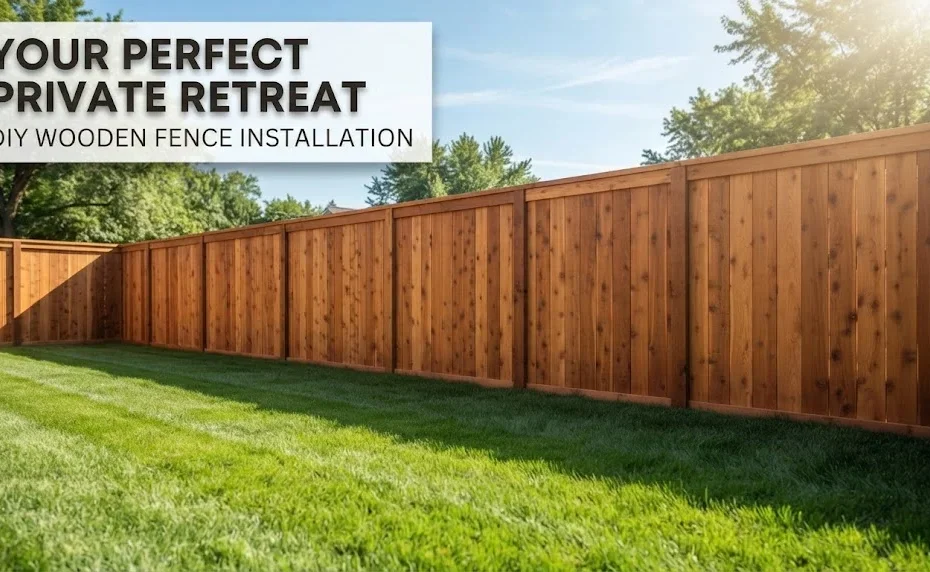
Installing a DIY Wooden Privacy Fence can be a rewarding DIY project that adds beauty and security to your yard. With a little planning and the right tools, you can create a space that feels…
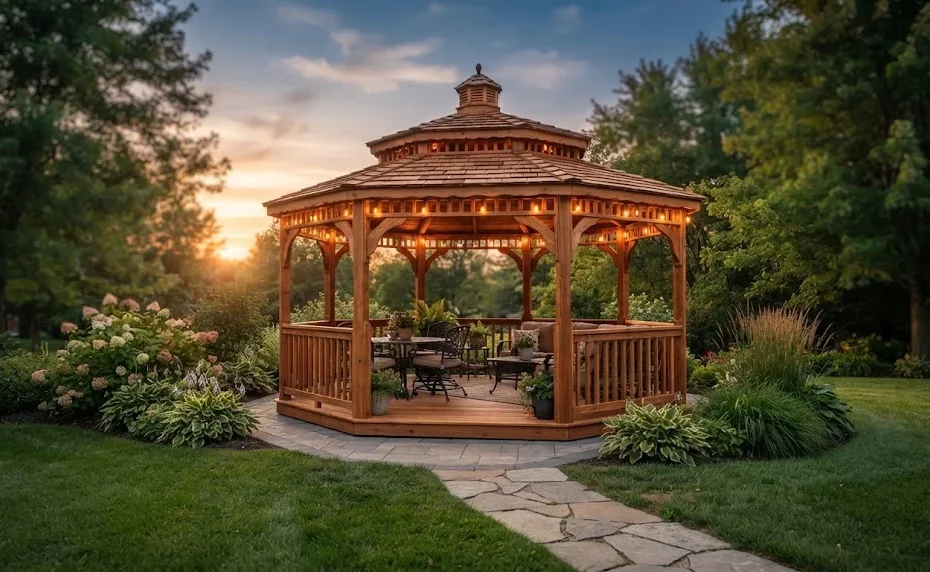
Building a Wooden Gazebo from Scratch can be a rewarding project that enhances your outdoor space. A gazebo provides a beautiful area for relaxation and entertaining. However, before you begin, it’s essential to understand the…

Building a raised garden bed is a rewarding project that can transform your gardening experience. Not only does a raised garden bed improve drainage and soil quality, it also offers a defined space for your…

Building a Wooden Pergola Attached to House can transform your outdoor space into a beautiful and functional area. Not only do pergolas provide shade, but they also enhance the aesthetic appeal of your home. This…
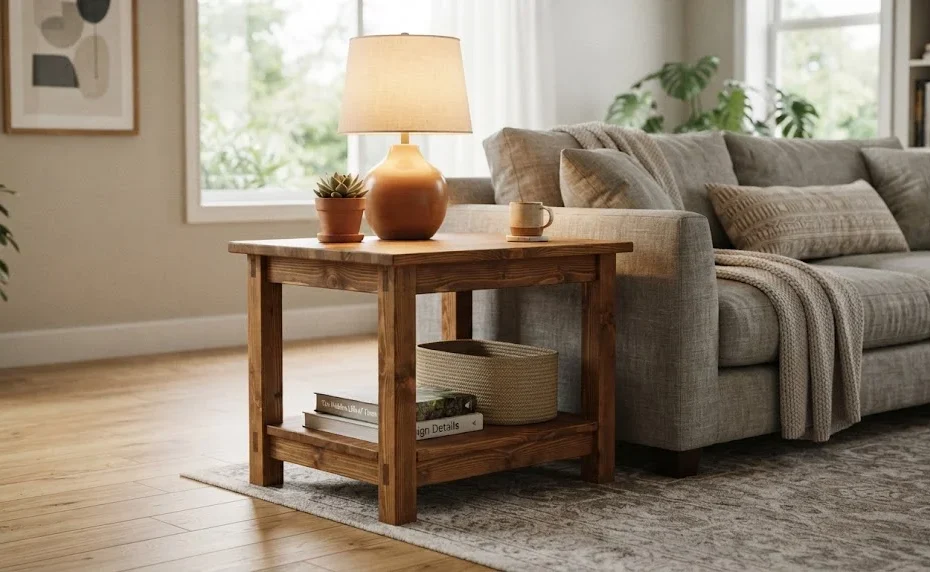
If you’re looking to enhance your living space with a personal touch, building a DIY Wooden End Table with Shelf is a fantastic project. It’s not only a practical piece of furniture but also a…