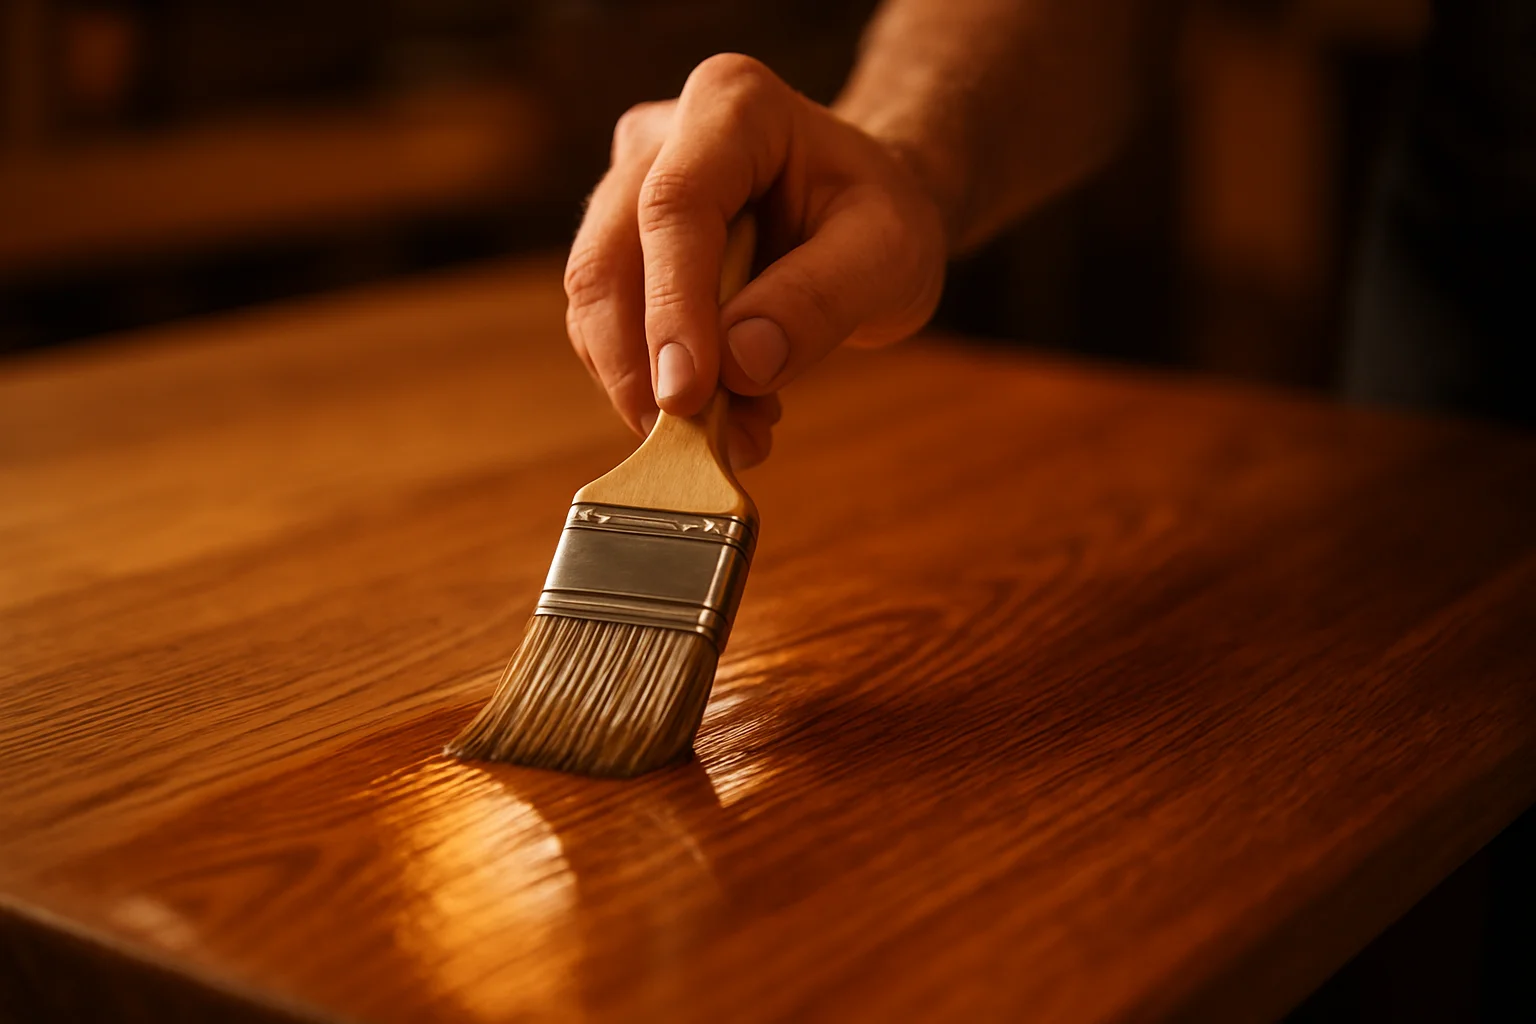
Are you ready to take your woodworking projects to the next level? Wood finishing could be the key to enhancing the beauty of your creations. Below are essential Wood Finishing Tips and Tricks that every beginner should know to achieve stunning results.
Understanding the Basics of Wood Finishing
Before jumping into the finishing process, it’s crucial to understand what wood finishing entails. It involves applying a protective coating that enhances the wood’s natural look and prolongs its life. Different techniques and products can be used depending on the desired outcome.
Choosing the Right Finish
Selecting the appropriate finish will dramatically impact your project. Here are some popular options:
- Polyurethane: Known for its durability, it’s ideal for high-traffic areas.
- Shellac: A natural finish that provides a warm glow. It’s not water-resistant but great for indoor furniture.
- Oil Finish: Enhances the natural grain of the wood, easy to apply, and provides a soft sheen.
- Lacquer: A quick-drying option that offers a clear, hard finish.
Consider the environment where the finished wood will be used to make your selection easier. For outdoor projects, a weather-resistant finish is ideal.
Preparation is Key
Before applying any finish, preparation can make all the difference. Here’s a quick checklist:
- Sand the wood surface with progressively finer grits to eliminate rough spots.
- Ensure the wood is clean and dust-free. Wipe it down with a tack cloth.
- If the wood is new, apply a wood conditioner to ensure even absorption of the finish.
Taking these steps helps in achieving a smooth and professional-looking outcome.
Application Techniques
Once you’re ready to finish the wood, here are several application techniques to consider:
- Brush Application: Use a high-quality brush to apply your finish. Use long, even strokes.
- Spray Application: Ideal for larger pieces, spraying can provide a thin, even coat if done correctly.
- Wiping On: For oil finishes, using a rag allows you to control the amount applied easily.
Regardless of the technique, applying thin coats is best. It allows for better control and reduces the risk of runs or drips.
Drying and Curing Times
Be patient during the drying process. While some finishes touch dry quickly, they often need 24-48 hours to fully cure. Reference the product label for specific drying times. Rushing this step can lead to smudges or unfinished surfaces. Here’s a quick guide you can follow:
| Finish Type | Touch Dry Time | Full Cure Time |
|---|---|---|
| Polyurethane | 2-6 hours | 7 days |
| Shellac | 30 minutes | 1-2 hours |
| Oil Finish | 6-8 hours | 1-3 days |
| Lacquer | 30 minutes | 1-2 hours |
Finishing Touches
After your final coat dries, consider sanding lightly with fine sandpaper before applying a second coat. This will enhance the smoothness and glossiness of the finish. If you prefer a matte finish, a final coat of wax can help achieve that appearance.
Learning Resources
For more detailed guidance on wood finishing, you can visit Wood Magazine or Popular Woodworking.
These websites are excellent resources for beginners and offer extensive advice and tutorials.
Protecting and enhancing your wooden projects can be rewarding. By following these essential Wood Finishing Tips and Tricks, you can achieve a professional-quality finish that will showcase your woodworking skills effectively!
Common Mistakes to Avoid in Wood Finishing
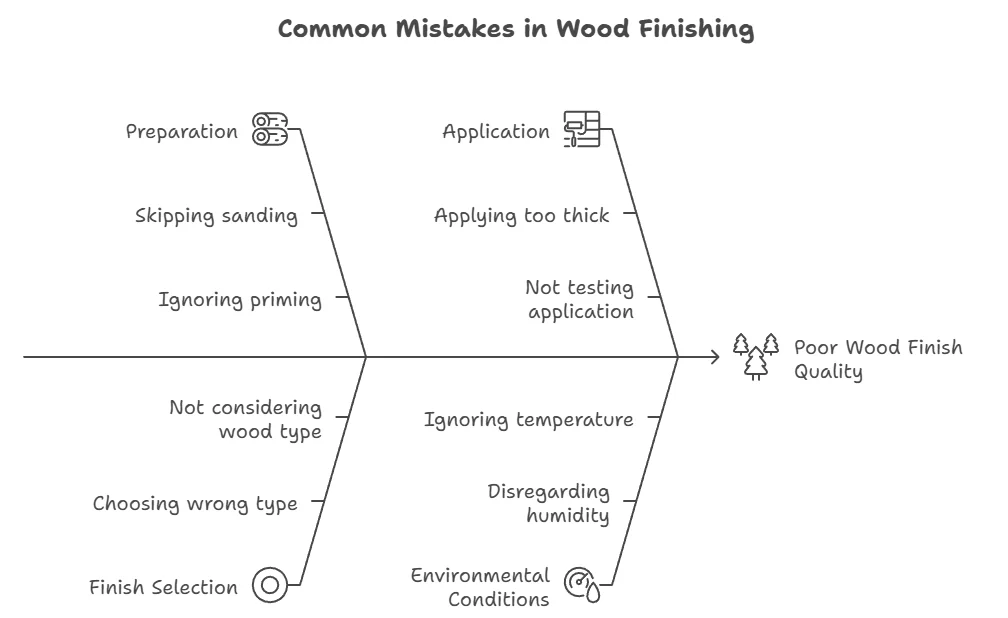
Skipping the preparation stage
One of the biggest mistakes people make is skipping the preparation stage. Properly preparing the wood surface is crucial. Make sure to sand the wood thoroughly and remove any dust or debris. Use progressively finer sandpaper to create a smooth surface. If you don’t prepare well, the finish may not adhere properly, leading to peeling or bubbling later. Consider using Wood Magazine’s strategies for best practices in preparation.
Choosing the wrong finish
Another common error is choosing the wrong finish for the project. Different woods and environments require specific types of finishes. For instance, if you’re finishing a piece that will be outdoors, you should use a weather-resistant finish. On the other hand, indoor furniture can benefit from a more delicate finish to highlight the wood’s appearance. Familiarize yourself with wood finishing types such as oil, lacquer, and polyurethane, and choose what’s best suited for your particular project.
Not testing
Not test-applying the finish is a mistake that can lead to unpleasant surprises. It is always a good idea to apply your chosen finish on a scrap piece of wood from the same project. This can help you understand how the finish will look and behave, allowing you to make adjustments before applying it to the main piece. Testing is key, so take the time to do it. For detailed finish testing procedures, refer to Fine Woodworking.
Applying too thick a coat of finish
One often-overlooked mistake is applying too thick a coat of finish. Many believe that thicker means better, but this can actually prevent proper curing. Instead, apply multiple thin coats. This allows the finish to dry evenly and provides a smoother final appearance. Use a natural bristle brush or high-quality foam applicator for even distribution. Always follow the manufacturer’s guidelines regarding drying times between coats.
Disregarding humidity
Humidity can greatly affect wood finishing, yet many people disregard this factor. High humidity can prevent finishes from drying correctly, leading to unsightly streaks and an uneven finish. Ideally, finish your wood piece in a controlled environment. Monitor the relative humidity and temperature, aiming for around 70°F (21°C) and a humidity level below 50% for best results.
Neglecting the cleanup process
Another common blunder is neglecting the cleanup process. After you finish your project, it’s essential to clean your tools properly. Use mineral spirits for oil-based finishes and soap and water for water-based options. This will ensure the longevity of your tools and make it easier for you to work on future projects. Plus, it promotes safety by preventing leftover materials from creating hazardous situations.
A general approach to remember is the rule of “less is more.” When it comes to applying wood finish, you want to do it in moderation. Overly aggressive sanding or a thick finish can ruin the natural beauty of wood. Always seek to enhance the wood, not mask it. Maintaining a gentle but thorough approach will lead to stunning results.
| Mistake | Solution |
|---|---|
| Skipping preparation | Sand thoroughly and clean before applying finish. |
| Choosing the wrong finish | Research appropriate finishes for your wood type and environment. |
| Not testing the finish | Always do a test application on scrap wood. |
| Applying thick coats | Use multiple thin coats for best results. |
| Ignoring humidity factors | Work in a controlled environment with optimal conditions. |
| Neglecting cleanup | Clean tools immediately after use to prolong their life. |
By avoiding these common mistakes, you can achieve a professional look in your wood finishing projects. Always ensure you are prepared, informed, and meticulous in your approach. For more expert tips, visit Wood Magazine.
With patience and practice, your wood finishing skills will improve, and soon enough, you’ll create beautiful pieces that reflect your hard work and care.
The Best Tools and Materials for Effective Wood Finishing
When it comes to achieving that perfect finish on your woodworking projects, the right tools and materials can make all the difference. Whether you’re a seasoned pro or a beginner, knowing what to use can help you get a polished look without a lot of hassle. Let’s dive into the essentials you need for effective wood finishing.
Essential Tools for Wood Finishing
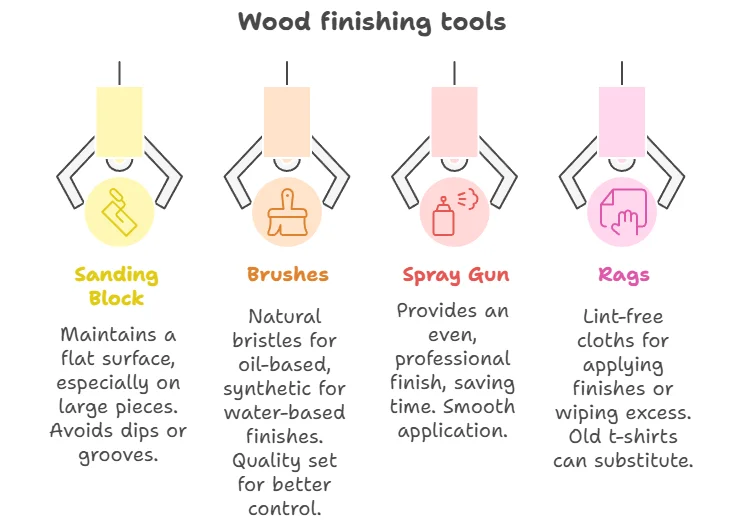
The right tools not only make your job easier but also lead to better results. Here are some must-have tools for finishing:
- Sandpaper: Start with a variety of grits. Use coarser grits (80-120) for shaping the wood, and finer grits (180-220) for a smooth finish. Consider using Woodcraft for a range of sandpaper options.
- Sanding Block: A sanding block helps maintain a flat surface. This is especially important on large pieces to avoid creating dips or grooves.
- Brushes: Natural bristle brushes are great for oil-based finishes, while synthetic brushes work well with water-based finishes. Invest in a quality set for better control.
- Spray Gun: For an even and professional finish, a spray gun can save time and provide a smooth application. Check out options at Rockler.
- Rags: Use lint-free cloths for applying finishes or wiping off excess. Old t-shirts can work in a pinch.
Finishing Materials You Should Consider
The materials you choose also play a critical role in your final product. Review the following types of finishes to select the ones that best suit your woodworking projects:
- Stains: Stains come in oil-based and water-based varieties. Oil-based stains penetrate deeper and can provide richer color, while water-based options are easier to clean up and dry faster.
- Varnishes: Varnish is a popular choice that provides a durable finish. It comes in various sheens (matte, satin, gloss) to match your desired look.
- Shellac: This natural finish adds warmth and depth but can be less durable than other options. Ideal for indoor furniture and decorative items, you can find shellac products at DonGardiner.com.
- Lacquer: Known for speed of application, lacquer dries quickly and offers a hard finish. However, it requires proper ventilation, so be sure to work in a well-ventilated area.
- Oil Finishes: For a natural look, options like tung oil and linseed oil enhance the wood grain while providing protection.
Techniques for a Beautiful Finish
Using the right tools and materials is just the beginning. Here are some Tips and Tricks to ensure you achieve a flawless finish:
- Preparation is Key: Always sand your wood surfaces smoothly. Make sure to remove dust with a vacuum or a damp cloth before applying any finish.
- Test First: Before applying your chosen stain or finish to the entire project, test it on a scrap piece of wood. This step ensures you get the look you want before committing.
- Apply Thin Coats: Whether you’re using stain, varnish, or lacquer, applying thin layers will help prevent drips and runs. It’s better to do several thin coats rather than one thick coat.
- Sand Between Coats: Lightly sanding between layers helps create a smoother final product. Use extra fine sandpaper (320-400 grit) for this step.
- Maintain a Dust-Free Environment: Dust particles can ruin your finish. Try to work in a clean space and consider using a dust collector if you’re in a workshop.
By equipping yourself with the right tools, materials, and techniques, you can elevate your wood finishing projects to a professional level. Ensure your wooden pieces not only look great but also stand the test of time. For more in-depth resources and additional materials, consider visiting sites like Woodworkers Source, where you can find everything you need to achieve beautiful finishes.
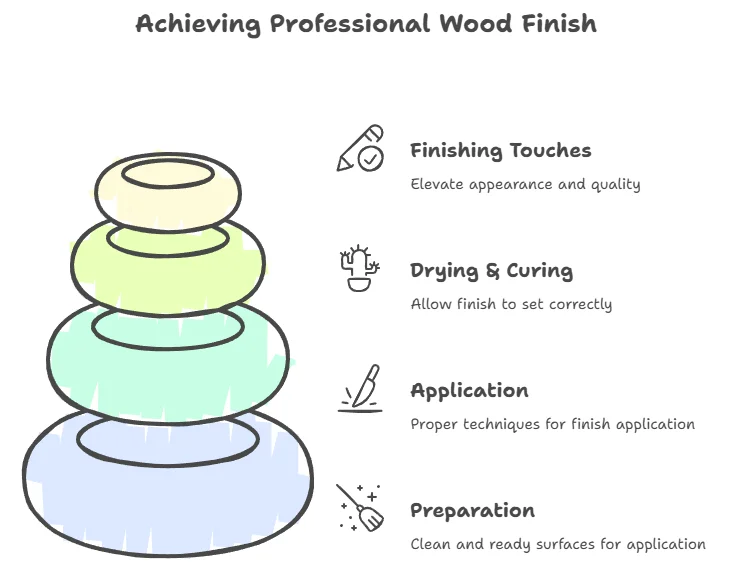
Techniques for Achieving a Professional Finish on Wood Projects
Achieving a professional finish on wood projects is an art that combines technique with careful attention to detail. Whether you’re a seasoned woodworker or a beginner, mastering the right techniques can elevate your projects from amateur to expert. Here are some effective methods you can incorporate into your wood finishing routine.
Choosing the Right Finish
The first step to a professional-looking wood project is selecting the right finish. There are several options available:
- Oil-based Finishes: These penetrate the wood, providing a rich color and durability. They take longer to dry but offer a beautiful, natural look.
- Water-based Finishes: These dry quickly and have low odor. They maintain the wood’s original color and are easy to clean up.
- Varnishes: Varnishes provide a hard, protective shell that resists moisture and abrasion. They are available in satin, semi-gloss, and gloss finishes.
- Shellac: Shellac provides a warm glow and dries quickly, making it ideal for furniture and fine cabinetry.
Always consider the intended use of the piece and the environment when selecting your finish.
Preparation is Key
Proper preparation is essential for achieving great results. Before applying any finish, ensure that the wood surface is clean and smooth. Here are some tips:
- Sand the Surface: Start with coarse sandpaper (120 grit) and progress to finer grits (up to 220 grit) for a smooth finish.
- Remove Dust: After sanding, wipe down the surface with a tack cloth or a damp rag to eliminate dust and debris.
- Seal the Wood: If you’re working with softwoods, consider using a wood conditioner to prevent blotching of the finish.
Application Techniques
How you apply the finish can significantly impact the final result. Here are some strategies, also falling under essential tips:
- Use Quality Brushes: Invest in high-quality brushes or foam applicators designed for the type of finish you’re using. This helps to prevent brush marks.
- Apply Thin Coats: To avoid drips and runs, apply multiple thin coats instead of one thick layer. This allows each layer to dry thoroughly before the next application.
- Follow the Grain: Always apply the finish in the direction of the wood grain to ensure an even application and enhance the natural beauty of the wood.
Drying and Curing
After applying the finish, allow sufficient time for drying and curing. The environmental conditions—such as humidity and temperature—greatly affect drying times. Here are some tips:
- Check Manufacturer Instructions: Each product will have specific drying times. Always follow these guidelines for the best results.
- Avoid Dust: Keep the area as dust-free as possible to minimize imperfections in the finish.
| Finish Type | Dry Time | Durability | Best For |
|---|---|---|---|
| Oil-based | 6-8 hours | High | Furniture, cabinetry |
| Water-based | 1-2 hours | Medium | Indoor projects |
| Varnish | 4-6 hours | Very High | Outdoor furniture |
| Semi-gloss Shellac | 30 minutes | Medium | Fine woodworking |
Finishing Touches
After drying, consider applying a topcoat for added protection. A good topcoat can enhance both the look and longevity of your project. Additionally, lightly sanding between coats using 320-grit sandpaper will improve adhesion and allow for a smoother finish.
To learn more about wood finishing techniques, you can explore resources available at Wood Magazine and Fine Woodworking. These websites provide valuable tips and detailed guides.
By following these techniques for wood finishing, you can take your woodworking projects to the next level. Remember that practice makes perfect, and over time, you will develop your style and technique for achieving that professional finish.
Exploring Sustainable Wood Finishing Options and Preferences
Sustainable Wood Finishing Options
When it comes to wood finishing, you have many choices that are not only beautiful but also environmentally friendly. Sustainable wood finishing options give your projects a rich look while helping to protect our planet. Below, we explore some top choices that align with a green lifestyle.
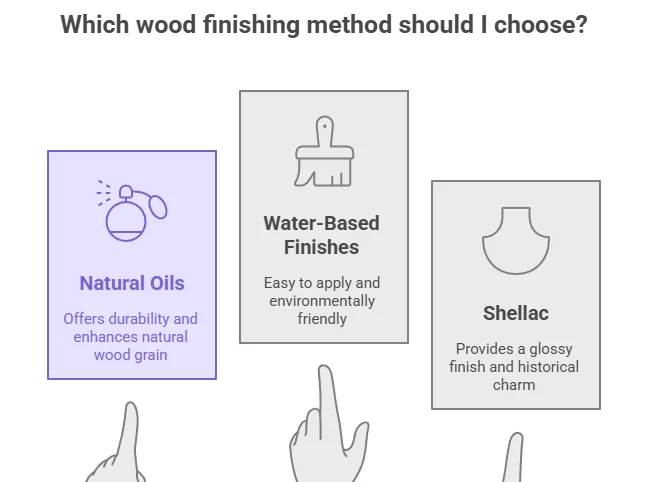
1. Natural Oils
Natural oils, such as flaxseed oil, walnut oil, and tung oil, are popular for their eco-friendliness. These oils penetrate the wood deeply, enhancing its natural grain and providing a warm, elegant finish. Natural oils are biodegradable and safe to use indoors, making them an excellent choice for furniture and wooden countertops.
Benefits of Natural Oils:
- Easy to apply and maintain
- Safe for indoor use
- Enhances the wood’s natural beauty
2. Water-Based Finishes
Water-based finishes are another sustainable alternative. They are low in volatile organic compounds (VOCs), making them a healthier choice for your home and the environment. These finishes dry quickly and are easy to clean up with soap and water.
Advantages of Water-Based Finishes:
- Fast drying time
- Low odor and low VOC emissions
- Durable and resistant to yellowing
3. Shellac
Shellac is a natural resin secreted by the lac beetle. It is non-toxic and creates a beautiful, shiny finish. This traditional wood finish is perfect for interior projects, as it is safe and provides a hard, durable coat.
Reasons to Choose Shellac:
- Eco-friendly and non-toxic
- Provides a warm finish
- Compliments antique woods beautifully
Choosing the Right Finishing Method
Your choice of wood finishing should align with both the project at hand and your eco-friendly values. Consider the following factors when deciding:
- Project Type: What are you finishing? Different woods and uses may require different finishes.
- Durability: Will the piece be exposed to water or heavy use? Some finishes hold up better under stress.
- Health Concerns: Opt for products with low VOCs for better indoor air quality.
Popular Companies Offering Sustainable Finishes
Here are notable companies that specialize in eco-friendly wood finishing products:
| Company | Website | Featured Products |
|---|---|---|
| Watco | watco.com | Natural oils and water-based finishes |
| Benjamin Moore | benjaminmoore.com | Low-VOC finishes |
| Varathane | varathane.com | Water-based polyurethanes |
Finishing Tips for a Smooth Application
Once you choose your sustainable finishing option, keep these Wood Finishing Tips and Tricks in mind for the best results:
- Prep the Surface: Always sand the wood well before applying finish to ensure it adheres smoothly.
- Test First: Always test the finish on a scrap piece to see how the color and sheen will turn out.
- Apply Evenly: Use a high-quality brush or cloth to apply the finish evenly. Avoid over-applying to prevent runs.
- Allow Adequate Drying Time: Follow the manufacturer’s guidelines for drying times between coats.
Exploring sustainable wood finishing options allows you to create stunning pieces that contribute positively to the environment. With the right materials and techniques, you can make a difference while enjoying every project.
Conclusion
As you embark on your wood finishing journey, remember that mastering this craft takes time and practice. Applying the essential Tips and Tricks discussed can set you on the right path, allowing you to create beautiful, polished pieces. Emphasizing the avoidance of common mistakes—like skipping surface preparation or not using the right tools—will help you achieve optimal results. It’s clear that the right equipment and materials play a crucial role, so investing in quality tools will enhance your finishing projects significantly.
Moreover, by implementing various techniques, such as proper sanding, applying even coats, and using finishes suited to your intended look, you can transform any wood item into a stunning work of art. Don’t forget to explore sustainable wood finishing options; these alternatives not only protect the environment but also add a unique touch to your creations.
As you continue to refine your skills, keep experimenting and learning. Share your experiences with others, learn from their insights, and always be open to new techniques and materials. A commitment to growth and exploration in wood finishing will not only elevate your craftsmanship but also deepen your appreciation for the artistry involved. Whether you’re a total beginner or a seasoned woodworker, each project brings its own challenges and rewards, paving the way for your creative journey in wood finishing.