 ATTENTION: World's Largest Collection of 16,000 Woodworking Plans!
Stop struggling with incomplete plans that waste your time and money!
Step-by-step instructions that make woodworking super easy, even for beginners
Detailed schematics, cutting lists, and materials lists for every project
Get new plans monthly for life - no recurring fees or hidden costs
Request custom plans for your unique projects at no extra charge
Get 4 valuable bonuses including woodworking guides and business tips
GET INSTANT ACCESS NOW!
ATTENTION: World's Largest Collection of 16,000 Woodworking Plans!
Stop struggling with incomplete plans that waste your time and money!
Step-by-step instructions that make woodworking super easy, even for beginners
Detailed schematics, cutting lists, and materials lists for every project
Get new plans monthly for life - no recurring fees or hidden costs
Request custom plans for your unique projects at no extra charge
Get 4 valuable bonuses including woodworking guides and business tips
GET INSTANT ACCESS NOW!
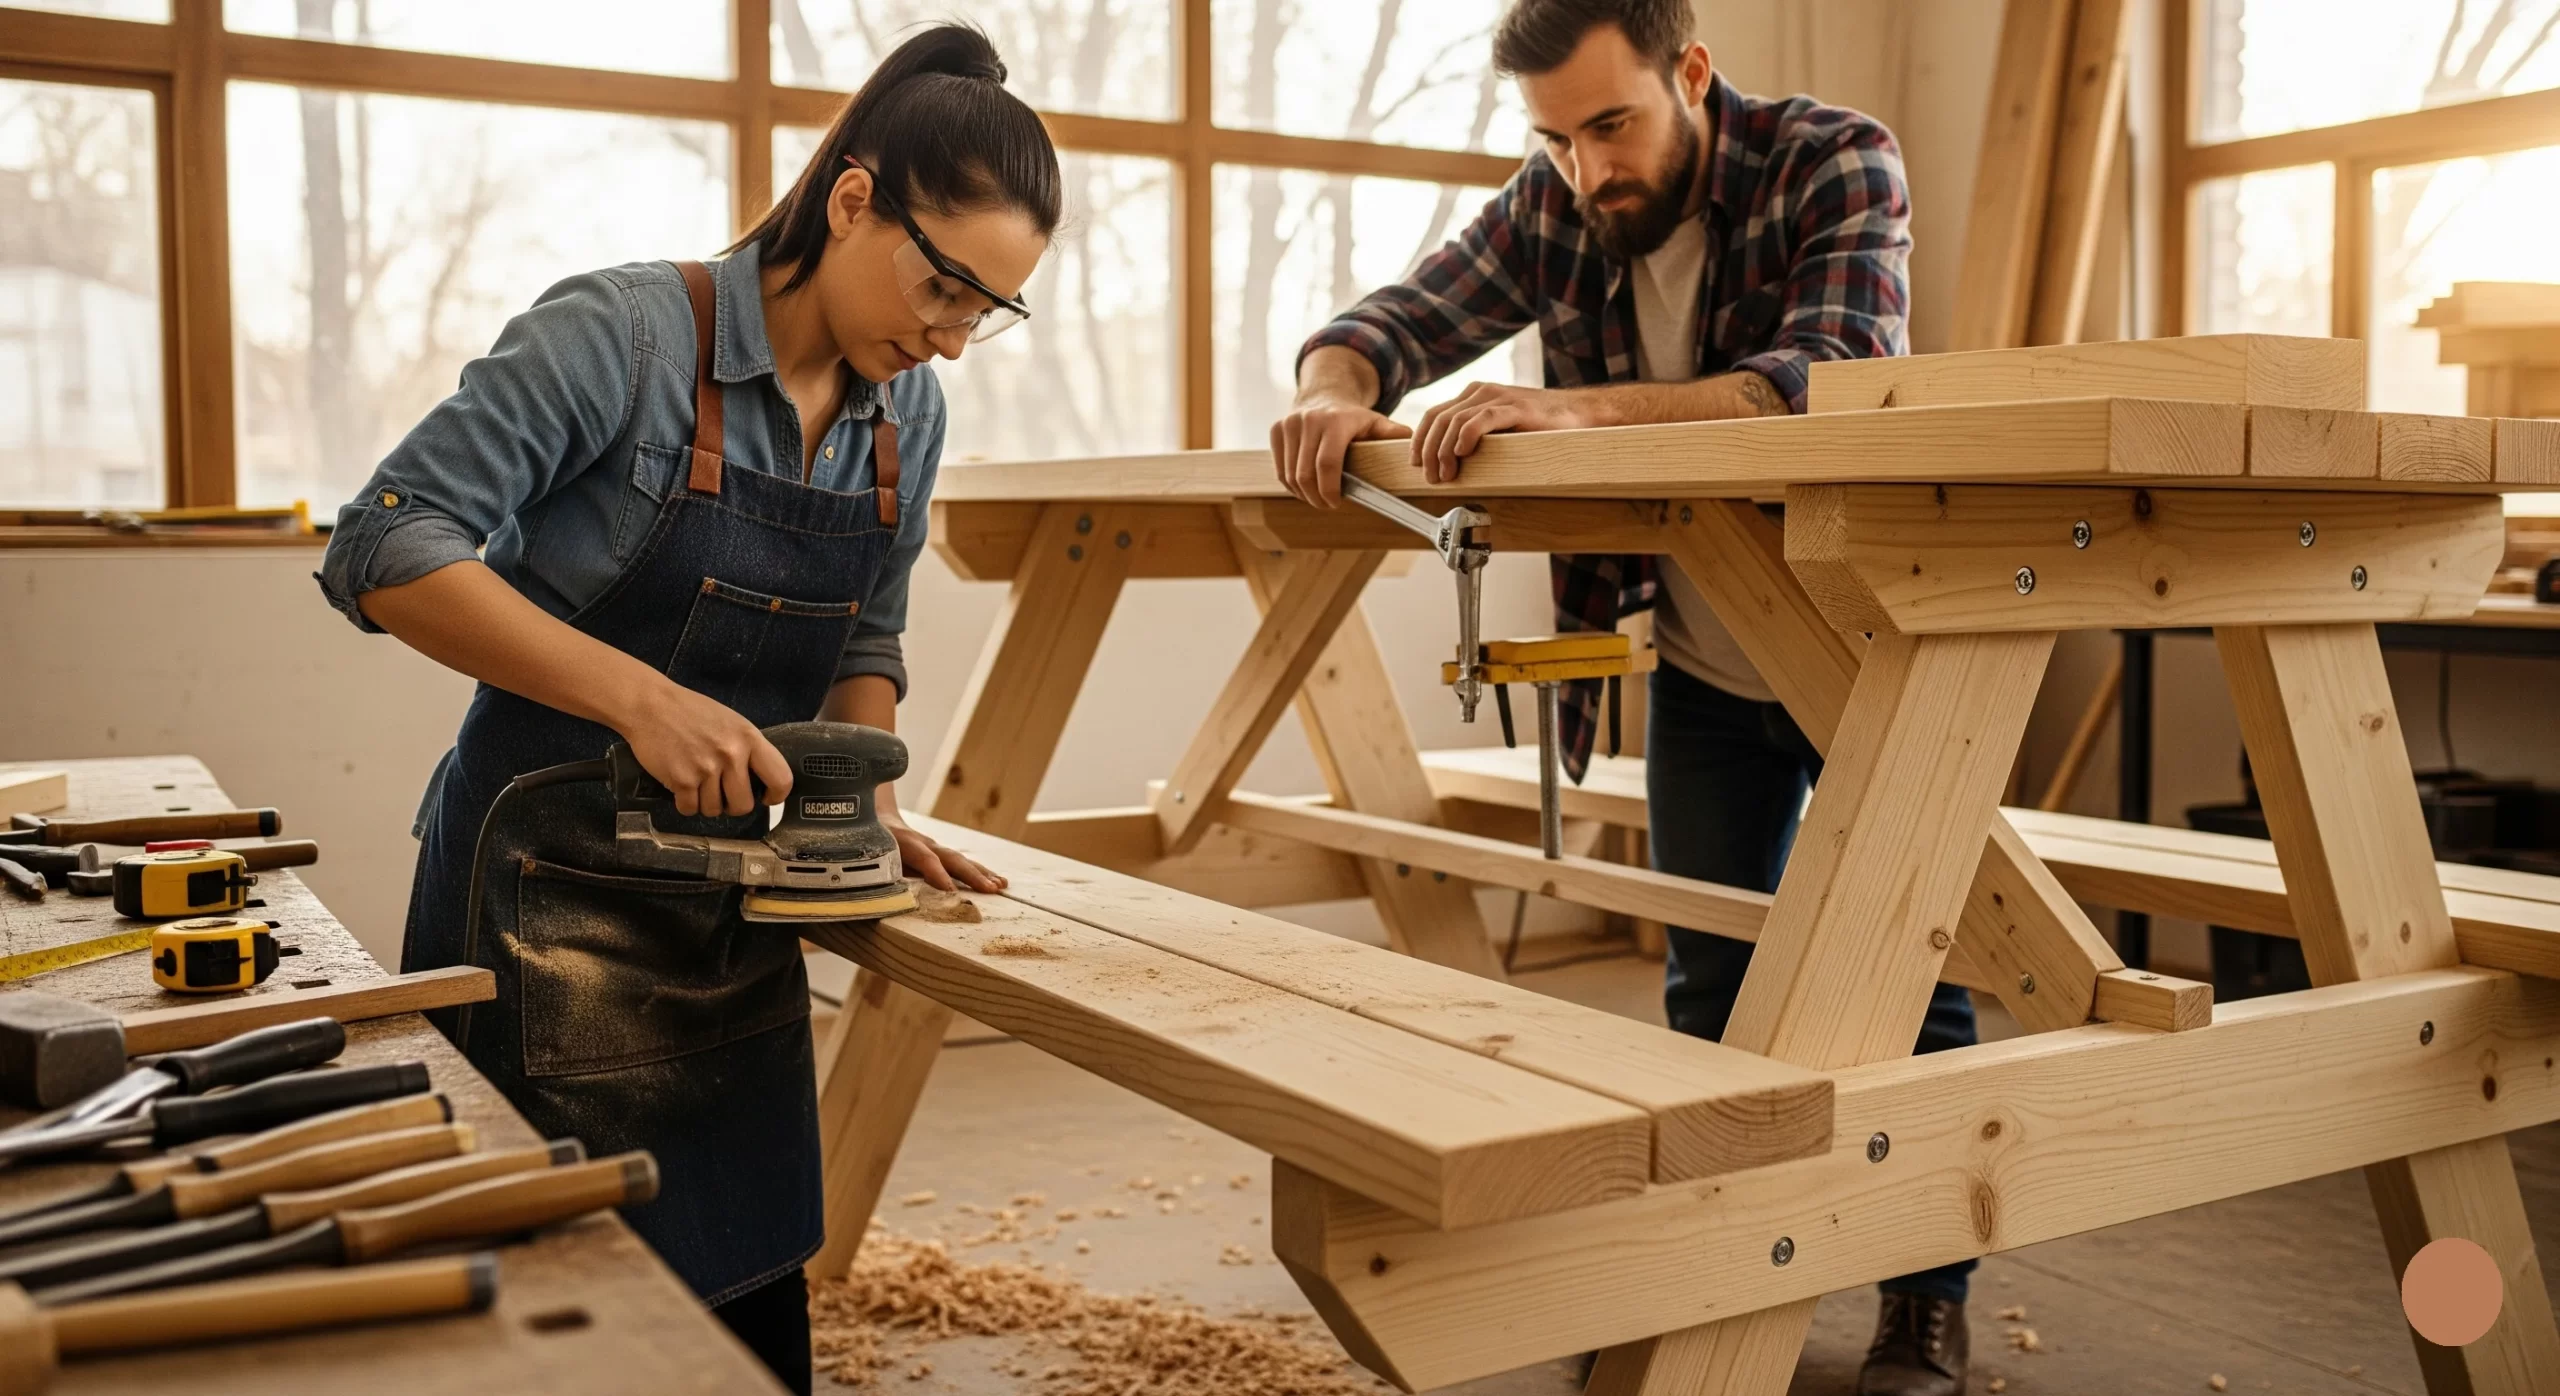
Building a picnic table can be a rewarding DIY project that enhances your outdoor space. With the right plans and materials, you can create a functional and appealing table for family gatherings and barbecues. This guide will walk you through some solid Picnic Table Woodworking to help you get started.
Before diving into the building process, it’s essential to gather all your materials and tools. Here’s a list of what you’ll need:
- 2×4 or 2×6 lumber (for the tabletop and benches)
- 4×4 posts (for the legs)
- Wood screws
- Wood glue
- Sandpaper
- Wood stain or paint (optional)
- Drill
- Saw (circular or miter saw)
- Measuring tape
- Safety glasses
- Clamps
With your materials ready, let’s move into the building steps.
Step-by-Step Guide to Building a Picnic Table
Step 1: Choose Your Design
Select a design that fits your space and preference. Basic designs include rectangular tables with attached benches or tables with freestanding benches. Check out websites like Wood Magazine or Ana White for various design ideas and plans.
Step 2: Cutting the Wood
Using your saw, cut the lumber to create the following components:
- Tabletop: typically four to six 2×6 pieces cut to desired length (e.g., 6 feet)
- Support beams: cut two pieces of 2×4 or 2×6 to support the tabletop
- Benches: similar pieces as the tabletop, generally two benches of 4 to 6 feet in length
- Legs: four 4×4 posts, usually about 30 inches long
Make sure all cuts are straight and clean for a professional finish.
Step 3: Assemble the Tabletop
Lay the tabletop pieces side by side to form the surface. Use wood glue between the boards for added sturdiness. Clamp them together tightly and ensure the edges are aligned. Once dry, reinforce with wood screws from beneath.
Step 4: Attach the Support Beams
Use wood screws to attach two support beams perpendicular to the tabletop boards. This will give your table extra strength and stability.
Step 5: Attach the Legs
Position each leg at each corner and use screws to attach them to the support beams. For added stability, you can use diagonal braces between the legs and the tabletop. Ensure everything is square and level before securing everything tightly.
Step 6: Build the Benches
Follow a similar process to construct the benches. Attach the legs to the support beams and ensure they are sturdily put together. Make adjustments if necessary to ensure they match the height of your table.
Step 7: Finishing Touches
Sand all surfaces thoroughly to eliminate rough edges. Apply wood stain or paint according to your preference. Sealing the wood will enhance its durability against the elements, extending the life of your picnic table.
Step 8: Assemble Everything
Once the finish is completely dry, assemble the picnic table and benches. Position them in your desired outdoor location and ensure they are level.
Building your picnic table not only provides a perfect spot for outdoor meals but also allows you to enjoy the satisfaction of doing it yourself. For more advanced plans and tips, visit Family Handyman, where you’ll find numerous resources to help guide your woodworking journey. Also, check out Popular Mechanics for innovative ideas and designs.
Essential Tools and Materials for Building Your Picnic Table
Building a picnic table can be a fulfilling project that brings family and friends together. To ensure your journey is smooth and successful, gathering the right tools and materials is essential. With the proper setup, you can create a picnic table that is sturdy, attractive, and an essential part of your outdoor gatherings.
Essential Tools for Your Picnic Table Project
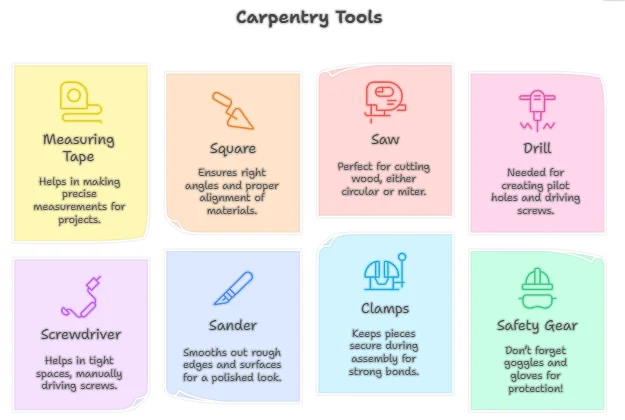
Before diving into the project, it’s crucial to gather the right tools. Here’s a list of must-have tools:
- Measuring Tape: Helps in making precise measurements.
- Square: Ensures right angles and proper alignment.
- Saw: A circular saw or a miter saw will be perfect for cutting wood.
- Drill: Needed for creating pilot holes and driving screws.
- Screwdriver: While a drill can do the job, a manual screwdriver can help in tight spaces.
- Sander: Smooths out rough edges and surfaces for a polished look.
- Clamps: Keeps pieces secure during assembly.
- Safety Gear: Don’t forget goggles and gloves for protection!
Materials Needed for Building Your Picnic Table
The materials you choose can greatly affect the durability and appearance of your picnic table. Below are the key materials you’ll want to have:
- Wood: Choose wood that is resistant to weather and decay. Options include:
- Pressure-treated lumber
- Cedar
- Redwood
- Screws: Use stainless steel or coated screws to prevent rusting.
- Wood Glue: Adds extra strength to your joints.
- Outdoor Finish: A sealant or stain to protect the wood from moisture and UV rays.
Choosing the Right Type of Wood
When it comes to the wood for your picnic table, not all types are created equal. Consider the following popular choices:
| Wood Type | Durability | Cost |
|---|---|---|
| Pressure-Treated Pine | High | Low |
| Cedar | Medium | Moderate |
| Redwood | High | High |
Pressure-treated wood is typically the most economical choice and offers excellent resistance to rot and insects. Cedar and redwood, while more expensive, provide beautiful aesthetics and natural resistance to decay.
Additional Supplies for Safety and Finish
In addition to the essential tools and primary materials, consider these extra supplies:
- Wood Filler: For any gaps or imperfections in your wood.
- Sandpaper: Use different grits to achieve a smooth finish.
- Protective Coatings: Such as polyurethane or marine-grade varnish to shield against the elements.
By ensuring you have these tools and materials at hand, you’re setting yourself up for success in your Picnic Table Woodworking project. Not only will a well-constructed table serve you for years, but it will also enhance your outdoor space and become a gathering spot for family and friends.
For more detailed plans, design inspiration, and community support, check out resources like Wood Magazine for various types of wood available for your picnic table project.
Creative Picnic Table Designs: From Classic to Modern Styles
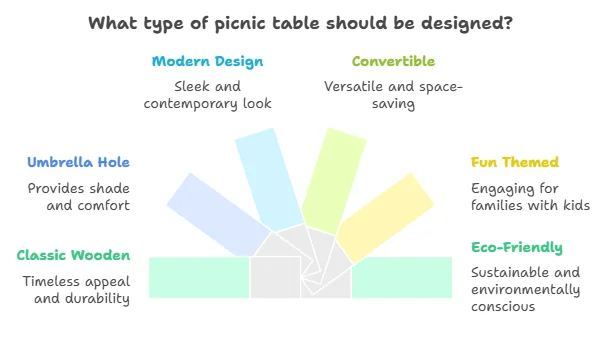
When it comes to outdoor furniture, picnic tables hold a special place in the hearts of many. They represent relaxing days surrounded by family and friends, enjoying meals, games, and memorable moments. Whether you’re a novice woodworker or a seasoned craftsman, there’s a wide range of creative picnic table designs to suit your taste and skill level. Let’s explore some popular styles, from traditional looks to modern takes.
Classic Wooden Picnic Tables
Classic wooden picnic tables are timeless and provide a rustic charm that complements any backyard or park setting. These tables typically feature simple, sturdy designs made from planks of wood such as cedar or pine. They often come with attached benches, making them convenient for larger gatherings.
- Pros: Durable, easy to maintain, and often less expensive.
- Cons: May require regular sealing or painting to prevent weather damage.
Table with Built-In Umbrella Hole
If you’re planning to dine outdoors during the summer, consider a picnic table with a built-in umbrella hole. This design allows you to stay cool and protected from the sun’s harmful rays. You can easily find Picnic Table Woodworking that help you create this feature. This style is ideal for families with kids, ensuring they can enjoy lunch comfortably instead of hiding from the heat.
Modern Picnic Tables
For those who want a sleek, contemporary look, modern picnic tables are a great choice. These tables often feature clean lines, geometric shapes, and may use materials like stainless steel or treated wood. You can also experiment with different color finishes to make your table stand out.
- Pros: Stylish, trending, and can fit into modern outdoor aesthetics.
- Cons: May require unique building techniques, which can be challenging.
Convertible Picnic Tables
Convertible picnic tables are perfect for those who need versatility. These tables can transform from a standard table into a bench or even a lounge area for sunbathing. Ideal for small backyards, these designs maximize usability without sacrificing style.
Many woodworking enthusiasts find plans for these types of tables online, usually accompanied by detailed diagrams and step-by-step instructions. You’ll love how practical yet stylish this option can be!
Families with Kids: Fun Themed Tables
For families with young children, adding a fun twist to your picnic table can make outdoor meals exciting. Think of designing themed tables, like a pirate ship or a fairy-tale castle, using Picnic Table Woodworking that cater specifically to these ideas. Include features such as built-in games, like chess or checkers, to make the table a true centerpiece for family fun.
Eco-Friendly Options
As awareness around sustainability grows, eco-friendly picnic table designs are becoming increasingly popular. Woodworkers often use reclaimed wood or sustainably sourced materials to create tables. Not only does this promote environmental responsibility, but it also gives each table a unique character.
Building Your Picnic Table
When you’re ready to dive into a woodworking project, there’s no shortage of resources. Websites like Wood Magazine and Ana White provide comprehensive plans and ideas. They feature creative Picnic Table Woodworking suitable for all skill levels. Make sure to gather all necessary tools, such as a saw, drill, and measuring tape, before starting your project to streamline the building process.
Adding Personal Touches
To make your picnic table truly stand out, consider adding personalized touches. You can engrave your family name or add colorful paint to reflect your brand or favorite colors. These small details not only enhance the table’s aesthetics but also create a unique piece that reflects your personality. Whether you’re leaning towards a classic wooden design, a modern interpretation, or a unique themed table, Picnic Table Woodworking offer a world of possibilities. Engage in this creative endeavor to make lasting memories around the table with your loved ones!
Tips for Choosing the Right Wood for Your Picnic Table
Choosing the right wood for your picnic table is crucial for both aesthetics and durability. Understanding the various wood types available can help you select the best fit for your outdoor space. Different woods come with unique characteristics, making some better choices than others based on your needs. Here’s a closer look at the top wood options available and what you should consider when making your decision.
Popular Wood Types for Picnic Tables
Here’s a brief overview of some popular woods used for picnic tables:
- Redwood: Known for its beautiful color and natural resistance to decay, redwood is a classic choice. It is lightweight and easy to work with, making it perfect for DIY projects.
- Cedar: Similar to redwood, cedar has natural oils that help resist moisture, insects, and decay. It also has a pleasant aroma and a beautiful grain.
- Pressure-Treated Pine: This is the most affordable option. Pressure-treated pine is treated to resist rot and insects, but it requires regular maintenance to keep it looking good.
- Teak: A premium option, teak offers exceptional durability and resistance to harsh weather. It requires minimal maintenance and develops a lovely silver patina over time.
- Mahogany: Known for its rich color and fine grain, mahogany is sturdy and weather-resistant. It can be a more expensive option but offers a luxurious look.
Factors to Consider
When selecting wood for your picnic table, it’s essential to consider several factors:
- Durability – Ensure that the wood you choose can withstand outdoor conditions. Some woods, like cedar and redwood, are naturally weather-resistant, while others may require treatment to improve durability.
- Maintenance – Different woods require varying levels of maintenance. While teak needs minimal care, pressure-treated pine typically requires more upkeep. Think about how much time and effort you are willing to invest in maintenance before making your choice.
- Cost – Your budget will significantly influence your wood selection. While cedar and pressure-treated pine are more affordable, woods like teak and mahogany can be quite expensive. Aim for a beautiful balance between quality and cost.
Weight Considerations
The weight of the wood is another essential aspect. If you plan on moving your picnic table around or transporting it, lighter woods like cedar or redwood may be ideal. Conversely, heavier woods like teak offer stability but can be cumbersome.
Environmental Impact
Choosing sustainable wood is not only better for the planet but also for your conscience. Look for certified woods, such as those labeled by the Forest Stewardship Council (FSC), to ensure that your wood comes from responsibly managed forests. This can make a positive impact on ecosystems and reduce deforestation.
Where to Find Quality Wood
When shopping for wood, always consider reputable suppliers. You can check local home improvement stores or lumber yards. Additionally, online retailers often offer a wide variety of choices and the convenience of home delivery. Some recommended websites for wood purchasing include:
- Home Depot – Great for both local and online options.
- Lowe’s – Offers a selection of different wood species.
- Woodcraft – Specializes in woodworking supplies and quality wood.
Finishing Touches
Once you’ve selected the right wood, don’t forget about staining or sealing to enhance and protect it. Applying a protective finish will prolong the life of your picnic table and keep it looking fresh. Always use an outdoor-rated product to guard against moisture and UV damage.
Picking the right wood for your picnic table involves considering durability, aesthetics, maintenance, cost, and environmental impact. With the right choice, you’ll enjoy many delightful meals and gatherings in your outdoor space for years to come.
Maintaining Your Picnic Table: Care and Repair Tips
Having a picnic table is a fantastic way to enjoy the outdoors with family and friends. However, to keep that table looking its best, some maintenance is necessary. Here are essential care and repair tips to ensure your picnic table lasts for years.
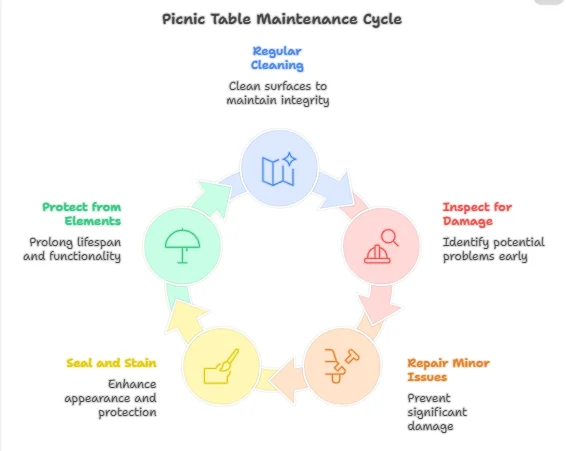
Regular Cleaning
To maintain your picnic table, regular cleaning is key. Dirt, food spills, and other debris can accumulate and damage the wood. Follow these steps for effective cleaning:
- Use a soft-bristle brush or broom to remove loose dirt.
- Create a mixture of mild soap and warm water.
- Scrub the surface with a cloth or sponge using the soapy water.
- Rinse thoroughly with clean water.
- Allow the table to air dry completely.
Inspect for Damage
Regular inspections help catch problems early before they worsen. Check the table for:
- Cracks in the wood that may expand over time.
- Loose screws or bolts that can compromise the structure.
- Signs of rot or mold, especially in humid climates.
Repairing Minor Issues
If you find minor issues during your inspection, address them immediately to prevent further damage.
- Cracks: Fill small cracks with wood filler. Once dry, sand it smooth and paint or stain it to match the surrounding wood.
- Screws and Bolts: Tighten or replace any loose screws. If a screw strip has occurred, use a larger screw or wood glue for reinforcement.
- Rot: If you notice signs of rot, replace the affected boards with new ones. Ensure they are properly treated for outdoor use.
Sealing and Staining
Applying a sealant or stain every year can significantly prolong the life of your picnic table. Here’s how to do it:
- Choose a high-quality outdoor wood sealant or stain.
- Make sure your table is clean and dry before application.
- Using a brush or roller, apply the sealant evenly across all surfaces.
- Allow it to dry completely as per the manufacturer’s instructions before using the table.
Protection from the Elements
Your picnic table faces the brunt of various weather conditions. Here are tips to protect it:
- Consider using a tablecloth or tarp to shield it from rain and snow.
- Position the table in a shaded area to avoid direct sunlight, which can cause fading and drying.
- In winter, store the table indoors, or cover it with a waterproof tarp.
Protection from the Elements
Investing a little time into long-term maintenance can greatly benefit your picnic table. Here are additional strategies to consider:
- Use coasters to prevent drink rings and stains.
- Avoid hot items directly on the table to prevent burn marks.
- Regularly check for pest activity, such as termites, and treat as necessary.
Conclusion
Building your own picnic table can be a rewarding project that enhances your outdoor space. By following the DIY Picnic Table Woodworking laid out in this guide, you can create a functional and beautiful piece that your family and friends will enjoy for years. Selecting the right tools and materials is crucial for ensuring a sturdy and long-lasting structure, so be sure to invest in quality supplies.
As you explore creative picnic table designs, you can choose from classic styles or modern twists that reflect your personal taste and outdoor aesthetics. Don’t hesitate to make adjustments to the plans to suit your preferences, whether that means adding a built-in cooler or vibrant color finishes.
Selecting the right wood is equally important; opting for durable types like cedar or redwood can make a significant difference in longevity and resistance to weather conditions. By taking the time to maintain your picnic table, you can safeguard your investment. Regular cleaning and timely repairs will preserve its beauty and functionality.
Whether it’s hosting summer barbecues, family gatherings, or cozy dinners under the stars, having a hand-crafted picnic table will become more than just furniture. It creates memories, brings people together, and adds a personalized touch to your outdoor living environment. Start your woodworking adventure today and enjoy the fruits of your labor in your very own backyard!