Woodworking is a craft that marries artistry with practicality—a dance between raw material and the vision in your mind. But here’s the secret: the magic isn’t just in the wood itself. It’s in how you cut it. Whether you’re building a rustic farmhouse table or carving delicate scrollwork, your choice of cutting technique can make or break your project. Let’s dive into the world of woodworking cuts, compare methods, and uncover the best practices to elevate your craft.
Why Cutting Techniques Matter
Every woodworker, from hobbyist to pro, knows that cuts are the foundation of any project. A poorly executed cut can lead to wasted materials, frustration, and even safety hazards. On the flip side, mastering techniques like crosscutting, ripping, or joinery opens doors to precision and creativity. For instance, a dado cut creates seamless shelves, while a bevel cut adds angled elegance to trim work. But with so many tools and methods out there, where do you start? Let’s break it down.
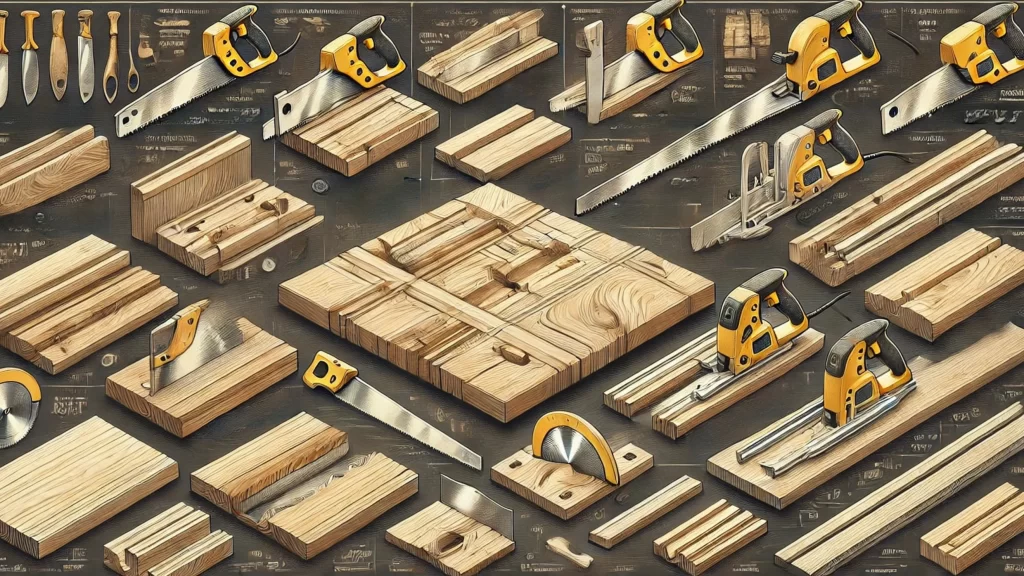
The Basics: Hand Tools vs. Power Tools
Hand Tools
Hand tools (e.g., handsaws, chisels) offer unmatched control and a tactile connection to the wood. They’re ideal for intricate work like dovetail joints or curved cuts. A hand plane, for example, can smooth a surface with a finesse that power sanders struggle to match, while a sharp pull saw excels at precise tenon shoulders. They demand patience and practice, though—perfect for those who savor the process.
Power Tools
Power tools (e.g., table saws, jigsaws) deliver speed and consistency. A circular saw can rip through plywood in seconds, and a table saw’s repeatability shines when cutting multiple identical pieces for a chair set. A bandsaw handles resawing with ease. The trade-off? Less “feel” and a steeper learning curve for precision, especially for beginners.
Neither is inherently better—it’s about matching the tool to the task (and your comfort level). Many woodworkers blend both: roughing out stock with a power tool, then refining with hand tools. New to the craft? Start with a reliable Japanese pull saw or an entry-level cordless circular saw for versatility.
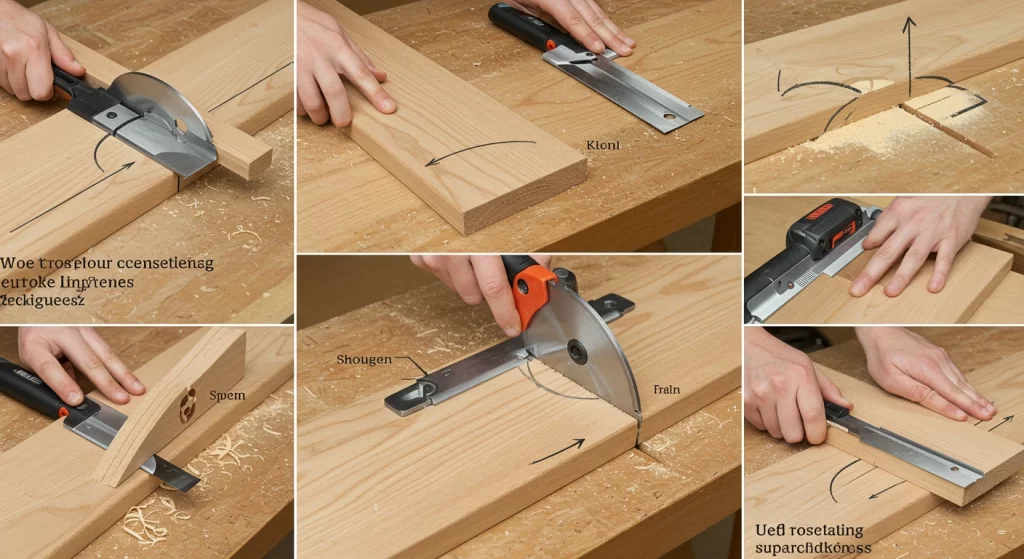
Essential Woodworking Cutting Techniques
1. Crosscutting
What it is: Cutting wood perpendicular to the grain.
Best for: Trimming boards to length, creating panels, or sizing lumber.
Tools: Handsaws, miter saws, or circular saws with a crosscut blade.
Pro tip: Use a miter gauge for angled crosscuts on a table saw. To avoid tear-out, score the cut line with a utility knife first. Blade choice matters too—more teeth (e.g., 60+) yield a smoother finish.
2. Ripping
What it is: Cutting wood parallel to the grain.
Best for: Reducing board width or preparing stock for joinery.
Tools: Table saws (the gold standard) or hand saws with rip teeth. No table saw? A circular saw with a clamped straightedge works—mark your line, set the blade depth just past the wood’s thickness, and go slow.
Watch out for: Kickback! Always use a push stick and riving knife.
3. Resawing
What it is: Cutting a board into thinner slabs along its thickness.
Best for: Veneers, book-matched panels, or maximizing expensive lumber.
Tools: Bandsaws with a wide blade (½” or larger) or a specialized resawing jig for table saws.
Pro tip: Adjust blade tension to minimize flexing, and account for drift (the blade’s natural wander) by angling your fence slightly. Avoid knotty wood for cleaner cuts.
4. Joinery Cuts
This category includes techniques like dadoes, rabbets, and dovetails:
-
Dadoes: Grooves cut into wood to house shelves or panels. Achieve clean results with a dado stack on a table saw.
-
Rabbets: L-shaped cuts along edges, perfect for cabinet backs or drawer bottoms. Use a router or table saw with a sacrificial fence.
-
Dovetails: Interlocking joints famous for strength and beauty. Hand-cut dovetails are a rite of passage, but jigs simplify the process. For strength, try a mortise-and-tenon joint—cut the mortise with a chisel or drill, then shape the tenon with a saw.
5. Curved and Shaped Cuts
What it is: Cutting arcs, circles, or organic shapes.
Best for: Chair legs, decorative accents, or scrollwork.
Tools: Jigsaws, coping saws, or bandsaws. For tight curves, a spiral blade on a jigsaw works wonders. Want precision? Make a template from MDF, trace it onto your stock, and follow the line with a bandsaw—sand to finish.
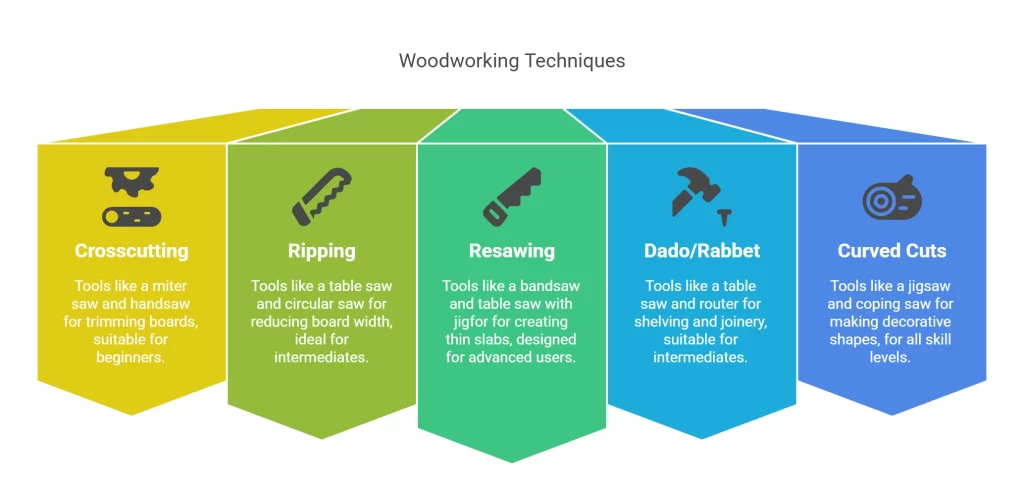
Comparing Cutting Techniques: A Quick Reference
| Technique | Best Tools | Use Case | Skill Level |
|---|---|---|---|
| Crosscutting | Miter saw, handsaw | Trimming boards | Beginner |
| Ripping | Table saw, circular saw | Reducing board width | Intermediate |
| Resawing | Bandsaw, table saw with jig | Creating thin slabs | Advanced |
| Dado/Rabbet | Table saw, router | Shelving, joinery | Intermediate |
| Curved Cuts | Jigsaw, coping saw | Decorative shapes | Beginner to Advanced |
Safety First: Non-Negotiables
-
Wear PPE: Safety glasses, hearing protection, and dust masks.
-
Mind the Grain: Cutting against the grain increases tear-out—check the wood’s direction first.
-
Secure Your Workpiece: Clamps or a vise prevent slips.
-
Respect the Tool: Never bypass safety features like blade guards. Use a push stick with a notched design for better grip, and inspect wood for nails (especially reclaimed stock) before cutting.
Final Thoughts: Cut with Confidence
Woodworking cutting techniques are like a language—once you learn the basics, you can start “speaking” fluently through your projects. Start small: Practice crosscuts on scrap wood, experiment with a simple rabbet joint, or try resawing a cheap pine board. Over time, you’ll develop an intuition for which method fits the moment.