Creating an aged wood look is a popular choice for home decor, furniture restoration, and DIY projects. It gives pieces a rustic charm and character that new wood simply can’t replicate. Whether you’re working on a sleek coffee table or rustic shelving, you can achieve that well-worn appearance you’re after through various techniques.
Understanding the Aging Process
The aging of wood natural occurs due to environmental factors. Sunlight, moisture, and temperature changes gradually change the wood’s color and texture. While you can’t replicate nature perfectly, these techniques will help you get close.
Choosing the Right Wood
Before you start aging wood, selecting the type of wood is essential. Softwoods like pine and fir are easier to age and manipulate. However, hardwoods such as oak or maple will yield a more durable final product.
Here’s a quick comparison:
| Type of Wood | Characteristics | Best For |
|---|---|---|
| Softwoods | Easily dented, light in color | Furniture, decorative items |
| Hardwoods | Durable, rich grain | Long-lasting furniture, flooring |
Techniques to Create an Aged Look
Now, let’s delve into the specific methods that will help you achieve that aged appearance.
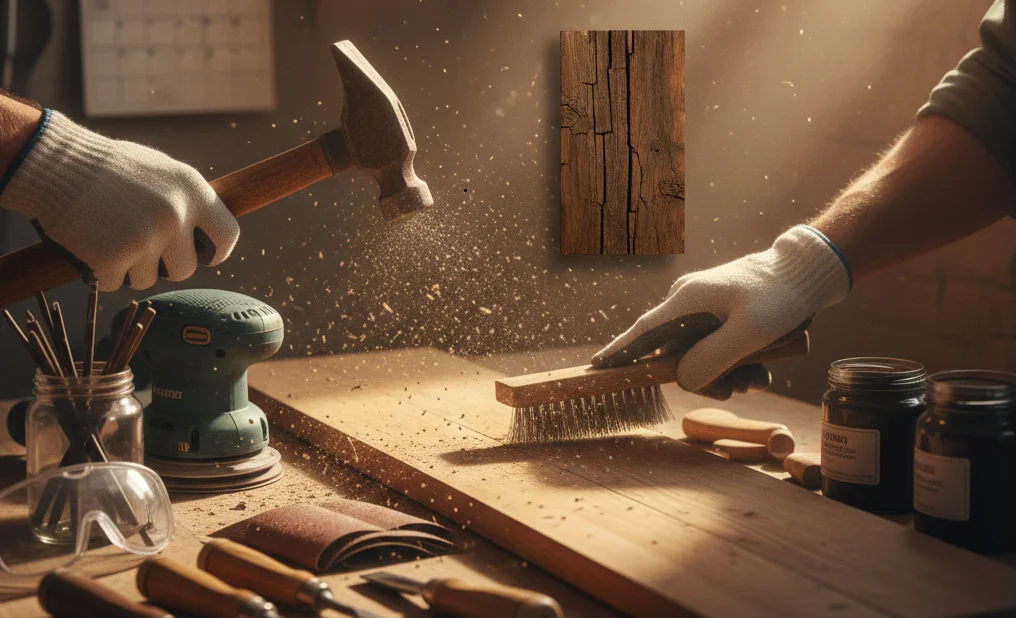
- Distressing: Use a hammer, chains, or even a chisel to give the wood some nicks and scratches. This can help create natural variations in texture. Sanding with different grits can also enhance these effects.
- Staining: Applying wood stains is one of the most effective ways to give wood an aged look. Look for darker shades like walnut or gray. Apply the stain with a cloth or brush; remember to wipe off the excess for a more natural finish.
- Whitewashing: Mix equal parts of water and acrylic paint to create a whitewash effect. This adds a soft, aged patina to the wood while still showcasing the grain. Brush it on, then wipe off the excess for a more subtle look.
- Vinegar and Steel Wool: Soaking steel wool in vinegar creates a chemical reaction that darkens the wood. Leave the steel wool in the vinegar for a few days, then apply it with a cloth. This method works best on light woods.
- Tea and Coffee Staining: Brew strong tea or coffee and use it to stain the wood. The natural tannins will darken the wood and give it an organic look. Experiment with different brews for varied effects.
Finishing Touches
Once you’ve achieved the desired effect, sealing the wood is crucial. Use a polyurethane finish or a wax to protect your aged wood. This step ensures the character you’ve created lasts for years to come.
Safety Precautions
Always wear protective gear when working with chemicals, paints, or tools. Consider using gloves, goggles, and a mask to maintain safety during your project.
The Best Finishes to Enhance Weathered Wood
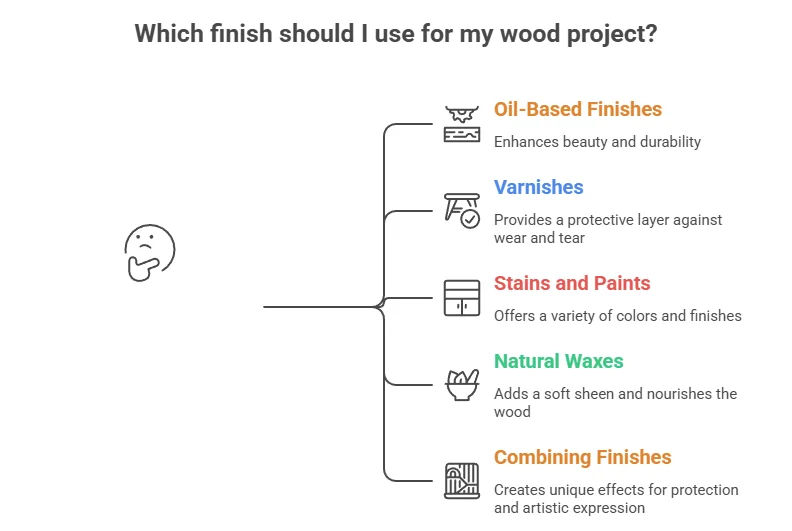
If you love the rustic charm of weathered wood, enhancing its beauty with the right finishes can elevate your décor. From furniture to architectural elements, the aged appearance adds a unique character. The best finishes for weathered wood not only protect it but also accentuate its natural beauty. Here are some top finishes you can consider to enhance your weathered wood projects.
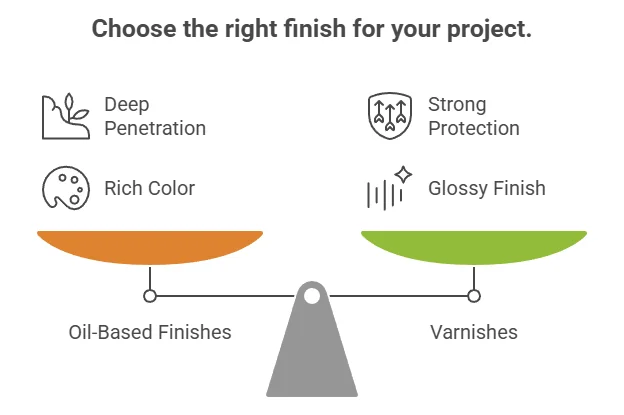
Oil-Based Finishes
Oil-based finishes penetrate deeply into the wood, providing a rich, warm color. They help bring out the grain while protecting against moisture and wear. Here are a few popular oil-based options:
- Tung Oil: Known for its water-resistance and durability, tung oil is perfect for wood exposed to the elements.
- Linseed Oil: This affordable option gives a traditional finish and is great for indoor projects.
- Danish Oil: A blend of oils and varnish, this finish offers a hard protective layer while enhancing the wood’s natural look.
Varnishes
Varnishes provide a tough surface that protects weathered wood from scratches and stains. They create a glossy finish that can enhance the beauty of aged wood.
- Polyurethane: This is a hard, protective finish that is resistant to water and chemicals, making it ideal for surfaces that receive heavy use.
- Marine Varnish: Designed for use on boats, marine varnish is incredibly durable and waterproof, making it a great choice for outdoor furniture.
Stains and Paints
Using stains can add color while maintaining the wood’s natural texture. Paints can also provide an eye-catching finish but may hide the wood grain.
- Wood Stains: Non-pigmented stains allow the original features of the wood to shine through while adding color.
- Chalk Paint: Popular for its matte finish, chalk paint can be used to create a vintage look. It adheres well to surfaces and requires minimal prep work.
- Milk Paint: An eco-friendly option made from natural ingredients, this paint gives a soft, safe finish that, when distressed, appears antique.
Natural Waxes
Waxes provide a subtle sheen and are easy to apply, making them perfect for projects needing a moderate level of protection. They can also be reapplied often to maintain the finish.
- Beeswax: It adds a natural glow and is easy to use. however, beeswax is best for indoor projects.
- Carnauba Wax: Known for its hardness, this type of wax gives a high-gloss finish and is often blended with other waxes to enhance durability.
Combining Finishes
For the best results, you can combine different finishes. For example, applying a stain first, followed by a protective varnish, can provide the desired color and durability.
| Finish Type | Advantages | Best Use |
|---|---|---|
| Oil-Based Finishes | Deep penetration, rich color | Indoor and outdoor furniture |
| Varnishes | Strong protection, glossy finish | High-traffic areas |
| Stains and Paints | Adds color, can hide imperfections | Decorative pieces |
| Natural Waxes | Easy to apply, versatile | Indoor decor |
Choosing the right finish for weathered wood is crucial for both aesthetics and preservation. Several trusted resources can help guide you in your choices. Check out Wood Magazine for a wealth of information on wood finishing techniques, or visit Fine Woodworking for expert advice from experienced professionals.
The right finish can transform your weathered wood projects, enhancing their beauty while providing protection. Experiment with different finishes to find the perfect look that fits your style and needs.
DIY Distressing Methods for Wood Furniture
If you’re looking to breathe new life into your wood furniture, trying out DIY distressing methods can be a fun and rewarding project. Distressing wood furniture is a great way to achieve that rustic, aged look that resonates with many home decor styles. Whether you’re working with a brand-new piece or an old favorite, here’s How To Make Wood Look Aged to give it that coveted vintage charm.
One of the simplest ways to start distressing wood is by using basic tools and materials that you likely already have at home. Here are some techniques to consider:
Sandpaper Technique
Using sandpaper to distress wood furniture is an effective and straightforward method. Follow these steps:
- Select Sandpaper Grit: Choose a coarse grit (60-80) for heavier distressing and finer grit (200-400) for more refined finishes.
- Focus on Edges: Lightly sand the edges and corners of the furniture, as these areas typically experience natural wear over time.
- Random Areas: Sand random spots around the piece to create an inconsistent look.
Using Paint and Glazing
Another popular technique is using paint and glaze to create an aged effect. This method is suitable for those who like a bit of color but still want that vintage vibe.
- Base Coat: Apply a base coat of your desired color. Lighter colors often work best for showcasing aging.
- Applying Glaze: After the base coat dries, brush on a glaze—like a darker shade or a clear glaze mixed with paint—and wipe it off with a cloth to let some of the base color shine through.
- Wipe Technique: Use a cloth to smear and remove glaze from the edges for a naturally worn look.
Hammer and Chisel Technique
If you want to achieve deeper marks, you can make use of a hammer and chisel.
- Choose Your Tools: Grab a hammer and a chisel or a screwdriver.
- Careful Distressing: Lightly tap the chisel against the wood to create nicks and divots. Be sure to vary your pressure for a natural effect.
- Randomize Your Marks: Don’t overthink it; random marks will give depth and interest to your furniture.
Staining for Aged Patina
Once your furniture is distressed, you can further enhance the aged look with a wood stain. Here’s How To Make Wood Look Aged with stain:
- Choosing the Right Stain: Opt for darker stains like walnut or ebony to highlight the distressed areas.
- Application: Using a brush, apply stain to the entire piece, ensuring to focus on the recesses and nicks. Wipe excess away.
- Seal the Finish: Finish with a clear topcoat for added durability and to protect the finish.
Optional Aging Techniques
For extra creativity, consider these additional distressing methods:
- Vinegar and Steel Wool: Soak steel wool in vinegar and apply it to wood to create an aged, gray patina.
- Saw Marks: If you’re feeling adventurous, using a saw to create deeper grooves can add character.
- Crackling Paint: A crackle medium applied before painting can create an antique look.
Each technique offers a unique way to achieve an aged look, and you can combine methods for added effect. Ensure you wear protective gear, like gloves and a mask, to stay safe while working on your project. For more detailed guides and inspiration, check out Wood Magazine or The Spruce Crafts.
Choosing the right distressing technique truly depends on the effect you want to achieve. Distressing your wood furniture not only enhances its beauty but also tells a story. After all, every scratch and mark serves as a reminder of the journey your furniture has taken.
Choosing the Right Tools for Wood Aging Projects

To achieve the rustic charm of aged wood, it’s essential to assemble the right tools for your project. Whether you’re trying to replicate the look of barn wood or simply want to give new pieces a weathered appearance, having the proper tools will make the process smoother and more efficient. Here’s How To Make Wood Look Aged with the right breakdown of tools and techniques that you can consider.
Basic Hand Tools
Begin with a set of basic hand tools. These tools allow for more control and precision, especially when you’re working on intricate designs or small furniture pieces. Key hand tools include:
- Sanding Block: Ideal for smoothing surfaces and eliminating rough spots. Opt for medium to fine grit sandpaper to create a worn look.
- Wire Brush: A wire brush is perfect for creating texture and distressing the wood’s surface. It helps expose the grain, enhancing the aged character.
- Chisel Sets: Use chisels for adding gouges and imperfections, which are often found in old wood.
Power Tools for Efficiency
If you’re tackling larger projects, power tools can save time and ensure even results. Consider the following:
- Random Orbital Sander: This tool is excellent for quickly removing a smooth finish and creating a weathered appearance. Pair it with different grit sandpapers for varying effects.
- Router: A router can add decorative edges or profiles that mimic aged designs. This can give your pieces a more authentic feel.
- Drill: Use a drill for creating holes and imperfections. You can also use it in combination with any distressed hardware for added visual detriment.
Finishing Tools
After the wood has aged to your satisfaction, finishing tools will help seal and protect your work. It’s important to choose the right products.
- Wood Stains: Opt for darker stains to highlight the aging process. You may choose water-based or oil-based stains depending on the desired effect.
- Sealants: Once your project is complete, protect it with a good quality sealant. This may include polyurethane, varnish, or a natural oil finish.
Specialty Tools for Unique Effects
If you want to take your aging project to the next level, consider specialty tools that can enhance the narrative of your wood:
- Paint Sprayer: A paint sprayer can apply a thin, even layer of stain or paint for a vintage look.
- Sandblaster: This tool can give your wood a highly distressed look, ideal for giving new wood a true rustic character.
- Wood Graining Tool: This tool creates natural patterns in wood finishes, adding an aged look to your surface.
Consider Your Material
Different wood types respond uniquely to aging techniques. Softer woods like pine age differently than hardwoods. Always choose a method that suits the particular wood you are working with. For example:
| Wood Type | Best Aging Method | Notes |
|---|---|---|
| Pine | Staining and Sanding | Soft and easy to distress |
| Oak | Wire Brushing and Staining | Strong grain patterns work well with aging |
| Maple | Chiseling and Painting | Less porous; use paints for best results |
If you’re looking for more professional insights and unique aging techniques, websites like Wood Magazine and Popular Woodworking provide excellent resources to guide you through your projects.
With the right tools in hand and an understanding of the aging process, you’ll be well on your way to creating stunning pieces that look beautifully aged. Remember, practice and patience are key components in achieving the results you desire.
Creative Ways to Incorporate Aged Wood in Home Decor
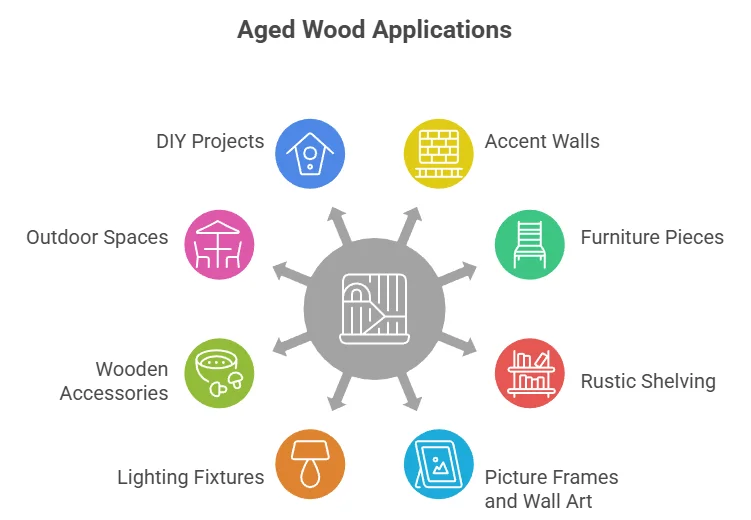
When it comes to home décor, incorporating aged wood offers a unique charm and character that can transform any space. The beauty of aged wood lies in its texture, warmth, and history, making it a perfect material for various creative applications. Here are some inventive ways to integrate aged wood into your home décor.
Accent Walls
Create a stunning focal point in your living room or bedroom by designing an accent wall using reclaimed wood planks. This approach not only adds depth to the room but also provides a rustic vibe. You can choose to arrange the wood in various patterns—horizontal, vertical, or even herringbone styles—depending on your aesthetic preference.
Furniture Pieces
Consider adding furniture made from aged wood. Tables, chairs, and benches crafted from distressed wood bring an element of history and nostalgia into your home. They can serve as conversation starters and often blend well with both modern and traditional designs. Look for:
- Coffee tables with weathered wood tops
- Farmhouse dining tables
- Vintage wooden chairs for a cozy nook
Rustic Shelving
Open shelves constructed from aged wood can help you declutter your kitchen or living room while adding stylish storage options. These shelves can display books, plants, and treasured artifacts. To install, use metal brackets for a modern twist, or go purely rustic with wooden supports.
Picture Frames and Wall Art
Frame your favorite photographs or artwork in aged wood frames to create a cohesive and rustic gallery wall. Choose different sizes and styles of frames for an eclectic look, or stick to a uniform style for a more polished appearance. Not only do these frames enhance your images, but they also serve as beautiful décor pieces on their own.
Lighting Fixtures
Another creative way to incorporate aged wood is through lighting fixtures. Hanging pendant lights made from reclaimed wood or rustic chandeliers can dramatically change the ambiance of a room. These fixtures can add warmth and a touch of nostalgia while illuminating your space beautifully.
Wooden Accessories
Don’t overlook smaller wooden accessories. Items such as coasters, bowls, or candle holders made from aged wood can subtly infuse this material into your décor. Place these items strategically on tables or shelves to add layers of texture without overwhelming your space.
Outdoor Spaces
Aged wood isn’t just for indoor décor; it can also enhance your outdoor areas. Consider building a pergola or garden trellis from reclaimed wood. This not only offers functionality but also an organic aesthetic that blends seamlessly into green spaces. You can also use aged wood for:
- Garden benches
- Planter boxes
- Decking and patios
DIY Projects
If you enjoy crafting, there are limitless opportunities to create your aged wood projects. You can build your own décor items like a rustic coat rack or a wall shelf. Finding aged wood at local flea markets or salvage yards often brings unique finds that spark creativity.
In addition, if you’re looking for specific techniques on How To Make Wood Look Aged, websites like HGTV provide great resources to get you started. You’ll find tutorials that help you with various methods, including weathering techniques and staining options.
Aged wood into your home décor not only uplifts the aesthetic appeal but also contributes to a sustainable lifestyle by reusing materials. Consider these ideas as you plan your next home project, and enjoy the timeless beauty that aged wood brings to your surroundings.
Conclusion
Achieving the charm and character of aged wood is both satisfying and rewarding. By exploring various techniques, you now have the tools to give your wood projects a weathered look that tells a story. Whether you choose to age your wood through natural methods like sunlight exposure or by applying vinegar and steel wool mixtures, each approach offers a unique aesthetic.
Selecting the best finishes can enhance the appearance of your weathered wood, bringing forth its natural beauty while providing protection. Don’t underestimate the power of finishing touches like waxes or oils that can highlight textures and deepen colors. The right DIY distressing methods, such as sanding, hammering, or using chain to create scratches, add that authentic, vintage feel to furniture pieces, making them the focal points of your decor.
Equipping yourself with the appropriate tools is essential for successful aging projects. Simple items like sandpaper, brushes, and distressing tools can be found in most workshops, enabling you to execute your vision seamlessly. Integrating aged wood into your home decor opens up a world of creative possibilities. From rustic shelving to reclaimed wood accents, these pieces lend warmth and character to any room.
As you embark on your wood-aging journey, remember that each project is an opportunity to express your style. Enjoy the process, and have fun experimenting with different techniques and finishes. Before long, you will have a collection of beautifully aged wood items that enhance your home’s warmth and aesthetic appeal.