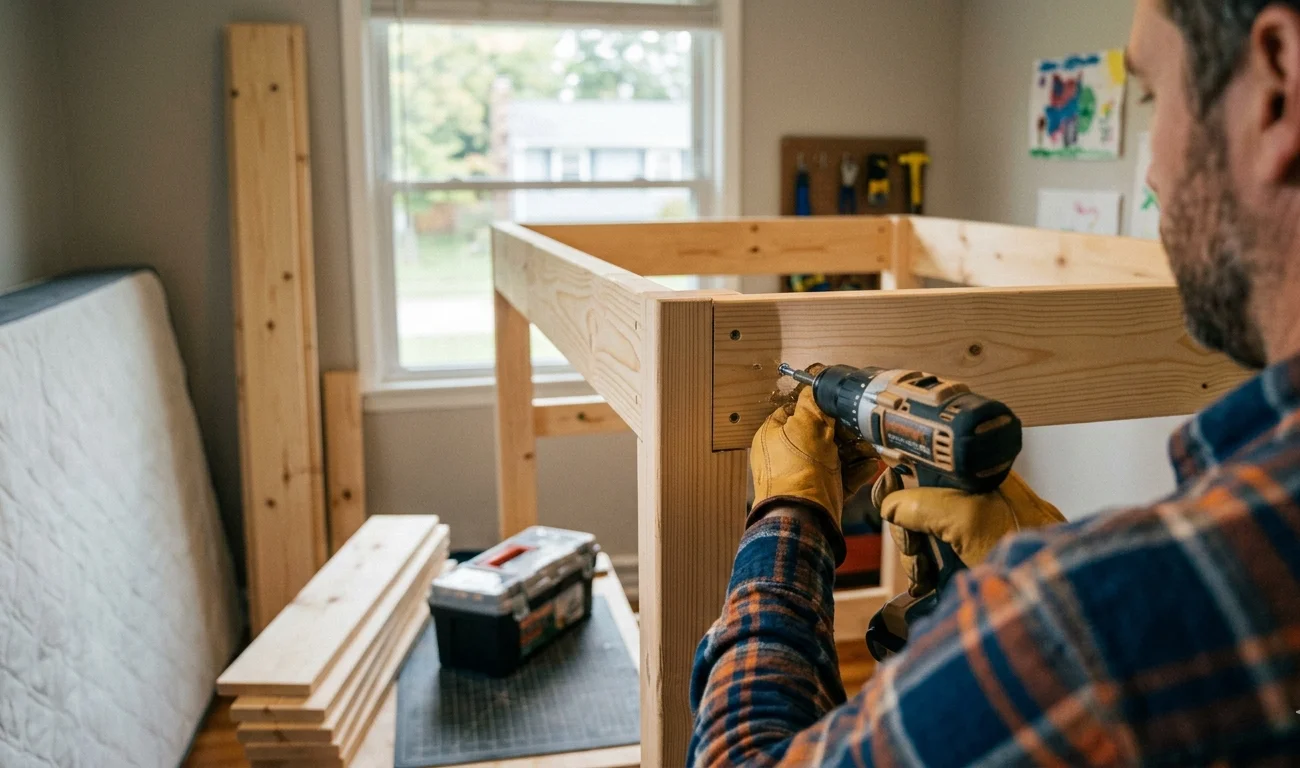
Building wooden bunk beds is a rewarding project that can save space while providing a comfortable sleeping solution for kids or guests. If you’re handy with tools and have a few materials at your disposal, you can create your very own sturdy bunk beds. This guide will take you through the steps to How to Build Wooden Bunk Beds safely and effectively.
Materials You’ll Need
- Two 4×4 wooden posts (for the corners)
- Two 2×6 wooden beams (for the top and bottom bed frames)
- Slats (1×4 or 2×4 depending on preference)
- Wood screws (3-inch screws recommended)
- Wood glue
- Sandpaper
- Paint or wood stain (optional)
- Safety rails (optional)
Tools Required
- Drill with bits
- Screwdriver
- Saw (circular or miter saw)
- Measuring tape
- Square tool for right angles
- Level
Step-by-Step Construction Process
Step 1: Planning and Measurements
Before you start cutting wood, plan out the design and dimensions of your bunk beds. A standard twin-size bed measures 38 inches by 75 inches. For a bunk bed, you will need to determine the height. A common height is around 5 to 6 feet, but make sure this fits your space. Sketch out your plan including the height, width, and any additional features such as staircases or safety rails.
Step 2: Cutting the Wood
Using your saw, cut the 4×4 posts to the desired height of the bunk beds. Then, cut the 2×6 beams to the width of the bed, which is typically around 38 inches for a twin bed. Also, cut additional slats for support between the beams and ensure they fit snugly.
Step 3: Assembling the Bed Frames
Start by creating the bottom bed frame. Lay the two 2×6 beams parallel and attach them using wood screws. Use a square tool to ensure that the corners are right angles. Next, attach the slats across the beams to provide support for the mattress.
Step 4: Constructing the Top Bunk
Repeat the process for the top frame. It’s essential to ensure that the top frame has adequate support. You may need additional slats or bracing for extra stability.
Step 5: Installing the Posts
Set the four 4×4 posts vertically at each corner of the bottom frame. Ensure they are level and secure them using screws. These posts will support the top bunk. Once secure, place the assembled top frame on the posts and attach it with screws. Use a level to check that everything is even.
Step 6: Adding Safety Features
If you want to increase safety, add side rails to the top bunk. Cut the rails from 1×4 pieces of wood and attach them to the side of the top frame. This way, kids will safely stay in bed while sleeping.
Step 7: Final Touches
Once constructed, sand down any rough edges to prevent splinters. You can then stain or paint the bunk bed according to your personal style. Make sure the paint or stain is non-toxic and safe for children. Let it dry completely before using the bunk beds.
Essential Tools and Materials Needed for Bunk Bed Construction
Building wooden bunk beds can be an exciting project, providing excellent utility in any home, especially for kids’ rooms. However, before you embark on this DIY adventure, it’s pivotal to gather the right tools and materials to ensure a successful build. Below, you’ll find a detailed list of essential items you will need, alongside helpful tips for using them effectively.
Essential Tools for Bunk Bed Construction
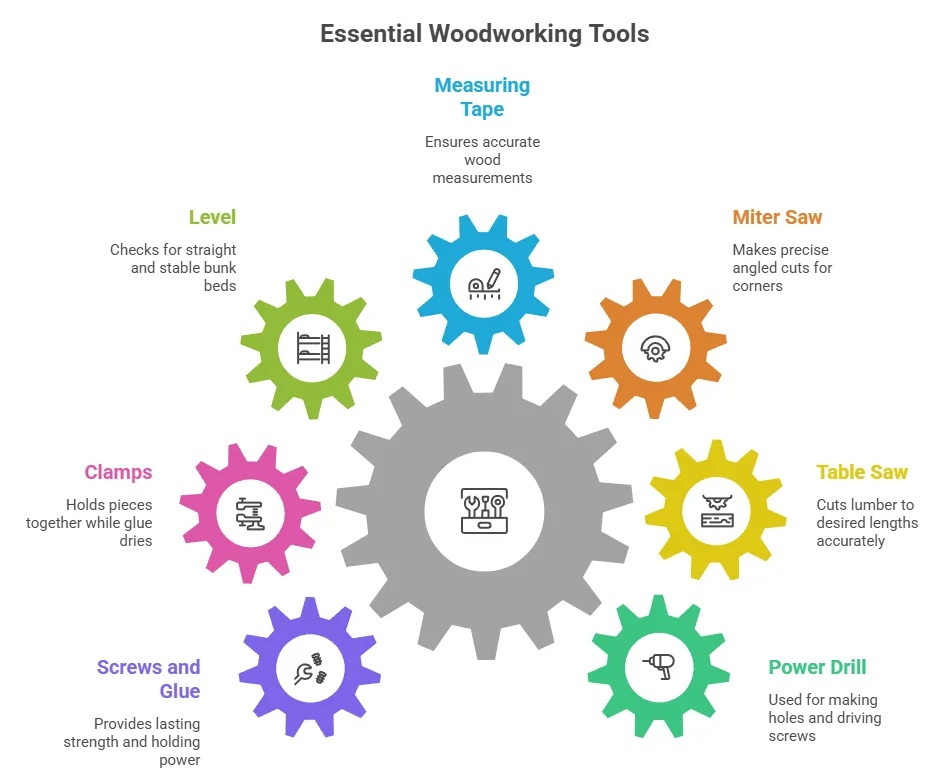
Having the right tools will not only make your work easier but also enhance the quality of the finished product. Here’s a breakdown of the essential tools you will need:
- Power Drill: A power drill is vital for making holes and driving screws. Ensure it has a variety of drill bits and screw heads needed for your project.
- Table Saw: A table saw will help you cut your lumber to the desired lengths accurately. If you don’t have one, many local hardware stores offer rentals.
- Miter Saw: This saw is great for making precise angled cuts, especially for the corners of your bunk beds.
- Measuring Tape: Always have a measuring tape handy to ensure you cut your wood accurately. Precision is key in bunk bed construction.
- Level: A level will help you make sure that your bunk beds are straight and stable, which is crucial for safety.
- Clamps: Clamps are essential for holding your pieces together while the glue dries or while you are fastening them together.
- Screws and Wood Glue: Use high-quality screws for lasting strength. Wood glue can offer additional holding power.
Important Materials for Bunk Bed Construction
Selecting the right materials is crucial for ensuring the durability and safety of your bunk beds. Here are the primary materials you will need:
- Wood: Choose sturdy lumber such as pine or oak for your bunk bed frame. The thickness of the wood should be at least 2 inches referred to as 2×4.
- Plywood: Plywood is commonly used for the mattress support. Use at least 3/4 inch thick plywood for best results.
- Wood Finish: A safe and non-toxic wood finish is vital, especially in children’s furniture. Look for finishes that are marked as kid-safe.
- Safety Rails: These can be constructed from the same wood as the frame or can be purchased separately for a more secure fit.
Safety Gear
Safety should always be your top priority when working with tools and materials. Below are essential safety gear you must wear:
- Safety Glasses: Protect your eyes from dust and debris while cutting and drilling.
- Ear Protection: Using power tools can be loud. Ear protection can help prevent hearing damage.
- Dust Mask: A dust mask will help you avoid inhaling any wood dust produced during cutting.
- Gloves: Wear durable gloves to protect your hands from sharp edges and splinters.
Planning Your Build
Before you start gathering materials, it’s wise to plan out the design of your bunk beds. Use design software, sketch your ideas on paper, or find inspiration online. Websites such as Ana White provide free plans specifically for bunk beds. Additionally, ensure to measure your room to determine how much space you have for the bunk beds. Think about the height you want and whether you would like to incorporate additional storage options below, such as drawers or shelves.
Where to Purchase Your Tools and Materials
Local hardware stores or websites like Home Depot and Lowe’s have all the essential tools and materials you need for Building Wooden Bunk Beds. If you’re searching for quality wood, consider visiting a lumber yard for better options. Having the right tools and materials is crucial for constructing safe and sturdy wooden bunk beds. Following the guidelines above will help you start your project on the right foot. Happy building!
Safety Considerations When Building Wooden Bunk Beds
Building wooden bunk beds can be a rewarding project, but safety should always be your top priority. Bunk beds can be a fun space-saving solution for children and provide an exciting sleeping arrangement. However, proper construction and attention to detail are essential to prevent accidents and injuries. Whether you’re an experienced woodworker or a beginner, keeping safety considerations in mind is crucial throughout the process.
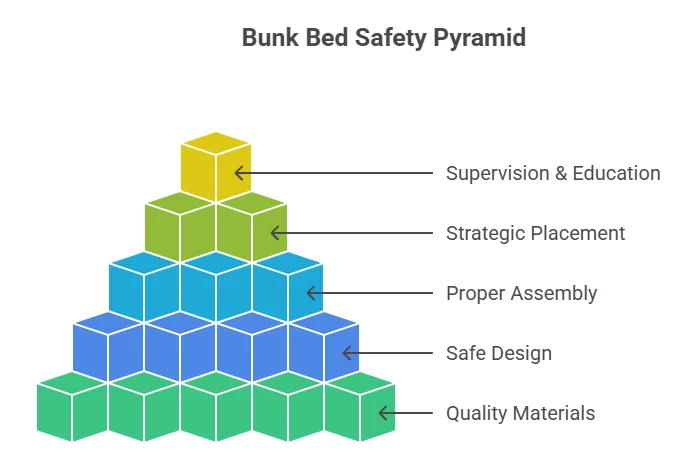
Choose Quality Materials
The safety of your bunk bed starts with the selection of materials. You should use high-quality, sturdy wood that can withstand weight and use over time. Look for wood that meets safety standards and is free from defects. Softwoods like pine can work, but hardwoods like oak or maple will provide extra durability. Ensure that all materials are properly treated and sanded to eliminate sharp edges that could cause injury.
Safe Design and Construction
When it comes to designing your bunk beds, safety features must be integrated into your plans. Follow these guidelines:
- Guardrails: Install guardrails on both sides of the upper bunk. The guardrails should extend at least 5 inches above the mattress to prevent falls.
- Mattress Size: Use a mattress that fits snugly within the bed frame. This minimizes the gap between the mattress and the guardrails, reducing the risk of entrapment.
- Weight Limits: Clearly define the maximum weight limit for each bunk. Ensure that the bed can safely hold the intended number of occupants.
- Ladder Safety: Design a stable ladder that is easy to climb. Make sure it has wide rungs and is securely attached to the bed frame.
- Stability: The bed should have a solid base and be anchored correctly to prevent wobbling or tipping.
Assembly and Installation
Proper assembly is critical for the structural integrity of your bunk beds. Here are some tips to ensure everything comes together safely:
- Follow Instructions: If you are using a set of plans, follow the instructions precisely. Check off each step as you complete it to avoid missing crucial elements.
- Use Quality Hardware: Invest in high-quality screws, bolts, and brackets made for heavy-duty use. Avoid using worn-out or old fasteners.
- Check for Loose Parts: After assembly, ensure that all screws and bolts are tightened and that there are no loose components. Regularly check the bed for any signs of wear or looseness over time.
Placement of the Bunk Bed
Where you place the bunk bed can greatly affect its safety. Consider these factors:
- Room Size: Ensure that the room is large enough for the bunk bed, allowing for safe movement around it.
- Flooring: Place the bed on a flat, even surface. Consider putting a non-slip rug underneath for added grip.
- Headroom: Ensure there is sufficient headroom above the top bunk to prevent head injuries when sitting up.
- Surroundings: Keep the area around the bunk bed free from furniture and other hazards that could cause injury during climbing or falling.
Supervision and Education
Part of ensuring safety is educating children about how to use the bunk bed properly:
- Set Rules: Establish clear rules about jumping, roughhousing, or playing on the upper bunk.
- Supervision: Always supervise young children when they are on the bunk bed, especially during the first few weeks of use.
- Involve Them: Let your children help with the building process to understand the importance of safety. This involvement can help them appreciate and care for their new bed.
For more construction tips and resources on How to Build Wooden Bunk Beds safely, you can visit Wood Magazine and Better Homes & Gardens. By keeping these safety considerations front and center during your project, you’ll create a fun and secure environment for kids to sleep and play. Remember, building a bunk bed isn’t just about functionality; it’s about creating a safe space for your family.
Creative Design Ideas for Custom Wooden Bunk Beds
Creating custom wooden bunk beds offers a perfect blend of functionality and creativity. Whether you’re looking to maximize space in a child’s room or design a cozy guest sleeping area, innovative ideas can help make your bunk bed project stand out. Here are some creative design ideas to consider when Building Wooden Bunk Beds.
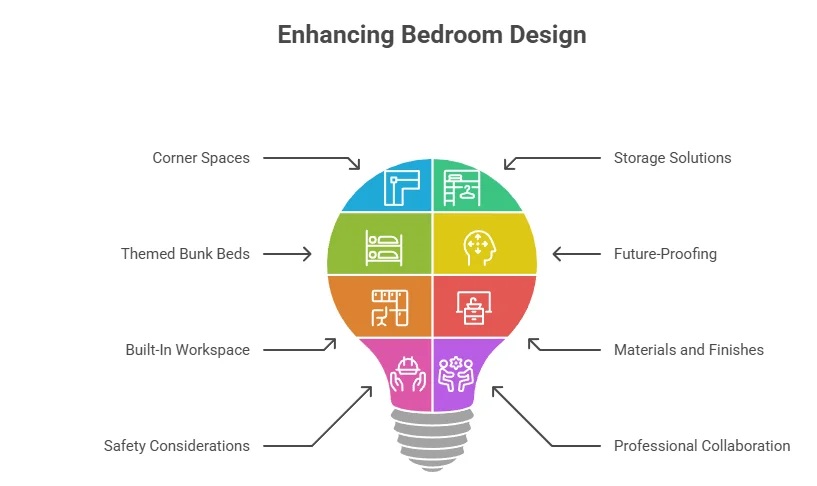
Utilize Corner Spaces
Transform an unused corner into a functional sleeping space. Corner bunk beds utilize the unique angle of a room, providing cozy beds while allowing for more floor space.
Incorporate Storage Solutions
Wooden bunk beds can double as clever storage units. You can:
- Add built-in drawers under the lower bunk for toys, clothes, or bedding.
- Install shelves on the sides for books, picture frames, and decor.
- Design the steps or ladder to include hidden storage compartments.
These features not only conserve space but also keep the room tidy.
Create Themed Bunk Beds
For children, themed bunk beds can be both exciting and practical. Consider these ideas:
- Cascade Bunk Bed: Design a treehouse or castle theme with wooden panels and playful cutouts.
- Adventure Bunk Bed: Incorporate elements like a slide or climbing wall for a fun, outdoor feel inside.
- Minimalist Design: Opt for a sleek, modern look with clean lines for older children or teens.
These designs can evoke creativity and joy, making bedtime a fun experience.
Future-Proofing Your Design
Kids grow quickly, and so do their needs. Design bunk beds that can adapt. Here’s how:
- Use modular components that can be reconfigured or separated into two beds as needed.
- Choose adjustable height options so the bed can grow with the user.
- Incorporate neutral colors that can fit various styles over time.
Future-proof designs ensure that your investment lasts for years.
Built-In Workspace
A study area within your bunk bed design helps maximize the use of space. You can:
- Use the area under the upper bunk as a desk space.
- Add shelves or pegboards for organized study materials.
This dual-purpose area promotes focus and is perfect for homework or creative projects.
Materials and Finishes
Wooden bunk beds allow for a variety of design aesthetics. Choose from:
- Natural finishes: Showcase the beauty of the wood grain with oil or varnishes.
- Painted finishes: Use bright colors or pastels to match room decor, adding a personal touch.
- Stained finishes: Opt for darker stains to give a more rustic or vintage look.
Your choice of materials plays a significant role in the final appearance and durability of the bunk beds.
Safety Considerations
When designing wooden bunk beds, safety should be a top priority:
- Ensure that the top bunk has guardrails on all sides.
- Use secure ladders that are stable and easy to climb.
- Consider rounded edges to minimize injury risk.
These precautions help create a safe sleeping environment for children.
Collaboration with a Professional
If you’re not an experienced woodworker, consider collaborating with a professional carpenter. Websites like Houzz can connect you with skilled craftsmen who can help turn your vision into reality. A professional can ensure your design is not only beautiful but also structurally sound. Building custom wooden bunk beds can be an enjoyable and rewarding project. By infusing creativity in the design, accommodating future changes, and ensuring safety, you can create a functional masterpiece in any space. Gather your materials, gather inspiration, and embark on this exciting building journey!
Maintenance Tips for Long-lasting Wooden Bunk Beds
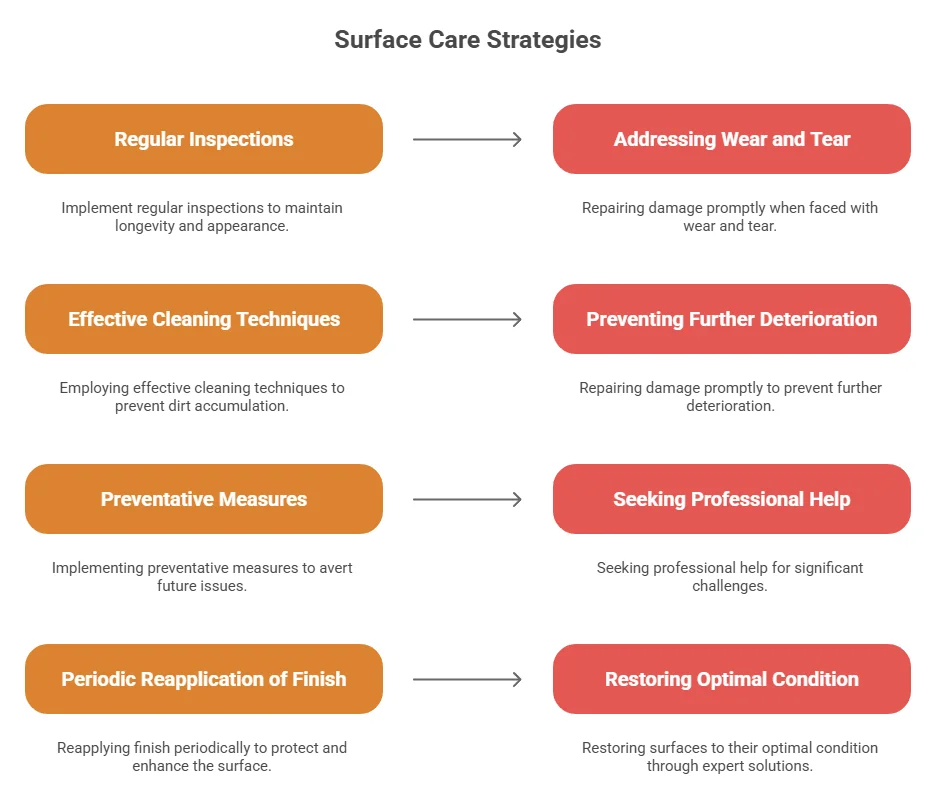
Wooden bunk beds are not only practical but also add charm to a child’s room. However, to ensure their durability and longevity, regular maintenance is essential. Here are some effective tips to keep your wooden bunk beds in prime condition for many years to come.
Regular Inspections
Consistent inspections can help identify any potential issues early on. Check the following:
- Loose Screws and Bolts: Regularly inspect all screws and bolts to ensure they are tight. Over time, they may loosen, leading to instability.
- Splits and Cracks: Examine the wood for any signs of splitting or cracking, which can be caused by changes in humidity.
- Finish Damage: Look for any scratches or worn areas in the finish that could expose the wood to moisture.
Cleaning Techniques
Keeping your wooden bunk beds clean is vital. Dust and dirt can accumulate, leading to wear and tear. Use these cleaning tips:
- Dust Regularly: Use a soft cloth to wipe down surfaces and prevent dust buildup. Microfiber cloths work best.
- Use Mild Cleaners: When necessary, opt for a mild soap solution. Avoid harsh chemicals, as they can damage the finish.
- Wipe Spills Immediately: If any liquids spill, clean them right away to prevent staining or warping of the wood.
Preventative Measures
Taking preventive steps can reduce the need for extensive maintenance. Consider the following:
- Use a Mattress Protector: Protect the mattress from stains and spills that may seep onto the bed frame.
- Avoid Excessive Weight: Respect the weight limits of the bunk bed. Overloading it may cause damage.
- Keep Away from Humidity: Place the bed in a dry area to minimize wood warping. If you live in a humid climate, consider using a dehumidifier.
Reapplying Finish
Wood can lose its luster over time. To keep your bunk beds looking new, consider reapplying the finish:
- Choose the Right Finish: Use a wood polish or wax suitable for your bunk beds. Natural oils or furniture wax can provide a protective layer.
- Preparation: Clean the wooden surface thoroughly before applying any finish to ensure it adheres properly.
- Application: Use a clean, dry cloth to apply the polish or wax in even strokes. Allow it to dry completely before use.
Repairing Damage
If you find that your bunk beds are beginning to show signs of wear, it is best to address these issues promptly:
- Fill Cracks and Holes: Use wood filler to fill any cracks or holes. Sand the area smooth after it dries.
- Touch-Up Paints: For painted bunk beds, have a matching paint on hand for touch-ups.
Professional Help
If significant issues arise or if you’re unsure about performing repairs yourself, consider seeking professional help. A skilled carpenter can assess and maintain the integrity of the bunk beds, ensuring they remain safe for use. By following these maintenance tips, you can significantly extend the life of your wooden bunk beds, making them a lasting haven for your children. Regular care and attention will not only enhance their durability but also keep them looking beautiful. For more tips on maintaining wooden furniture, visit Wood Magazine for expert advice and resources. Additionally, if you’re looking for specific products to maintain your wooden bunk beds, check out Woodworker’s Source for quality finishes and wood care solutions.
Conclusion
Building wooden bunk beds can be a rewarding project that not only saves space but also adds character to your home. By following a step-by-step guide, you can bring your design to life with the help of essential tools and materials. Remember to prioritize safety during the construction process. Ensuring that the frame is sturdy and secure will protect the well-being of those using the bunk beds.
Exploring creative design ideas can make your bunk beds unique and tailored to your needs. Whether you opt for a classic design or a more modern look, customization allows you to express your style and maximize functionality. Don’t forget to think about space optimization and storage options, which can be seamlessly integrated into your build.
After completing your project, regular maintenance is key to ensuring your wooden bunk beds last for years. Simple practices like checking for loose screws, cleaning surfaces, and treating the wood can enhance longevity. Investing time in upkeep ensures that your creation remains safe and visually appealing. Ultimately, the process of How to Build Wooden Bunk Beds can foster a sense of achievement and creativity. Embrace the journey, enjoy the craftsmanship, and revel in the functional beauty of your handmade creation. With patience and attention to detail, you’ll create a wonderful sleeping space that can be enjoyed for years by family and friends alike.