
Building a wooden sandbox for kids is a fantastic project that combines creativity, fun, and practicality. Not only does it provide a great space for play, but it also encourages sensory exploration and imagination in your little ones. Here’s How to Build A Wooden Sandbox for Kids at home, step by step.
Why Build a Wooden Sandbox?
A wooden sandbox is not only sturdy but also adds a natural aesthetic to your backyard. Plus, wood is less likely to heat up in the sun compared to metal. Here are some benefits:
- Encourages outdoor play.
- Enhances creativity and sensory skills.
- Provides a safe space to play with sand.
Materials You’ll Need
Before starting, gather the following materials:
- Pressure-treated wood (2″x6″ boards for sides, 4″x4″ posts for corners)
- Wood screws
- Sandpaper
- Wooden deck stain (optional for weatherproofing)
- Sand (silica sand is recommended)
- Landscaping fabric (to prevent weeds)
- Tools (saw, drill, measuring tape, level)
Step-by-Step Building Process
Follow these steps to build your Sandbox:
Step 1: Choose the Location
Select a flat area in your yard that is shaded some of the time but gets plenty of sunlight. This helps the sand stay dry while giving your kids sunny playtime.
Step 2: Measure and Cut the Wood
Decide how large you want the sandbox to be. A standard size is 4 feet by 4 feet. Cut your pressure-treated wood into lengths:
- Two boards at 4 feet for the sides
- Two boards at 4 feet for the opposite sides
- Four posts of 4 feet each for corners
Step 3: Build the Frame
Start by constructing the base of the sandbox. Use the wood screws to attach the boards to the corner posts, forming a square. Ensure everything is level and straight.
Step 4: Add a Bottom
Place landscaping fabric on the bottom to keep weeds out. Then, you can either leave it open to the ground or add a wooden base, depending on preference.
Step 5: Fill with Sand
Fill your sandbox with sand. Aim for at least 6 to 8 inches of sand for a good play depth. Make sure to use safe, clean sand that is appropriate for children.
Step 6: Finishing Touches
If desired, treat the wood with a weatherproof stain for added durability. Allow it to dry completely before letting kids use it.
Safety Tips
While building a sandbox, prioritize safety:
- Always check for sharp edges on wood. Sand down any rough spots.
- Use non-toxic materials and sand.
- Cover the sandbox when not in use to prevent debris or animals from getting in.
Maintenance of Your Sandbox
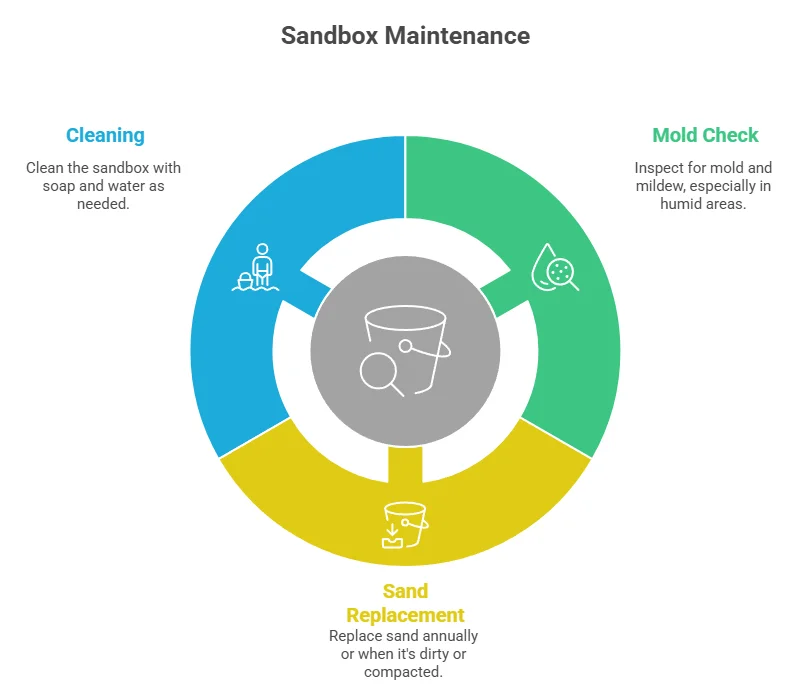
To keep your sandbox in great shape:
- Regularly check for mold or mildew, especially in humid climates.
- Replace sand yearly or as it becomes dirty or compact.
- Clean the sandbox with soap and water as needed.
Essential Materials Needed for Constructing a Sandbox
When you decide to Build A Wooden Sandbox for Kids, choosing the right materials is crucial for creating a fun and safe play environment. A well-constructed sandbox can provide countless hours of enjoyment, so let’s explore the essential materials you’ll need for your project.
Base Materials
Starting with the base is vital for ensuring your sandbox is sturdy and lasts for years. Here are some of the key materials:
- Pressure-Treated Lumber: This is ideal for the walls of the sandbox as it withstands moisture and prevents rotting.
- Outdoor Screws: Use these to fasten the wood together securely. Make sure they are rust-resistant.
- Sand: Choose clean, play sand for the inside. Aim for about 0.5 to 1 cubic yard, depending on the size of your sandbox.
Decoration and Comfort
To enhance the look of your sandbox and make it more comfortable for kids, consider adding these materials:
- Wooden Planks for Seating: These can be added around the perimeter for children to sit on while they play.
- Canopy or Shade Cloth: Protect your kids from sunburn by installing a canopy. Alternatively, use UV-protective shade cloth.
- Garden Edging: This can help to keep the sand contained and can also serve as a decorative border.
Optional Materials for Added Functionality
For added features, you might want to include the following optional materials:
- Tarpaulin or Sandbox Cover: A cover keeps out debris and animals when the sandbox is not in use. This helps to keep the sand clean.
- Plastic Containers: Use small containers for storing buckets or toys, keeping everything organized and easily accessible.
- Waterproof Roofing Paper: If you want to create a base that resists moisture, place roofing paper at the bottom before adding sand.
Tools Required for Assembly
In addition to materials, you’ll need some tools to put your sandbox together efficiently. Here’s a list of essential tools:
- Power Drill: For driving screws quickly and efficiently.
- Saw: A circular saw or miter saw works best for cutting the lumber to the desired size.
- Measuring Tape: Ensure you have precise measurements for cutting the wood.
- Level: To ensure the structure is even and stable.
Creative Ideas to Personalize Your Kids’ Sandbox
Building a sandbox for your kids can be an exciting project, but personalizing that sandbox adds an extra layer of fun and creativity! Here are some imaginative ideas to make your kids’ sandbox unique and engaging:
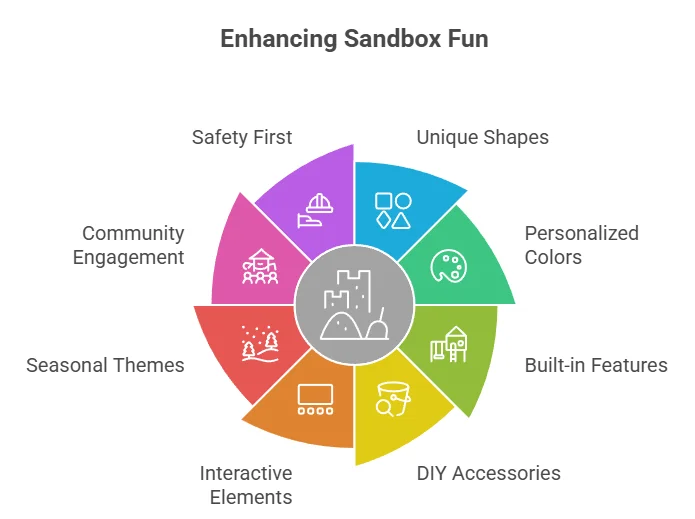
Choose Unique Shapes
Instead of the standard rectangular shape, consider crafting your sandbox in various forms like:
- Circle
- Heart
- Star
- Animals or dinosaur shapes
These playful designs can spark creativity and encourage your kids to invent stories while they play.
Add Personalized Colors
Let your child choose the colors for the wood or any decorative elements. You can use non-toxic outdoor paints to add vibrancy. Some color ideas include:
- Bright primary colors for a cheerful look
- Pastel shades for a softer appearance
- Earthy tones that blend with nature
Include Built-in Features
Enhance the sandbox experience by integrating built-in features. Here are some ideas:
- Art Station: Attach a small easel or art supplies nearby for an outdoor creative combo.
- Storage Bench: Construct a bench around the sandbox with storage space for toys and tools.
- Water Feature: Incorporate a small water play area next to the sandbox to encourage exploratory play.
Engage Their Imagination with DIY Accessories
Encourage imaginative play by making DIY accessories. Consider items like:
- Decorative Flags: Create colorful flags to march around the sandbox, giving a festival vibe.
- Sand Tools: Personalize shovels and buckets by painting your child’s name on them.
- Inspirational Quotes: Decorate the edges of the sandbox with motivational quotes or your child’s drawings.
You can also use natural items like stones or shells to decorate the sandbox, giving it a whimsical feel.
Interactive Elements
Adding interactive elements keeps the play fresh and exciting. Some ideas include:
- Obstacle Course: Build a small obstacle course around the sandbox with logs, ropes, or tires.
- Musical Instruments: Set up outdoor instruments nearby, such as drums or xylophones, for an engaging sensory experience.
- Garden Features: Incorporate small potted plants or flowers to teach kids about nature while they play.
Seasonal Themes
Changing the sandbox theme according to the seasons can keep the playground vibrant all year long. Some suggestions include:
- Spring: Add flower planters around the perimeter.
- Summer: Include beach toys and a sun shelter.
- Fall: Use leaves and pumpkins
- Winter: Offer snow tools and white sand for a snow-like experience.
Community Engagement
Involve friends or neighbors by hosting sandbox play dates. This not only encourages social skills but also allows for fun collaborative projects like:
- Building sandcastles together
- Organizing sand digging races
- Creating art or craft sessions using sand and other materials
Safety First
As you personalize your sandbox, keep safety in mind. Here are essential tips:
- Use non-toxic materials only.
- Regularly inspect for any sharp edges or splinters.
- Cover the sandbox at night to prevent animals from contaminating the sand.
- Check the sand regularly for cleanliness, replacing it as needed.
Tips for Maintaining and Caring for Your Wooden Sandbox
Wooden sandboxes can be a fantastic addition to your backyard, offering a space for kids to play, explore, and ignite their creativity. However, maintaining your wooden sandbox is essential to ensure its longevity and to provide a safe play area for your children. Here are several tips on how to care for and maintain your wooden sandbox.
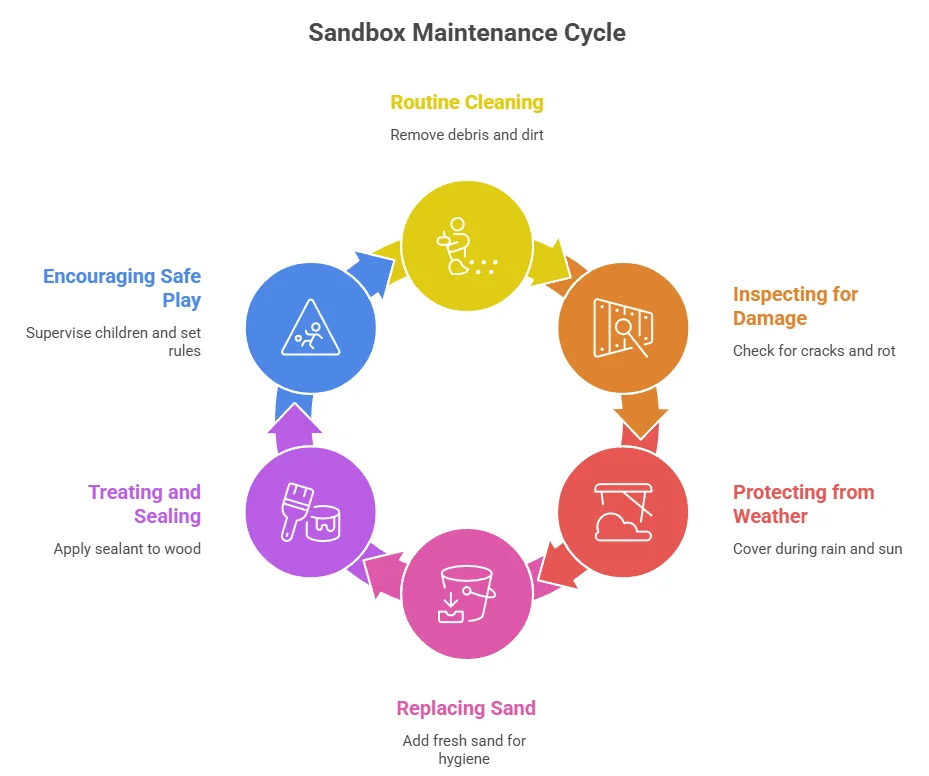
Routine Cleaning
Regular cleaning keeps the sandbox hygienic and inviting for kids. Start by removing any leaves, debris, or toys that may have accumulated in the sand. This should be done weekly to prevent the growth of mold or any unwanted pests. To clean your sandbox effectively:
- Use a broom or handheld vacuum to clear out the debris.
- Rinse the inside with a hose to remove dust and organic matter.
- If you notice any stains or signs of mold, scrub those areas with a mixture of water and mild soap.
Inspecting for Damage
Over time, wooden sandboxes can get exposed to harsh weather conditions, which may cause wear and tear. To keep your sandbox in top shape, perform regular inspections. Check for:
- Cracks or Splintered Areas: Look for signs of splitting wood, as these can be harmful to children playing inside the box.
- Loose Boards: Ensure all boards fit tightly together, and tighten any loose screws or nails.
- Signs of Rot: If you notice any damp areas or mushrooms growing, it’s crucial to replace these boards as they can compromise the structure.
Protecting the Sandbox from Weather
Weather can take a toll on wooden structures. Protect your sandbox by using a cover when it’s not in use. This will help keep moisture out, preventing rot and keeping the sand clean from animals. Choose a cover that fits snugly to reduce the likelihood of wind blowing it off. Additionally, storing it in a shaded area will help prevent the wood from fading or cracking due to sun exposure.
Replacing Sand Regularly
Sand can degrade over time due to moisture and regular use. To maintain the quality of the sand in your box:
- Check for Clumping: If the sand is hard and clumpy, it’s time to replace it. Buying high-quality play sand will yield the best results.
- Change Sand Annually: An annual refresh ensures that you maintain a clean and safe play environment.
- Consider Adding a Barrier: Using landscape fabric beneath the sand can help prevent weeds from growing while allowing water to drain.
Treating and Sealing the Wood
To prolong the life of the wood in your sandbox, consider treating it with a sealant. Sealants can protect against moisture and sun damage, keeping the wood in better condition. When applying a sealant:
- Choose a non-toxic, child-safe wood treatment. Look for options labelled as safe for children.
- Reapply the sealant once a year or as needed. Ensure the wood is clean and dry before applying.
Encouraging Safe Play
Ensure that your sandbox remains a safe place for children to play. Establish some ground rules:
- Always supervise children while they are playing in the sandbox.
- Teach kids to scoop sand rather than throwing it, to prevent accidents.
- Limit the presence of food in the sandbox, as this can attract pests.
By following these maintenance tips, you can ensure that your wooden sandbox remains a safe and enjoyable place for your children. For more woodworking tips or sandbox ideas, visit Wood Magazine to expand your expertise.
Safety Considerations When Building a Sandbox for Children
Building a sandbox for children can be a delightful way to encourage creativity and outdoor play. However, safety should always be a priority in the design and construction process. Here are several key considerations to keep in mind when creating a safe sandbox environment for your kids.
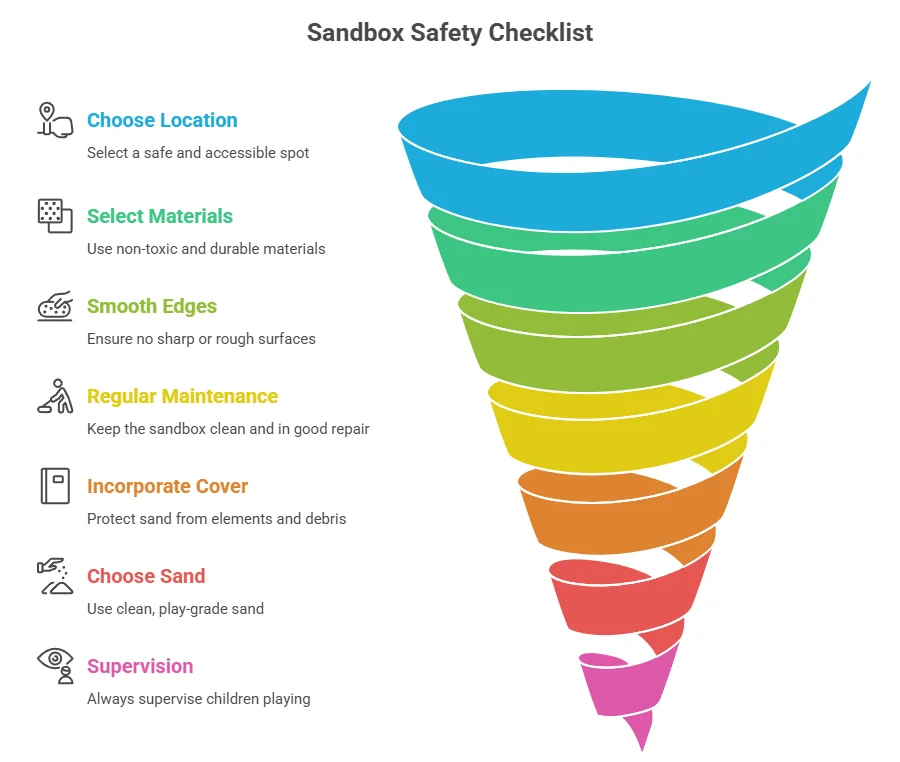
Choosing the right location
First, choosing the right location is crucial. Ideally, the sandbox should be placed in a flat, shaded area away from potential hazards. Exposure to direct sunlight can lead to overly warm sand, making it uncomfortable for play. Additionally, ensure the sandbox is situated away from any structures or obstacle courses that could pose risks of injury or entrapment.
Selecting safe materials
Next, selecting safe materials is fundamental. Using untreated wood is often a popular choice due to its natural appearance and environmental friendliness. However, it’s important to avoid any wood that has been treated with chemicals, as these substances can leach into the sand and be harmful to children. Consider using cedar or redwood, which are naturally resistant to decay.
Ensure all edges are smooth
When building the box, ensure all edges are smooth and rounded to prevent splinters or cuts. Sanding down any rough surfaces will help create a safer play area. Additionally, if you are using nails or screws, make sure they are flush with the wood so that children cannot injure themselves while playing.
Regular maintenance
Regular maintenance is also key to ensuring ongoing safety. Make it a habit to check the sandbox for any foreign objects or debris that could pose risks. Leaves, small stones, or broken toys can lead to accidents. Cleaning the sandbox regularly will help maintain its safety and cleanliness.
Incorporating a cover for the sandbox
To enhance safety, consider incorporating a cover for the sandbox. This will not only keep the sand clean when not in use but also prevent animals from using it as a litter box. A simple tarp or a custom-made wooden lid can be effective solutions. Make sure that any cover you choose is secure yet easy to remove for the children.
Choose a good sand
A common concern is the risk of allergies or skin irritations linked to certain types of sand. Always opt for play sand that is specifically designed for children. This type is usually free of harmful substances and is safe for digging and building.
Supervision
Supervision cannot be overlooked. Young children should always be monitored while playing in the sandbox. Establishing boundaries and rules about how to play safely will also help to prevent injuries. Talk to your children about the importance of being careful while they play and remind them to use tools and toys appropriately.
Consider the following checklist while building and maintaining the sandbox:
- Choose a location away from hazards like trees, fences, or other play equipment.
- Use untreated, rounded wood to avoid splinters.
- Regularly clean the sandbox to remove debris and animal waste.
- Cover the sandbox when not in use to keep it clean and safe.
- Opt for child-safe play sand that is free from harmful substances.
- Supervise children while they play in the sandbox.
Creating a sandbox can be a rewarding project. By keeping these safety considerations in mind, you can ensure that your sandbox remains a fun and safe place for children to explore and enjoy. For additional guidelines, you might want to visit Parents Magazine, which offers expert advice on child health and safety.
Always remember, while a sandbox can foster creativity and play, maintaining a safe environment is essential for letting kids learn and have fun without the worry of injury.
Conclusion
Building a wooden sandbox for your kids can transform your backyard into a joyful play zone, rich with opportunities for imagination and creativity. Following the step-by-step guide we outlined, you can create a sturdy and safe structure using essential materials like untreated wood, a non-toxic liner, and safe sand. Personalizing the sandbox with bright colors, exciting toys, or unique shapes can further enhance the play experience, making it a favorite spot for your children.
Maintaining and caring for your wooden sandbox is just as important as its construction. Regular upkeep, such as checking for splinters, cleaning the sand, and ensuring proper drainage, will keep the sandbox safe and inviting. Additionally, implementing safety considerations—like soft corner cushions and choosing the right location away from hazards—ensures that your little ones can enjoy hours of fun without worry.
By investing time and effort into creating this enjoyable haven, you’re not just building a sandbox; you’re fostering creativity, social interaction, and outdoor play for your children. So gather your materials, enlist some help, and start constructing this exciting project. You’ll find that the laughter and joy it brings to your kids are well worth the effort, making cherished memories in the process. Happy building!