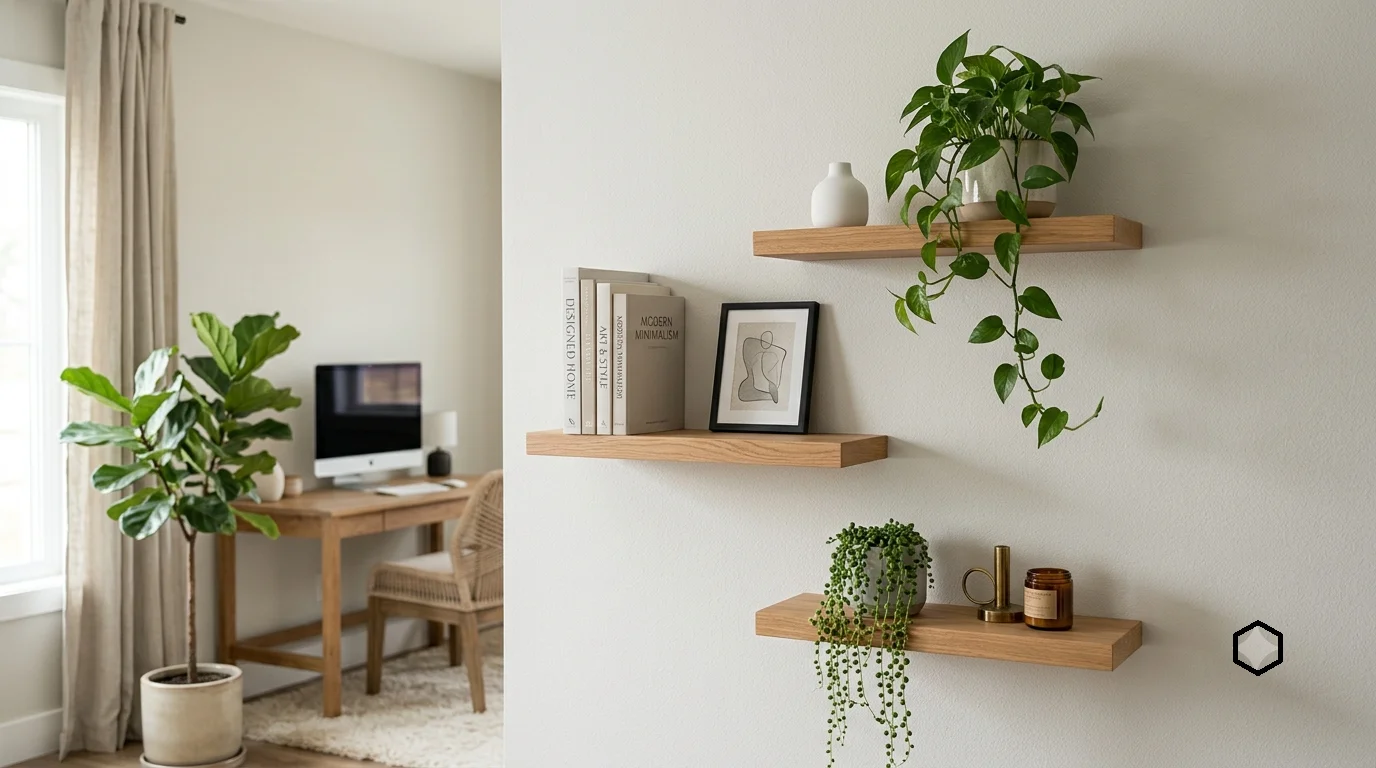
Creating floating shelves is a fantastic way to add both style and functionality to your home. By utilizing Floating Shelf Plans Step by Step, you can personalize your space while maximizing your storage options. Here’s a comprehensive guide to help you build your own floating shelves with ease.
Gathering Your Supplies
Before you start, it’s essential to collect all the necessary materials. Here’s a list of what you will need:
- Wood boards (choose your desired type)
- Brackets (preferably hidden or floating shelf brackets)
- Screws
- Wood glue
- Saw (circular or hand saw)
- Screwdriver
- Sandpaper
- Paint or wood stain (optional)
- Level
- Tape measure
Step 1: Planning and Measuring
Start by deciding the location for your floating shelves. Measure the wall space to determine how long and wide you want your shelves to be. Mark the measurements on the wall with a pencil.
Consider how much weight your shelves will hold. This will help you choose the right materials and brackets. For heavier items, you might want to look into more robust bracket options.
Step 2: Cutting the Wood
Once you have your measurements, it’s time to cut your wood. If you’re using a circular saw, ensure you have safety goggles on. Follow these steps:
- Measure the length of your shelf on the wood board.
- Mark a straight line where you’ll cut.
- Cut along the line carefully.
- Make sure to sand the edges after cutting to avoid splinters.
Step 3: Preparing the Brackets
According to your Floating Shelf Plans Step by Step, the next step involves preparing your brackets. If you’re using concealed brackets, you may need to drill holes into the back of the shelf. Follow these steps:
- Determine where the brackets will be placed.
- Drill necessary holes into the back of the shelf.
- Attach the brackets to the wall using screws.
- Ensure that the brackets are level and secure.
Step 4: Attaching the Shelves
Now it’s time to set the shelves onto the brackets. Carefully lift the shelf into position. For shelving units with larger dimensions, it can be helpful to have someone assist you during this process.
For added stability, you can apply wood glue along the brackets before positioning the shelf.
Step 5: Finishing Touches
Your floating shelves are almost complete! Depending on your design choice, you can now paint or stain the shelves. Allow sufficient drying time before putting any items on the shelves. To achieve a polished look, consider sealing the finish with a clear coat.
Step 6: Organizing and Decorating
Once everything is set and dry, you can begin placing your items on the shelves. Here are a few tips for organizing:
- Vary the height of the items for visual interest.
- Incorporate plants or decorative objects for a touch of greenery.
- Use bins or boxes to keep smaller items organized.
Essential Tools and Materials for DIY Floating Shelves
Creating your own floating shelves can add a stylish and functional touch to your home. To make the process as smooth as possible, it is essential to gather the right tools and materials before you start your project. Understanding what you need will ensure that the shelf installation is seamless and helps to achieve a professional look.
Basic Tools Required
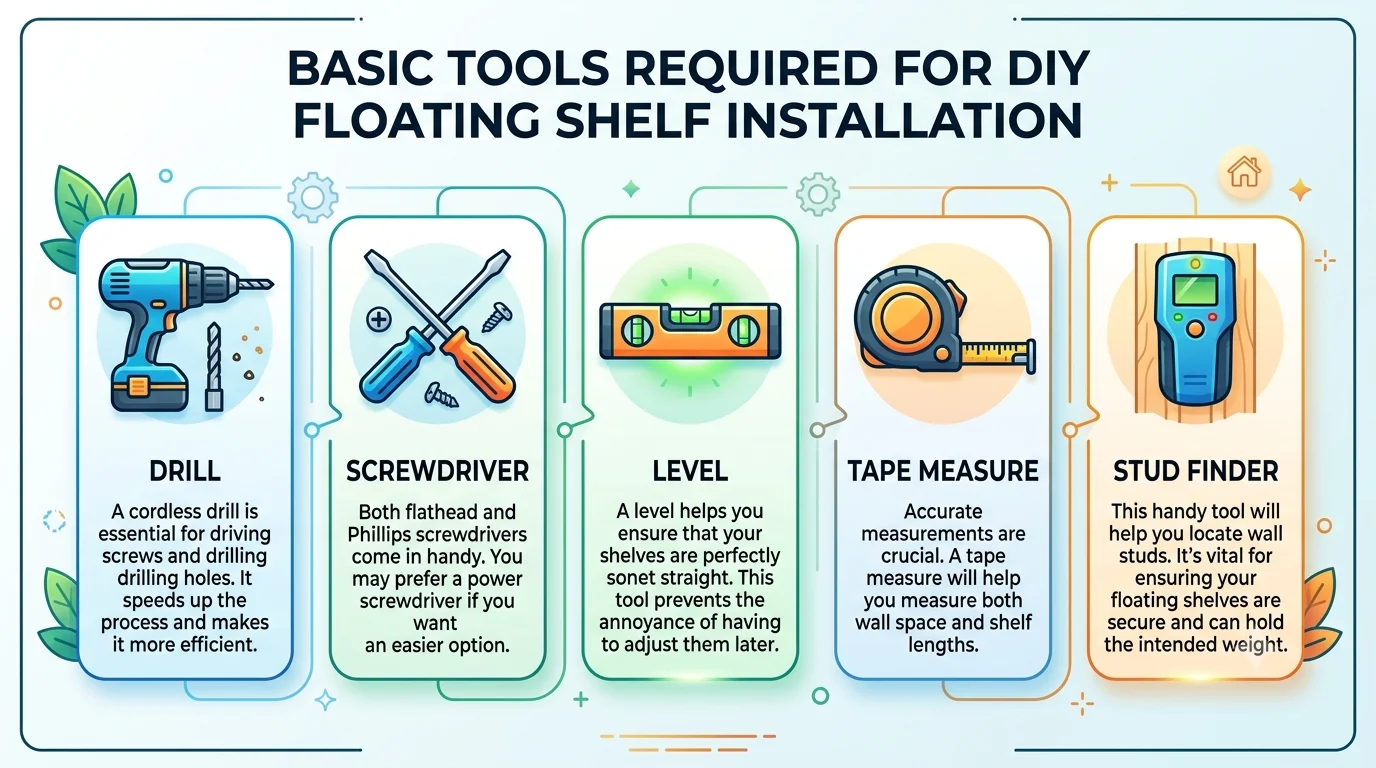
- Drill: A cordless drill is essential for driving screws and drilling holes. It speeds up the process and makes it more efficient.
- Screwdriver: Both flathead and Phillips screwdrivers come in handy. You may prefer a power screwdriver if you want an easier option.
- Level: A level helps you ensure that your shelves are perfectly straight. This tool prevents the annoyance of having to adjust them later.
- Tape Measure: Accurate measurements are crucial. A tape measure will help you measure both wall space and shelf lengths.
- Stud Finder: This handy tool will help you locate wall studs. It’s vital for ensuring your floating shelves are secure and can hold the intended weight.
Materials You Will Need
Choosing the correct materials is equally as important as gathering tools. Below is a list of materials commonly used to build floating shelves:
- Wood: The type of wood you choose can affect both aesthetics and durability. Popular choices include:
- Pine: An affordable, lightweight option.
- Oak: Strong and visually appealing but pricier.
- Maple: Offers excellent durability and is often used for a more upscale appearance.
- Brackets: Make sure to choose sturdy brackets designed for floating shelves. They should match the weight capacity of your shelves.
- Wood Glue: This will help reinforce the joints between the shelf and brackets. It adds strength, especially if the shelf will hold heavier items.
- Screws: Select screws that are appropriate for your wall type, typically wood screws for wooden shelves and toggle bolts for drywall.
Additional Accessories
Consider including additional items that can enhance the functionality and appearance of your floating shelves:
| Accessory | Description |
|---|---|
| Wall Paint | Choose colors that complement your shelf and room decor for a polished look. |
| Sandpaper | This is necessary for smoothing the wood before painting or staining. |
| Paint/Stain | Adds visual appeal and helps protect the wood surface. |
| Clamps | Useful for holding pieces together while the adhesive sets. |
Preparing for Installation
Before you start building, take the time to prepare your space. Make sure to clear the area where you will be working. Measure the wall space carefully to determine where you want your shelves to go. Using a pencil, mark the spots where the brackets will be installed. This will help you visualize how your finished shelves will look.
Creative Design Ideas for Floating Shelves in Every Room
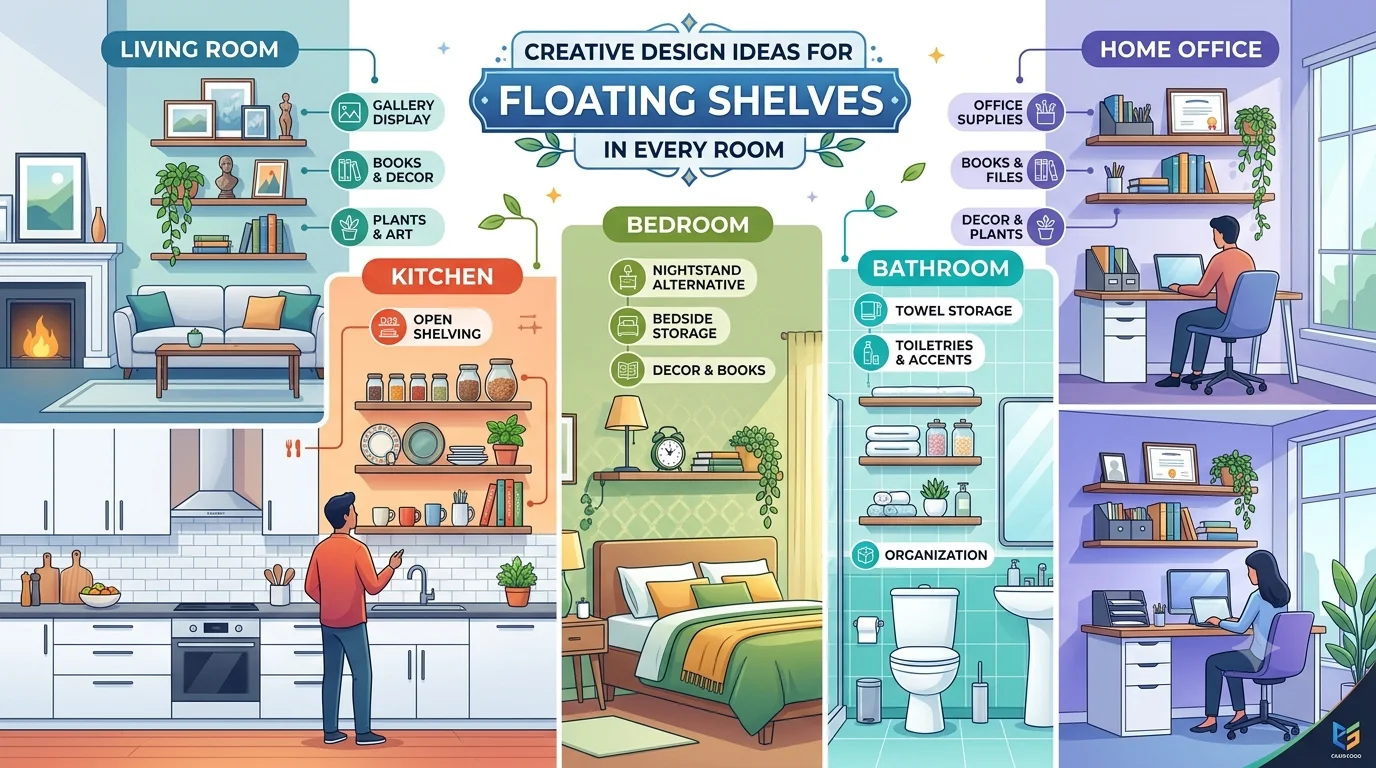
Floating shelves offer a unique way to add both style and functionality to any room in your home. Their minimalist design allows them to blend seamlessly with your decor, while also providing valuable storage and display space. Here are some creative design ideas for integrating floating shelves across various spaces in your home.
Living Room
In the living room, floating shelves can serve as a focal point or a supporting feature. Here are some ideas:
- Gallery Wall: Create a gallery wall by arranging multiple floating shelves in different lengths. Use these shelves to display artwork, books, and decorative items that reflect your personal style.
- Media Center: Install floating shelves around your television. This can keep your space looking tidy and allows for easy access to media equipment and accessories.
- Plant Display: Add a touch of greenery by placing potted plants on floating shelves. This not only beautifies the room but also improves air quality.
Kitchen
Floating shelves in the kitchen can enhance both aesthetics and functionality. Consider the following options:
- Open Storage: Use floating shelves to display your favorite dishes, cookbooks, or spices. This not only keeps them accessible but adds a personal touch to your kitchen.
- Glassware Showcases: Create a designated area for glassware. Arrange your best glasses and bottles on a floating shelf, allowing light to shine through.
- Counter Space Enhancer: Install floating shelves above your counters to keep the workspace clutter-free.
Bedroom
In the bedroom, floating shelves can enhance both function and style:
- Nightstand Alternative: Replace traditional nightstands with floating shelves on either side of your bed. This can free up floor space while providing a place for lamps and books.
- Photo Display: Create a personal gallery by placing framed photographs on floating shelves. Change them out seasonally to keep the space fresh.
- Accessories Organizer: Use shelves to hold jewelry boxes, watches, and other accessories to keep your bedside organized.
Bathroom
Bathrooms can often feel cramped, but floating shelves can help optimize space:
- Toiletries Holder: Shelves can be used to display essential toiletries and add decorative elements like plants or candles for a spa-like feel.
- Towel Storage: Install narrow floating shelves to hold neatly folded towels, keeping them easily accessible.
- Stylish Decor: Create a visually appealing display of decorative items like glass jars and small planters.
Home Office
A floating shelf in your home office can keep the area organized and stylish:
- Productivity Station: Use floating shelves to hold office supplies, books, or even a small potted plant to foster creativity.
- Inspiration Board: Hang floating shelves to showcase personal mementos or an inspiration board. This enables you to have reminders and triggers to keep your creativity flowing.
- Technology Storage: Set up floating shelves for monitors or additional screens, ensuring your workspace remains uncluttered.
When installing floating shelves, consider the materials and colors that complement your existing decor. High-quality wood, metal, and glass options can suit various styles from rustic to modern.
Common Mistakes to Avoid When Building Floating Shelves
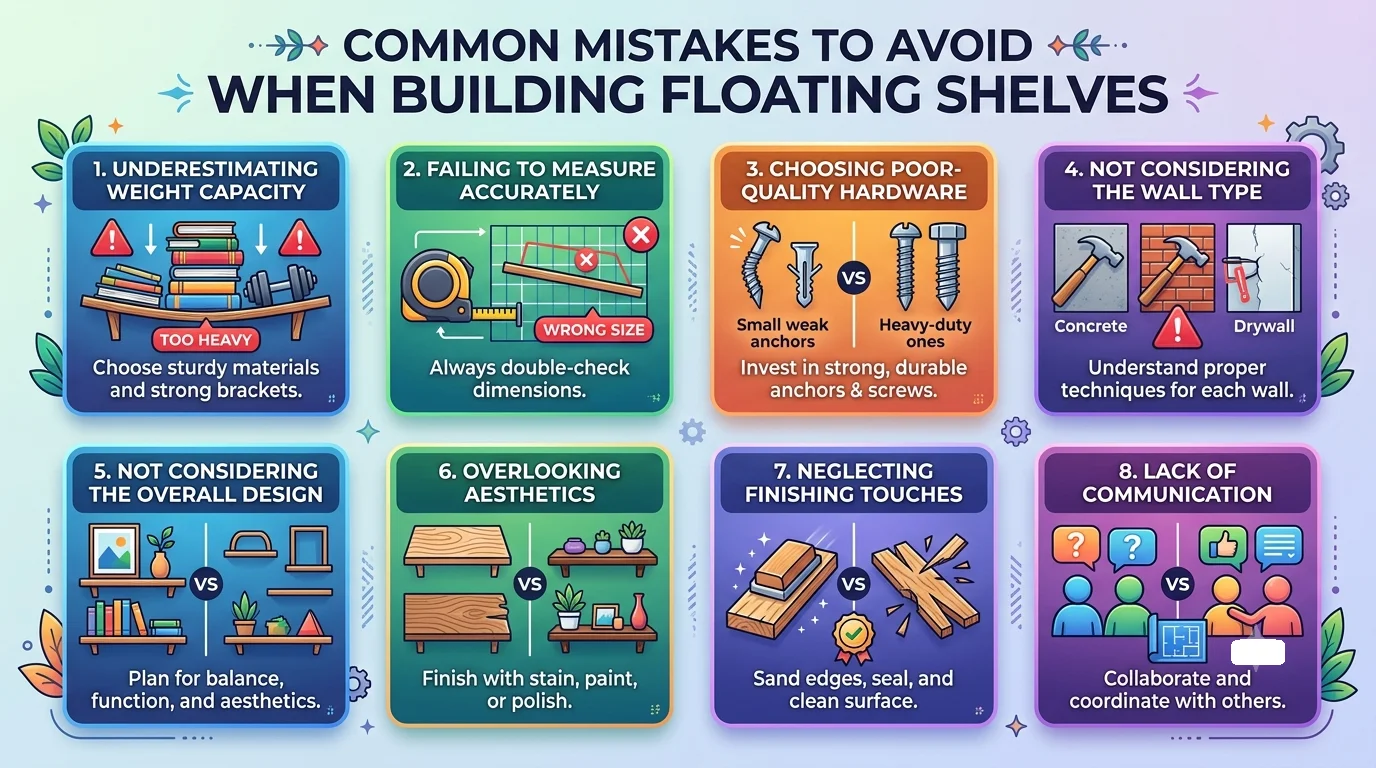
Building floating shelves can enhance the look of your home while providing extra storage space. However, the process can be tricky, and there are common mistakes that can turn your project into a headache. Here’s a guide to help you navigate the dos and don’ts when creating your floating shelves.
Underestimating the weight capacity
One of the primary errors many DIY enthusiasts make is underestimating the weight capacity of their floating shelves. It’s essential to choose the right materials and supports. Many recommend using sturdy hardwood or plywood for the shelf itself. Ensure you select brackets or hidden supports rated to hold more than the intended weight of the items you plan to store. The general rule is to use a support that can handle at least twice the weight you expect to place on the shelves. Consider checking resources for shelf design like Family Handyman.
Failing to measure accurately
Another common mistake is failing to measure accurately. Before you start cutting your wood, make sure you have precise measurements of the space where your shelves will be installed. Use a level to ensure your shelves will be straight. Remember, even a minor miscalculation can lead to mounting issues, making it harder to ensure everything looks professional. Measure twice, cut once is a great mantra to keep in mind.
Choosing poor-quality hardware
Choosing poor-quality hardware is a frequent yet easily avoidable mistake. Many DIYers go for cheaper options to save money on their projects, but this can backfire. Poor-quality anchors, screws, and brackets may not provide the necessary stability and strength. It’s always better to invest in high-quality materials and hardware. You can find reputable brands at local hardware stores or online at places like Home Depot.
Not considering the wall type
One of the biggest pitfalls is not considering the wall type where you will mount your shelves. Different wall materials require different installation approaches. If you are mounting on drywall, for example, you may need to find the studs or use special drywall anchors. Alternatively, mounting on concrete or brick walls may require different types of screws and anchors altogether. Make sure to research the correct installation method for your wall type.
Not considering the overall design
Another mistake people often make is not considering the overall design. Floating shelves should complement your existing decor. Before finalizing the design of your shelves, take a moment to think about how they fit into the overall aesthetic of your room. You may want to create a mood board to visualize how your floating shelves will enhance your space.
Considering aesthetics
When considering aesthetics, also take note of the stain or varnish you choose for your shelves. Some finishes can drastically change the appearance of the wood. Testing samples on a small piece of wood can help you choose the best finish that matches your style.
Overlooked the finishing touches
Additionally, one critical step that often gets overlooked is the finishing touches. Don’t forget to sand down your shelves to create a smooth surface before applying any paint or stain. This will eliminate rough patches and ensure a more professional finish. Using a sanding block can give you better control and help achieve a smoother surface.
Lack of Communication
Communication can be key, especially if you are not completing the project alone. If you’re working with a partner or friend, make sure to discuss the project details thoroughly. Align on what tools you will need, how the shelving will look, and the method of installation. A little teamwork can make the process smoother and more enjoyable.
Avoiding these common mistakes will lead to a well-executed floating shelf project. Remember to measure accurately, choose quality materials, understand your wall type, and communicate with your helpers. For more step-by-step guidance, you can explore Better Homes & Gardens for detailed instructions and tips. Take these insights, and you’ll create stunning floating shelves that enhance your living space while serving a practical function.
Maintenance Tips to Keep Your Floating Shelves Looking New
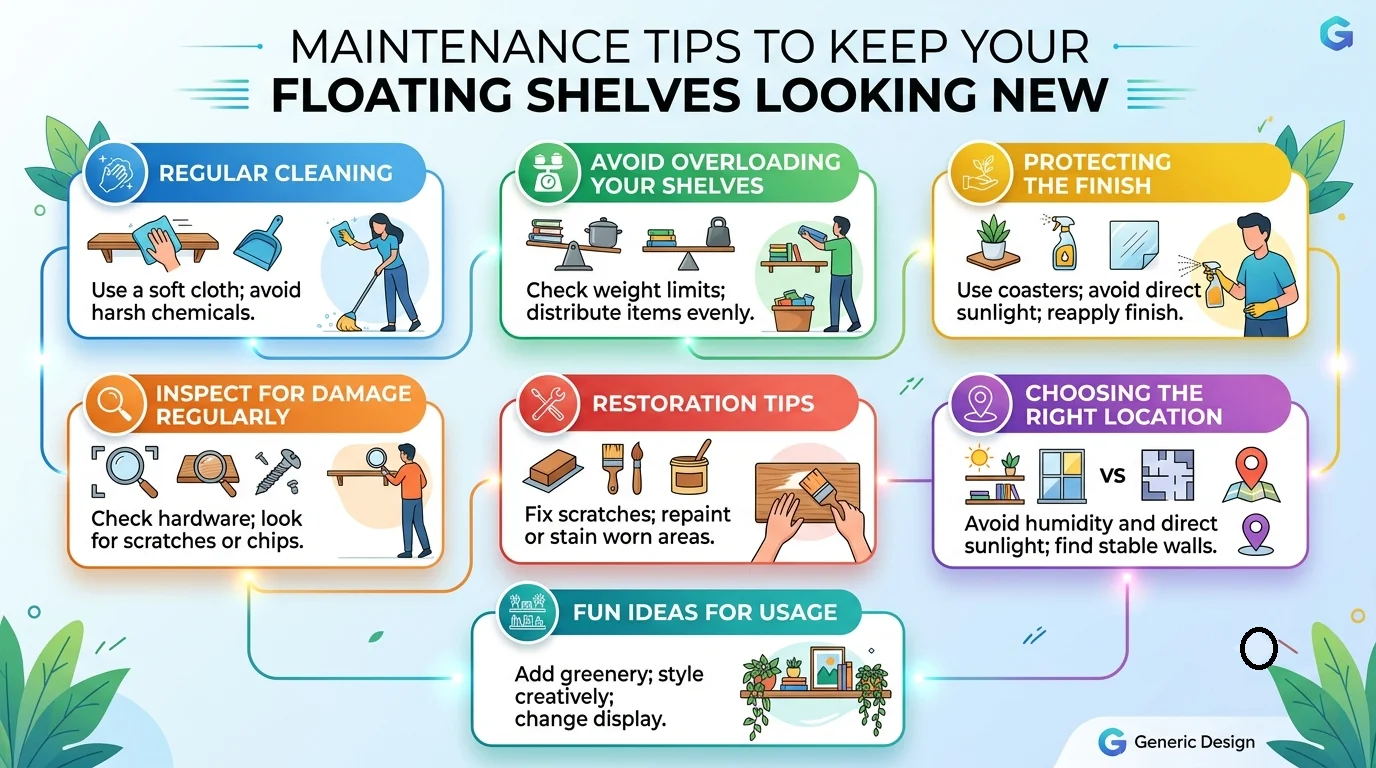
Floating shelves can add both style and functionality to your space. They are a great way to display books, plants, and decorative items. However, like any other piece of furniture, they require regular maintenance to keep them looking their best. Here are some simple tips to help you maintain your floating shelves and ensure they continue to enhance your home.
Regular Cleaning
Keeping your floating shelves clean is essential for maintaining their appearance. Dust and dirt can accumulate quickly, especially if the shelves are located in high-traffic areas. To keep your shelves looking new, follow these cleaning steps:
- Use a soft microfiber cloth to gently wipe the surface of the shelves.
- For stubborn spots, mix a few drops of dish soap with warm water and apply it with a damp cloth.
- Dry the shelf immediately with a clean, dry cloth to prevent any moisture damage.
Avoid Overloading Your Shelves
While it might be tempting to place heavy items on your floating shelves, overloading them can lead to damage. Here are some guidelines to help you avoid this:
- Check the manufacturer’s weight limit for your specific shelves.
- Use lighter decorative items or books that won’t put too much strain on the shelves.
- Rearrange items regularly to balance the weight and prevent sagging.
Protecting the Finish
Whether your floating shelves are made of wood, laminate, or any other material, protecting the finish is crucial. Over time, sunlight, moisture, and general wear can damage the surface. Here’s how you can protect it:
- Avoid placing items directly in sunlight to prevent fading.
- Use coasters under plants or vases to catch excess water.
- Consider applying a sealant or wood conditioner periodically if the shelves are made of natural wood.
Inspect for Damage Regularly
Regular inspections can help you catch any damages before they become serious issues. Things to check include:
- Supports: Ensure that brackets and hardware are securely attached.
- Surface: Look for scratches, chips, or discoloration.
- Weight Distribution: Make sure items are evenly distributed to prevent sagging.
Restoration Tips
If your floating shelves show signs of wear and tear, consider doing some minor restoration:
- For scratches, touch up with matching wood finish or paint.
- If your shelves are made of wood, sanding and refinishing might be needed for deep gouges.
- For painted shelves, consider repainting or touching up areas with a similar color.
Choosing the Right Location
The location of your floating shelves plays a significant role in how often they need maintenance. For instance, placing them far from heat sources or areas prone to moisture can extend their life. Consider the following:
- Avoid kitchens and bathrooms where humidity can cause issues.
- Install shelves away from direct sunlight or air conditioning vents.
Fun Ideas for Usage
Floating shelves can also become an attractive feature in your home with the right styling choices. Consider the following tips to enhance their appearance:
- Mix and match different heights of items to create visual interest.
- Add greenery with small planters or succulents for a fresh look.
- Use decorative boxes or baskets for added organization.
By following these maintenance tips, you can ensure your floating shelves remain a stunning and functional addition to your home for years to come. For more tips on home decor and shelving, check out Home and Garden and Houzz for inspiration.
Conclusion
Successfully building and installing floating shelves can transform your space, adding both functionality and aesthetic appeal. With a detailed guide that takes you through the process step by step, you can create stunning shelves that suit any room in your home. By gathering the essential tools and materials beforehand, you streamline the construction process, making it more enjoyable and efficient.
Exploring creative design ideas allows you to personalize your shelves, ensuring they fit your style while maximizing storage. Whether you opt for sleek modern lines or rustic charm, there’s a perfect floating shelf concept for every environment. Awareness of common mistakes helps you avoid potential pitfalls, ensuring your project runs smoothly and the result is as beautiful as you envisioned.
Maintaining your floating shelves is the final piece of the puzzle. Regular upkeep is crucial to keep them looking fresh and new, enhancing the beauty of your home for years to come. By following the tips outlined in this guide, you not only build shelves that are practical but also invest in a lasting element of your décor.
Whether you are an experienced DIYer or just starting out, these floating shelf plans equip you with the knowledge and creativity to take on this satisfying project. Embrace your DIY journey, and enjoy the pride that comes from crafting something uniquely yours. Happy building!