 ATTENTION: World's Largest Collection of 16,000 Woodworking Plans!
Stop struggling with incomplete plans that waste your time and money!
Step-by-step instructions that make woodworking super easy, even for beginners
Detailed schematics, cutting lists, and materials lists for every project
Get new plans monthly for life - no recurring fees or hidden costs
Request custom plans for your unique projects at no extra charge
Get 4 valuable bonuses including woodworking guides and business tips
GET INSTANT ACCESS NOW!
ATTENTION: World's Largest Collection of 16,000 Woodworking Plans!
Stop struggling with incomplete plans that waste your time and money!
Step-by-step instructions that make woodworking super easy, even for beginners
Detailed schematics, cutting lists, and materials lists for every project
Get new plans monthly for life - no recurring fees or hidden costs
Request custom plans for your unique projects at no extra charge
Get 4 valuable bonuses including woodworking guides and business tips
GET INSTANT ACCESS NOW!
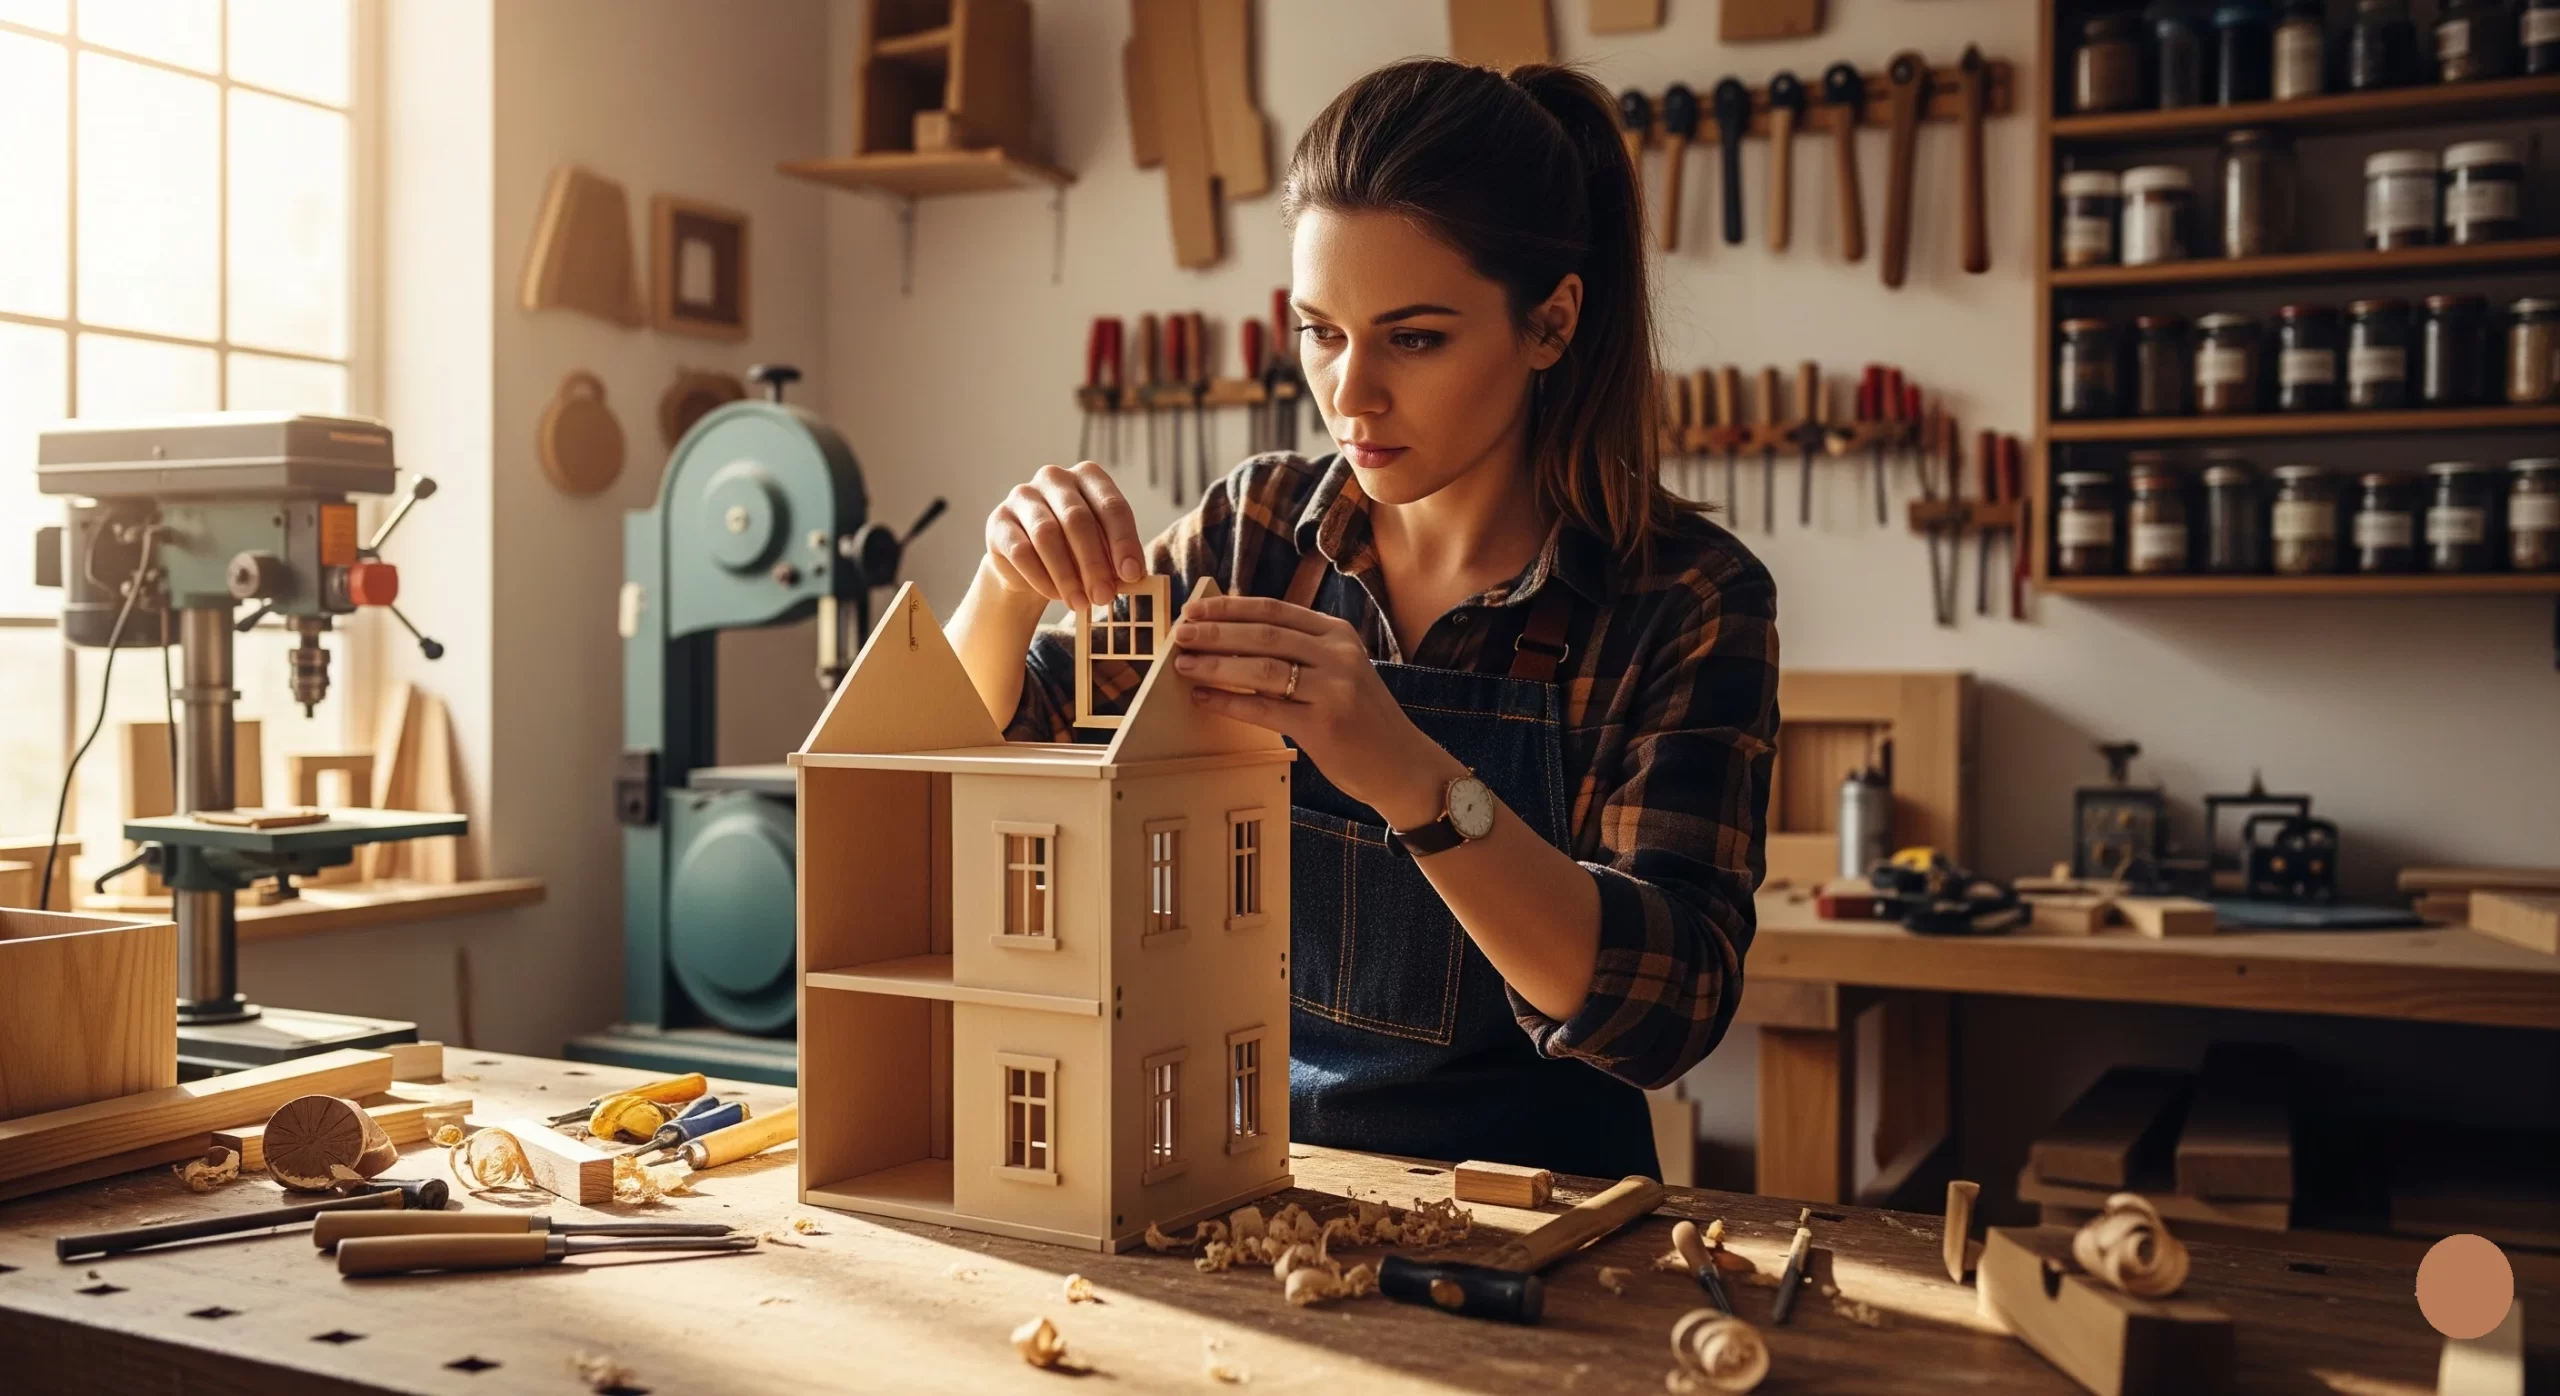
Diving into the world of dollhouse woodworking is an exciting adventure, especially when exploring the various dollhouse available. Whether you’re a seasoned woodworker or a curious beginner, having the right tools and materials can greatly influence the quality of your project. Let’s explore what you’ll need to bring your dollhouse designs to life.
Essential Tools for Dollhouse Woodworking
When it comes to dollhouse woodworking, the right tools can make all the difference. Here’s a list of essential tools to have in your workshop:
- Table Saw: Ideal for making straight cuts on large pieces of wood or plywood.
- Router: Perfect for adding decorative edges or making grooves and dados.
- Drill: A must-have for making holes for screws, hinges, and dowels.
- Jigsaw: Useful for cutting curves and intricate shapes in wood.
- Sander: Essential for smoothing surfaces before finishing.
- Clamps: These hold pieces securely together while the glue dries.
- Measuring Tools: A tape measure and square will help ensure precise cuts and alignments.
Materials Needed for Your Dollhouse
Choosing the right materials is as important as having the right tools. Below is a selection of materials commonly used in dollhouse woodworking:
- Plywood: A favored choice for the main structure due to its durability and ease of use.
- Wood Glue: Provides a strong bond for joining pieces together.
- Paint and Stain: Used for finishing the dollhouse and adding color.
- Faux Finish Materials: Create textures like brick or stone for a more realistic appearance.
- Hardware: Screws, hinges, and handles that add functionality and style.
Planning Your Dollhouse Design
Before embarking on your project, it’s crucial to have a clear plan. Here are steps you can follow to create an effective woodworking plan for your dollhouse:
- Choose a Style: From classic Victorian to modern, your dollhouse style will guide your design choices.
- Sketch a Blueprint: Draw your design to visualize the layout of rooms and features.
- Select Dimensions: Decide on the scale of your dollhouse and each room to ensure consistency.
- Materials List: Create a comprehensive list of all materials you will need.
Tips to Enhance Your Dollhouse Project
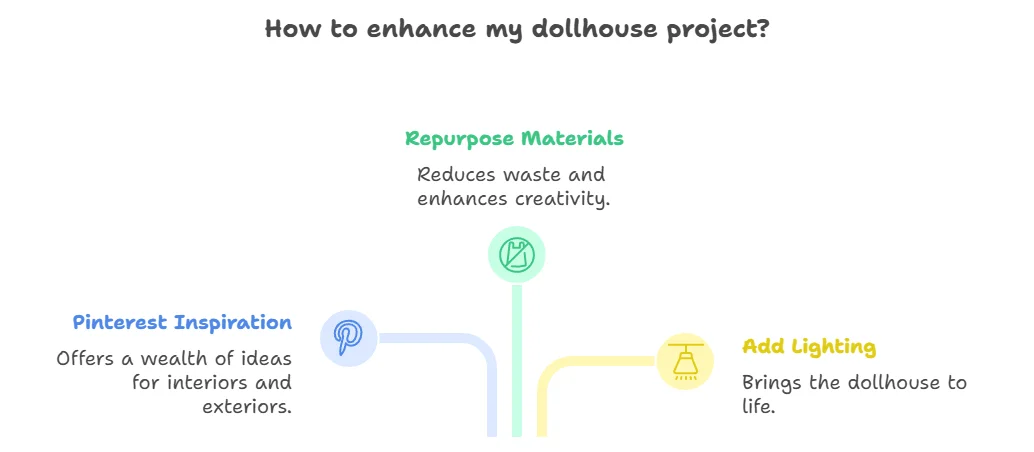
Small details can really elevate your dollhouse. Here are a few tips to consider:
- Use real-life Pinterest boards for inspiration. They offer a wealth of ideas for interiors and exteriors.
- Repurpose materials whenever possible; this not only reduces waste but also enhances creativity.
- Consider adding lighting to your dollhouse to bring it to life.
Where to Find Dollhouse Woodworking Plans
If you’re looking for inspiration and detailed **Dollhouse Woodworking Plans**, there are several websites dedicated to dollhouse construction. A few recommended sources include:
- Dollhouse Universe: Offers a variety of plans and kits for all levels.
- Wood Magazine: Provides detailed articles and DIY plans for woodworking projects.
Engaging in dollhouse woodworking can be a rewarding activity, merging creativity with craftsmanship. By equipping yourself with the right tools and materials and following structured Dollhouse, you’ll be well on your way to creating something truly special. So gather your supplies, roll up your sleeves, and let your imagination guide you in building a dollhouse that will delight for generations.
Step-by-Step Guide to Building Your First Dollhouse
Building your first dollhouse can be an exciting and rewarding project. With careful planning and creativity, you can create a beautiful miniature home that can be cherished for years. Follow this step-by-step guide to help you through the building process with ease and confidence.
Gather Your Materials
To begin, it’s important to gather all the necessary materials. Here’s a list of what you’ll need:
- Plywood or MDF sheets for the structure
- A saw for cutting the wood
- A drill for assembly
- Wood glue and screws for securing the pieces
- Paint and brushes for finishing
- Sandpaper for smoothing edges
- Decorative elements like wallpaper, furniture, and accessories
Choose Your Dollhouse Plans
Before you start building, you need to find **Dollhouse Woodworking Plans** that suit your style and skills. Look for plans that include:
- Clear dimensions and specifications
- A list of materials
- Step-by-step instructions
Building the Structure
Once you have your plans, mark the dimensions on your plywood or MDF sheets. Use a saw to cut out the walls, floors, and roof pieces. Make sure to:
- Double-check all measurements to ensure a snug fit.
- Smooth the edges with sandpaper to avoid splinters.
Next, assemble the walls and floors. Start by connecting the base to the walls using wood glue and screws. Be sure to let the glue dry completely before moving on.
Add Details to the Dollhouse
With the structure complete, it’s time to add details that make your dollhouse unique. Consider these options:
- Painting the exterior and interior in your chosen colors.
- Applying wallpaper to the walls for a touch of elegance.
- Creating wood floors using thin strips of wood or patterned paper.
You can buy miniature furniture or even make your own. Websites like Miniatures.com offer a wide variety of options.
Final Touches
After you have added furniture and decorations, take a step back to evaluate your work. Check for any rough edges, unsightly glue spots, or paint smudges. Touch these up for a polished final look. You might also want to:
- Add curtains on windows made from fabric.
- Install lighting to enhance the atmosphere.
- Place outdoor elements like a tiny garden or path.
Show Off Your Dollhouse
Once you’re satisfied with your dollhouse masterpiece, it’s time to display it! Choose a space in your home where it can shine, or consider gifting it to a child or friend. A well-built dollhouse can become a cherished part of family memories.
Get Inspired
Don’t hesitate to seek inspiration from online communities or social media. Platforms like Pinterest or Instagram are full of creative ideas for dollhouses. You can join forums or groups dedicated to dollhouse building to share your progress and gain valuable feedback.
Helpful Resources
If you want to dive deeper into dollhouse woodworking, check out more tutorials and guides online. Websites like Woodworkers Guild of America offer countless tips and tricks. Additionally, Dollhouses and More provides a vast selection of kits and plans which might inspire your next project.
Creative Design Ideas for Custom Dollhouses
Dollhouse Woodworking Plans are an exciting way to bring your creative vision to life. Designing a custom dollhouse allows you to let your imagination run wild. It also gives you the opportunity to create a one-of-a-kind piece that can be cherished for generations. Here are some innovative design ideas to inspire your next dollhouse project.
Choose a Theme
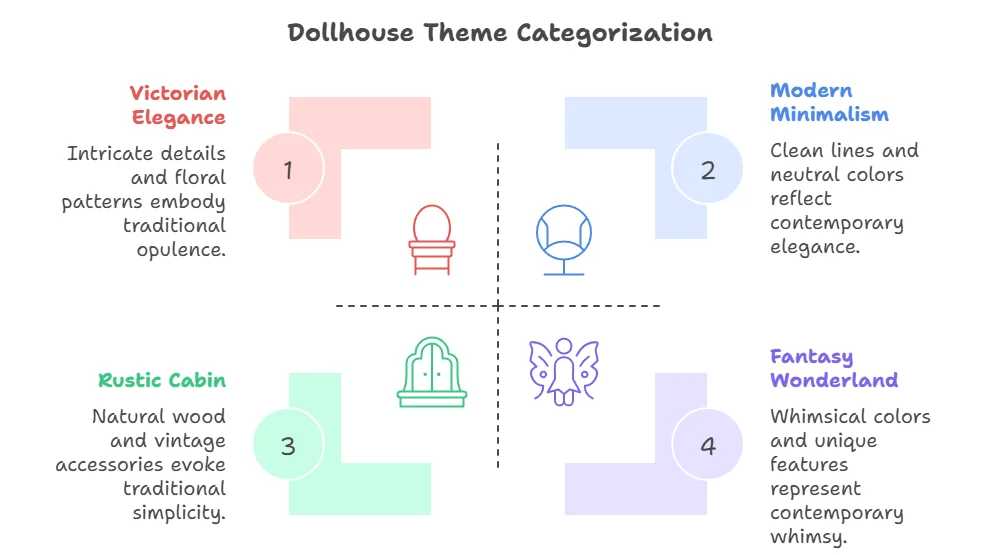
Selecting a theme for your dollhouse is an essential first step. It can guide your color palette, furniture styles, and décor choices. Here are some popular themes to consider:
- Victorian Elegance: Incorporate intricate details, floral patterns, and ornate furnishings.
- Modern Minimalism: Opt for clean lines, neutral colors, and simple furniture.
- Rustic Cabin: Use natural wood finishes, plaid fabrics, and vintage accessories.
- Fantasy Wonderland: Explore whimsical colors, fairy-tale accessories, and unique architectural features.
Opt for Unique Architectural Features
Think about how to make your dollhouse stand out. Custom architectural features can add depth and interest. Here are some ideas:
- Window Boxes: Add small boxes beneath windows filled with miniature flowers for a cozy touch.
- Porches: Include front porches or balconies for a charming outdoor space.
- Chimneys: Create a small chimney using realistic materials to enhance the dollhouse’s exterior.
- Roof Designs: Experiment with different roof styles, such as gabled or hexagonal roofs.
Furniture Customization
Your dollhouse furniture can be a reflection of your creativity. Consider the following strategies for crafting or customizing pieces:
- Upcycled Materials: Repurpose old items like buttons or cardboard boxes to create unique furniture pieces.
- Personal Touch: Paint or stain the furniture to fit your color scheme.
- Mix and Match: Use different materials for a varied look, from wood to metal elements.
Diverse Room Designs
Each room in your dollhouse should feel unique. Think about the purpose of each space and design accordingly:
- Kitchen: Include miniature appliances, like a tiny stove or refrigerator.
- Living Room: Use small textiles for rugs and curtains to create an inviting atmosphere.
- Bathroom: Craft tiny sinks and bathtubs from simple materials.
- Bedroom: Create a cozy bedroom with beds made from fabric and wood.
Flooring Options
Flooring can dramatically change the look of each room in your dollhouse. Here are some flooring ideas:
| Room | Flooring Ideas |
|---|---|
| Kitchen | Tile Patterns (paper or paint) |
| Living Room | Hardwood (stickers or paint) |
| Bathroom | Vinyl (glossy paper) |
| Bedroom | Carpet (fabric remnants) |

Lighting Solutions
Good lighting can enhance the mood of your dollhouse. Consider these options:
- LED Strips: These can be placed under shelves or along walls for a warm glow.
- Miniature Lamps: You can build or buy tiny lamps to place strategically in each room.
- Natural Light: Ensure windows are strategically placed for maximum light exposure during the day.
Common Challenges in Dollhouse Woodworking and How to Overcome Them
Woodworking can be a rewarding hobby, especially when you create something as intricate as a dollhouse. Yet, even the most experienced woodworkers encounter challenges along the way. Understanding these common hurdles will help you navigate your next project smoothly, allowing you to focus on enjoying the crafting process.
One key challenge in Dollhouse Woodworking is scale accuracy
Straying from the dimensions of your plan can result in parts that don’t fit together properly, negatively affecting the overall look of your dollhouse. To tackle this issue, always double-check your measurements before cutting any wood. You might also invest in a scale ruler to ensure every element matches the intended design.
Another frequent obstacle is working with small pieces.
Dollhouse projects often require precise cuts, and handling tiny wood segments can be tricky. To manage this, use specialized tools like a jeweler’s saw or a micro-saw, which can improve your precision and minimize the risk of damaging delicate components. Keep your workspace organized; an uncluttered environment will help you maintain control over small pieces.
Behave unexpectedly
Different types of wood can behave in unexpected ways, especially when it comes to gluing and finishing. Some woods absorb glue differently, leading to weak joints. To avoid this, experiment with various adhesives before committing to your entire project. Waterproof PVA glue is generally a good choice to provide strong bonds. Additionally, test paint and finishes on scrap wood; you’ll want to ensure the final look matches your vision without affecting the wood’s integrity.
Complications
Working with intricate designs can lead to complications as well. You may find that detailed features require more finesse than larger-scale woodworking projects. When creating details such as doors, windows, or railings, consider using templates or stencils to guide your cuts. This not only saves time but also enhances the accuracy of your work.
Time management
Time management can also pose a significant challenge. Crafting a dollhouse is a commitment, and it can be easy to lose track of time during a project. To stay on course, establish a schedule or set milestones. Break the project into manageable parts, such as completing the basic structure first, then tackling detailing layers, and finally focusing on assembly and finishing. This keeps you motivated and helps avoid frustration.
Finishing techniques
Finishing techniques can create more challenges than anticipated. Applying paint or stain can affect the final appearance significantly, so layering and drying times must be closely monitored. Always allow plenty of time for each coat to dry before applying the next. To achieve a polished finish, sanding between coats is advisable to ensure a smooth surface, free of imperfections.
Consider this list of tips to navigate some common dollhouse woodworking challenges:
- Check Measurements: Double-check dimensions using a scale ruler.
- Use Appropriate Tools: Invest in specialty saws for precise cuts.
- Test Materials: Experiment with glue and finishes on scrap wood.
- Establish Milestones: Break the project into manageable parts for time management.
- Seek Resources: Refer to helpful websites for plans and inspiration.
Enhancing Your Dollhouse with DIY Furniture and Accessories
Making your dollhouse feel special and unique can be a delightful experience. By adding DIY furniture and accessories, you can truly personalize each room. Crafting your own items allows for creativity and gives your dollhouse character. Below are some effective ways to add life to your dollhouse with homemade furniture and charming accessories.
Choosing the Right Materials
When embarking on your dollhouse furnishing journey, selecting the proper materials is crucial. Here are some popular options:
- Wood: Great for sturdiness, wood can be used to create durable furniture pieces.
- Cardboard: This is a cost-effective choice for lightweight furniture.
- Fabric: Use scrap fabric for upholstery or curtains to provide a cozy touch.
- Plastic: Recycled plastic items can be transformed into funky furniture.
Creating Furniture
Building furniture for your dollhouse can be a fulfilling project. Here are some steps and ideas to get you started:
1. Basic Furniture Ideas
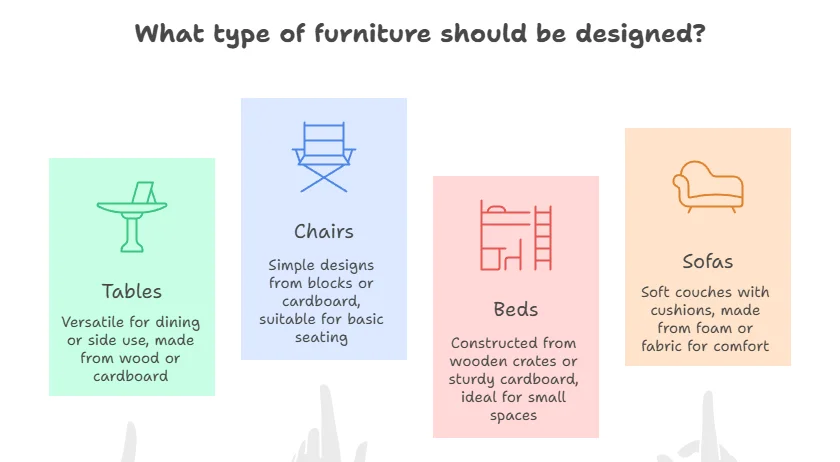
Begin with basic shapes. Here are a few furniture ideas to consider:
- Tables: Create different styles—like dining tables or side tables using wood or cardboard.
- Chairs: Simple chairs can be made from blocks or cardboard folded into the desired shape.
- Beds: Use a small wooden crate or sturdy cardboard to construct beds.
- Sofas: Use foam or fabric to make soft couches, adding cushions for extra comfort.
2. Advanced Furniture Projects
If you’re feeling more adventurous, try these advanced projects:
- Dressers: Build a drawer structure from wood and paint it for added flair.
- Bookshelves: Stack small wooden pieces in a rectangular shape to create a display for miniature books.
Adding Accessories
Accessories play a big role in enhancing the charm of your dollhouse. Consider these simple DIY ideas:
1. Decorative Items
Handmade decor can add character. Here are some favorites:
- Wall Art: Use tiny canvases or scrapbook paper to make paintings.
- Rugs: Use felt or leftover fabric to create colorful area rugs.
- Lamps: Recycle bottle caps to form lampshades and add tiny LED lights.
2. Kitchen Accessories
Your dollhouse kitchen deserves special touches. Ideas include:
- Dishes: Use beads or small stones as miniature plates.
- Utensils: Get creative with toothpicks for forks and spoons.
Inspiration and Resources
Finding inspiration is key to your DIY projects. Here are a few websites that offer great tips and resources:
- Dollhouse World – A hub for dollhouse enthusiasts filled with plans and inspiration.
- Dollhouse Junkie – Offers creative ideas and tutorials for dollhouse accessories.
- My Dollhouse Shop – A fantastic source for supplies, kits, and DIY ideas.
Planning Your Project
Before starting, plan out what you want to create. Sketch your ideas and list the materials you need. Having a plan keeps you organized and on track. You can even create a timeline, adding small tasks to work on each day. Remember that the most important part of enhancing your dollhouse is to have fun! Engage in this craft at your own pace, explore different styles, and give your dollhouse a beautiful personalized touch. The joy of creating your own furniture and accessories will be reflected in the charming spaces you build.
Conclusion
Building a dollhouse from Dollhouse Woodworking Plans can be an incredibly rewarding project for both beginners and seasoned woodworkers. By gathering the right tools and materials, you set the foundation for a successful build. Taking the time to follow a step-by-step guide will help you navigate the process efficiently, ensuring that every piece fits perfectly into your vision.
Your creativity shines through as you explore design ideas; whether you prefer a classic Victorian style or something more modern, the possibilities are endless. Customizing your dollhouse with unique designs offers a special touch that will make your creation truly one-of-a-kind.
Throughout your journey, challenges may arise, but don’t let them discourage you. Common issues like misaligned pieces or paint blemishes can be easily solved with proactive strategies and a little patience. The key is to stay focused on your end goal and remember that every builder has faced obstacles along the way.
Completing your dollhouse opens the door to even more creative pursuits. Crafting DIY furniture and accessories not only enhances the aesthetic but also adds a personal flair that showcases your dedication to the craft.
This entire experience—from planning to building and personalizing—is about more than just creating a dollhouse; it’s about learning, expressing your creativity, and enjoying the process. So grab your tools, choose your plans, and start building a dollhouse that will bring joy for years to come.