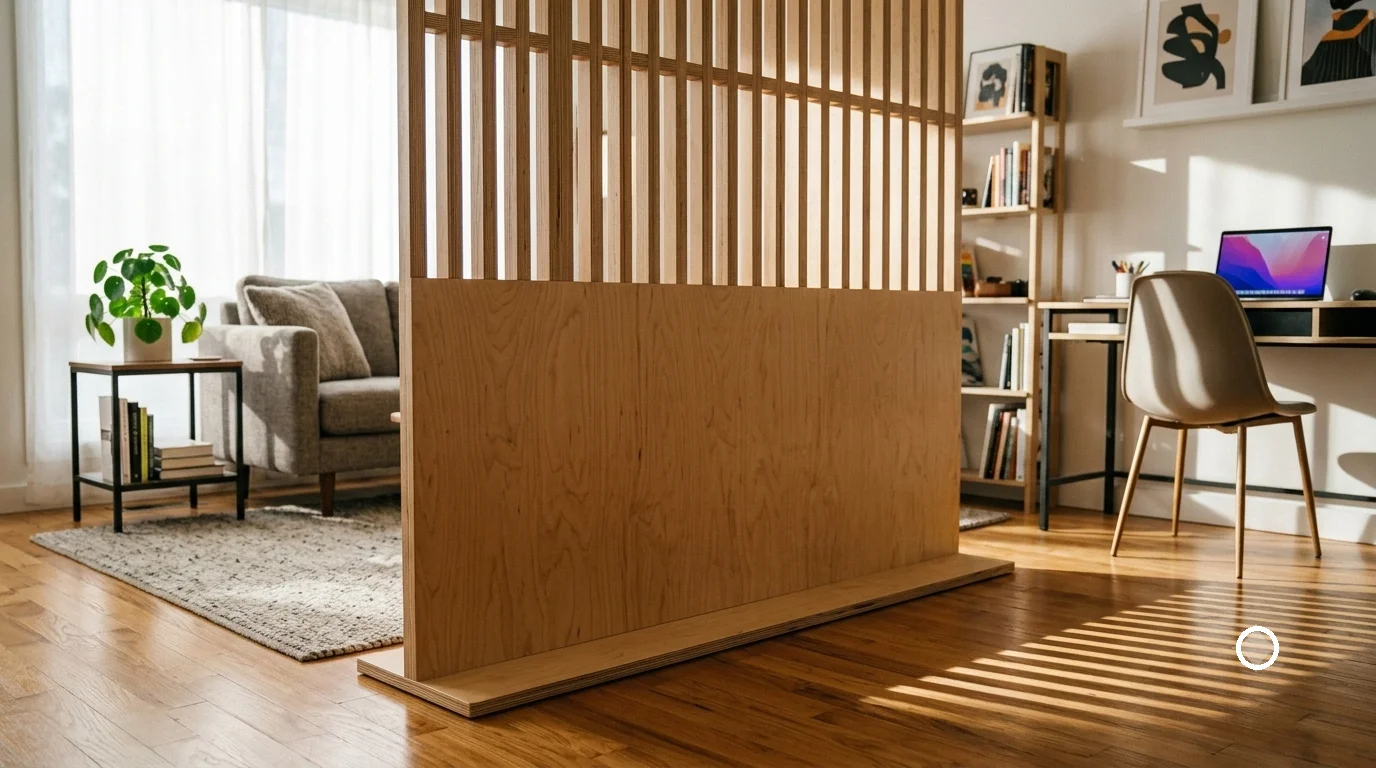
A complete, design-forward guide to building a freestanding room divider that adds privacy, structure, and serious visual interest — all from one affordable sheet material.
Open floor plans get a lot of love in real estate listings, but anyone who’s actually lived in one knows the trade-off: a single large room often means a home office bleeding into a living room, a dining area with no visual boundary from the entryway, or a studio apartment where the bed feels like it’s on display the moment you open the front door. A wall is the obvious fix, but walls are permanent, expensive, and often impossible in a rental. A DIY wooden room divider using plywood solves the same problem with none of those drawbacks — and does it with a lot more design personality than a generic folding screen from a big-box store.
Plywood is, somewhat surprisingly, one of the best materials available for this project. It’s affordable, available in large uniform sheets that eliminate the need for seams, and — this is the part most people don’t expect — genuinely stunning when the layers of a cut edge are left exposed and sealed rather than hidden. That striped, laminated edge has become a legitimate design signature in its own right, showing up in galleries, boutique hotels, and design-forward homes precisely because it turns a humble building material into a visual feature.
This guide covers the full process: why plywood outperforms other divider materials, how to choose a style and pattern that suits your space, the tools and techniques involved, and a complete narrative walkthrough of the build itself — from raw sheet to finished, freestanding piece. Whether you want a solid privacy screen or an airy, geometric partition that filters light without blocking it, you’ll come away with everything you need to build it yourself.
Why Plywood Is the Ideal Room Divider Material
Before getting into design and construction, it’s worth understanding exactly why DIY wooden room divider using plywood projects have become so popular among both renters and homeowners alike.
- Large, seamless panels — a single 4×8 sheet gives you an enormous continuous surface, eliminating the visible seams that plague dividers built from narrower boards
- Genuinely affordable at scale — even a large, floor-to-ceiling divider typically uses just one or two sheets, keeping material costs remarkably low for the visual impact delivered
- Lightweight enough to be freestanding or movable — unlike a stud wall, a plywood divider on a simple base can be repositioned or removed entirely, ideal for renters or anyone who wants flexibility
- Beautiful exposed edges — the layered look of a plywood edge, once sanded and sealed, has become a sought-after aesthetic detail rather than something to hide
- Endlessly customizable with cutouts and patterns — plywood is easy to cut into geometric patterns, slatted designs, or organic shapes using basic tools, something far harder to achieve with solid lumber
The result is a divider that feels custom-designed rather than store-bought, at a price point that makes the whole project feel almost impulsive in the best way.
Choosing the Right Plywood and Design Style
The specific plywood you choose, along with the overall design direction, will define the entire character of your finished divider. This is worth thinking through carefully before any cutting begins.
Selecting Your Plywood
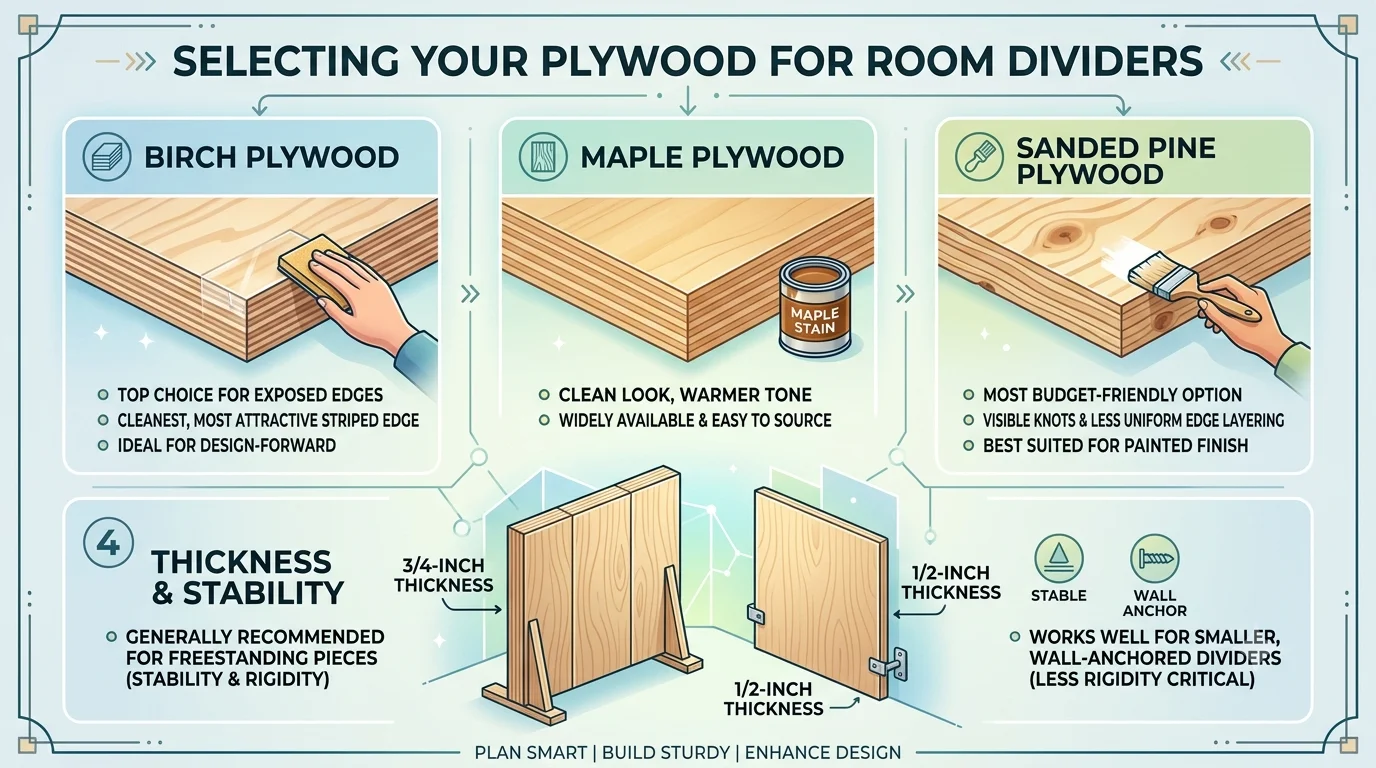
- Birch plywood is the top choice for dividers where the exposed edge will be a visible design feature — its tight, consistent layers create the cleanest, most attractive striped edge when sanded and sealed
- Maple plywood offers a similar clean look with a slightly warmer tone, widely available and easy to source
- Sanded pine plywood is the most budget-friendly option, though its more visible knots and less uniform edge layering make it better suited to a painted finish than an exposed-edge design
- 3/4-inch thickness is generally recommended for stability in a freestanding piece, though 1/2-inch can work well for smaller, wall-anchored dividers where rigidity is less critical
The APA – The Engineered Wood Association publishes detailed grading standards that are genuinely useful for understanding what you’re buying, particularly the difference between interior and exterior-rated panels if your divider might be exposed to a sunroom or covered patio environment.
Choosing a Design Direction
One of the most exciting parts of this project is how many distinct looks are achievable from the same base material:
- Slatted vertical panels — narrow strips of plywood mounted with even gaps between them, allowing light and airflow through while still creating a strong visual boundary
- Geometric cutout pattern — a solid panel with a repeating shape (hexagons, arches, or diamonds) cut through it, casting beautiful shadow patterns as light passes through
- Solid panel with exposed plywood edge trim — the simplest build, relying on the striped edge detail and a great finish to carry the visual interest
- Curved or arched top panels — a softer silhouette that reads more organic and less like a straight partition wall
- Modular folding screen — multiple hinged panels that can be angled, folded flat for storage, or reconfigured as your space changes
Planning Your Divider’s Dimensions
Getting the size right is just as important here as with any furniture build, arguably more so, since a room divider directly shapes how a space is used and moved through.
Height Considerations
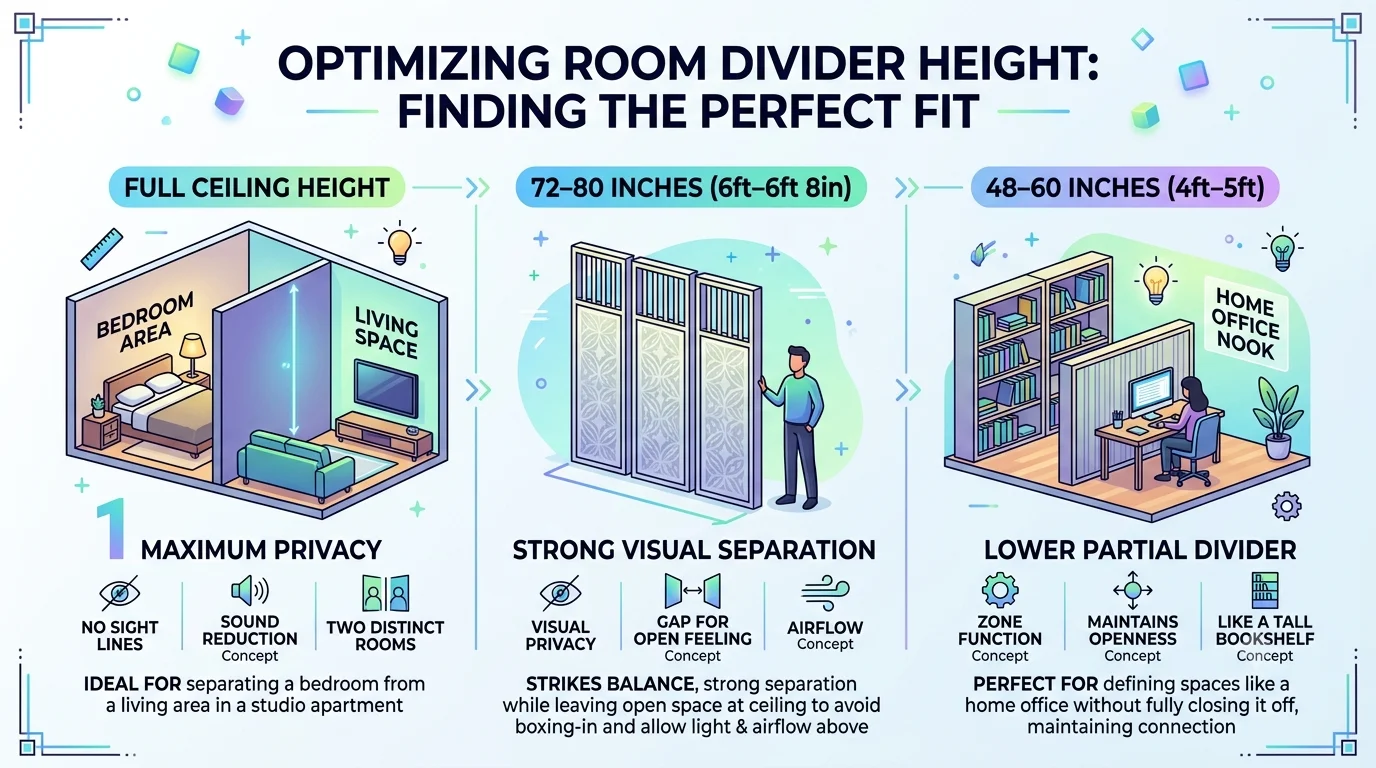
- Full ceiling height creates maximum privacy and the strongest sense of two distinct rooms, ideal for separating a bedroom area from a living space in a studio
- 72–80 inches offers strong visual separation while leaving a gap of open space near the ceiling, keeping the room from feeling boxed in and allowing light and airflow to move freely above the divider
- 48–60 inches works well as a lower partial divider, ideal for separating a home office nook without fully closing it off, similar in feel to a tall bookshelf
Width and Footprint
Measure the span you actually need to divide, but also consider building slightly wider than the minimum if the divider will be freestanding, since additional width often improves stability without needing a bulky base. For freestanding designs, a stable base — either a simple wood foot at each end or a full-length base plate — typically needs to extend at least 12 to 16 inches perpendicular to the panel to prevent tipping.
Tools and Materials Checklist
This project is very achievable with a modest home tool collection, and the technique demands are similar to other plywood furniture builds.
Tools
- Circular saw or track saw for breaking down the sheet and cutting straight panel edges
- Jigsaw for any geometric cutout patterns or curved details
- Drill/driver for assembly and base attachment
- Random orbital sander with 120, 180, and 220-grit sandpaper
- Straightedge guide for clean, accurate long cuts
- Tape measure, square, and pencil for layout
- Clamps for holding panels during base assembly
Materials
- One to two sheets of 3/4-inch furniture-grade plywood, depending on divider size
- Solid wood or additional plywood for the base or feet
- Wood glue rated for furniture use
- Screws or hinges, depending on freestanding vs. folding design
- Sandpaper through at least 220-grit
- Wood stain, paint, or clear finish depending on your design direction
- Optional: piano hinges for a multi-panel folding screen
Building the Divider: A Natural Walkthrough
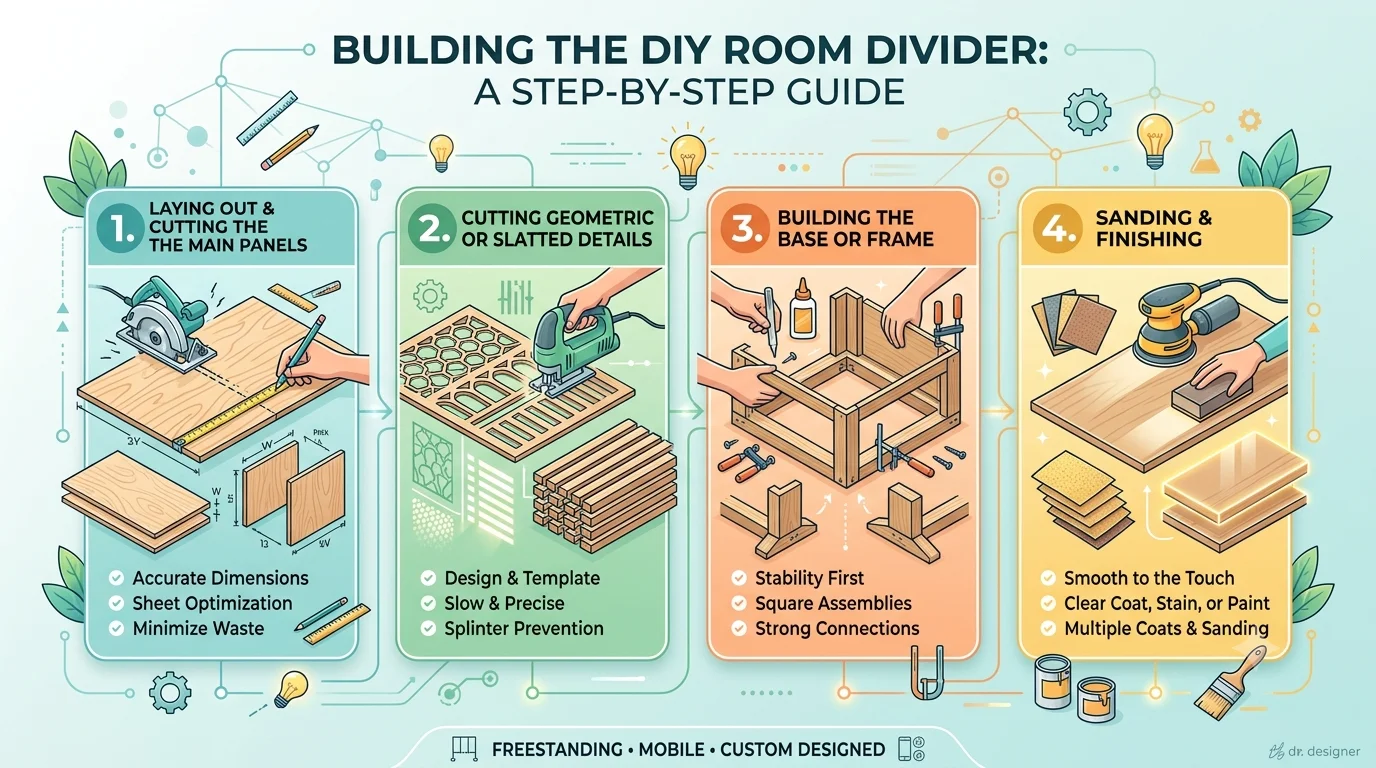
With your design and dimensions settled, here’s how the actual build comes together, moving from raw sheet material to a finished, freestanding piece.
Laying Out and Cutting the Main Panels
Begin by marking your full panel dimensions directly on the plywood sheet, accounting for the width of your saw blade between cuts. For a slatted design, this is also the stage to mark even strip widths across the sheet — a consistent spacer width, both for the slats themselves and the gaps between them, creates the clean, intentional rhythm that separates a polished divider from an uneven, homemade-looking one.
For a solid panel with a geometric cutout, sketch or template your pattern directly onto the plywood face before cutting, checking that the design is centered and evenly spaced across the panel. Painter’s tape along cut lines helps minimize splintering on the visible face, particularly important on a piece that will be viewed from both sides.
Cutting Geometric or Slatted Details
If your design includes cutout shapes, drill a starter hole inside each shape large enough to insert your jigsaw blade, then cut carefully along your marked lines, working slowly through curves and corners. For slatted designs, cut each strip to identical width using a consistent fence or guide setup on your saw, since even small width inconsistencies become very noticeable once the slats are mounted side by side.
Sand all cut edges smooth at this stage, before assembly, since it’s far easier to get full access to every edge while the pieces are still separate.
Building the Base or Frame
For a freestanding solid panel, build a simple base from solid wood or a doubled-up plywood foot, wide enough to provide genuine tip resistance for the panel’s height. Attach this base using glue and screws driven up through the base into the bottom edge of the panel, reinforced with a corner bracket or two for extra security on taller designs.
For a slatted design, the slats typically get attached to a simple top and bottom rail, evenly spaced using a consistent spacer block as you work across the width, then the whole assembled frame is attached to a stabilizing base in the same way as a solid panel.
If you’re building a folding, multi-panel screen instead, this is the stage to attach piano hinges along the vertical edges of each panel, allowing the sections to fold and angle for both use and storage.
Sanding and Finishing
Give the entire piece a final sanding pass through 120, 180, and 220-grit, paying close attention to any exposed plywood edges you plan to leave visible as a design feature — these benefit from extra care to ensure the layered edge reads as clean and intentional rather than rough.
From here, your finish options shape the entire mood of the piece:
- Clear coat or matte polyurethane preserves the natural plywood face and highlights the striped edge detail, ideal if you want the material itself to be the star
- Bold paint color transforms a simple slatted or geometric panel into a genuine art piece, particularly striking against a neutral wall
- Natural wood stain deepens the grain for a warmer, more traditional look, especially effective on a solid panel design
- Two-tone treatment — painting the face while leaving the edges natural and sealed clear creates striking contrast and draws attention to the plywood’s layered structure
For guidance on achieving a smooth, even clear coat that won’t yellow the natural plywood tone over time, the This Old House finishing guide offers reliable, practical techniques worth reviewing before your final coat.
Creative Variations Worth Exploring
Once you’re comfortable with the core technique, there’s enormous room to make the design distinctly your own:
- Backlit cutout panel — mounting LED strip lighting behind a geometric cutout design creates a striking evening glow effect
- Living plant integration — small built-in shelf ledges along the divider’s face for trailing plants, softening the geometry with organic texture
- Mixed material accents — combining plywood with black metal framing or brass inlay strips for a more elevated, boutique feel
- Asymmetrical cutout pattern — rather than a uniform repeating shape, a loosely scattered, organic cutout pattern reads as more artistic and less rigidly geometric
- Ceiling-track sliding panel — mounting the divider on a sliding track rather than a floor base allows it to glide open and closed like a barn door, ideal for spaces that need flexible, on-demand division
Styling a Room Around Your New Divider
The divider itself is only part of the transformation — how you style the space around it determines whether the room reads as thoughtfully zoned or awkwardly split.
- Anchor each side with its own rug — a distinct rug on either side of the divider reinforces the sense of two separate zones, even in an open floor plan
- Match lighting to each zone’s purpose — a task lamp on the office side, softer ambient lighting on the living side
- Keep furniture oriented toward its zone — avoid furniture that straddles the divider’s sightline, which undermines the sense of separation it’s meant to create
- Let the divider’s finish guide your palette — a natural wood-toned divider pairs beautifully with warm, earthy accents on both sides for visual cohesion
- Use plants to soften the transition — a tall plant near one end of the divider helps it feel like an integrated design element rather than an inserted partition
Caring for Your Wooden Room Divider
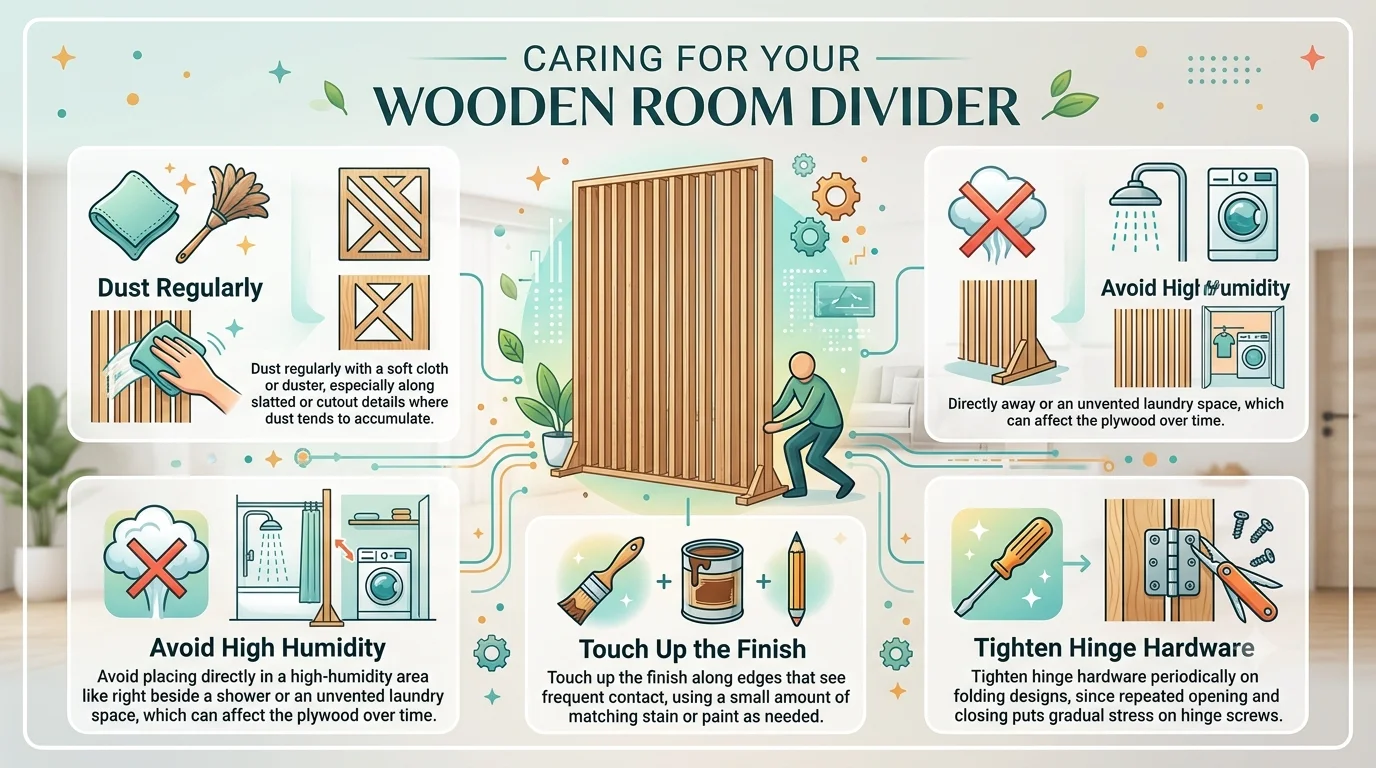
A well-built plywood divider is genuinely low-maintenance, but a few habits keep it looking sharp over time:
- Dust regularly with a soft cloth or duster, especially along slatted or cutout details where dust tends to accumulate
- Check base stability periodically, particularly if the divider is freestanding and gets bumped or leaned on occasionally
- Avoid placing directly in a high-humidity area like right beside a shower or an unvented laundry space, which can affect the plywood over time
- Touch up the finish along edges that see frequent contact, using a small amount of matching stain or paint as needed
- Tighten hinge hardware periodically on folding designs, since repeated opening and closing puts gradual stress on hinge screws
Frequently Asked Questions
Will a plywood room divider actually block sound and light effectively?
A solid panel design provides meaningful visual privacy and a moderate sound buffer, though it won’t match a full stud wall’s sound isolation. A slatted or cutout design intentionally trades some visual privacy for better light and airflow, which many people find preferable in shared living spaces.
Is this a good project for renters?
Yes, this is one of the best room-dividing solutions for renters specifically because a freestanding base design requires no wall anchoring or permanent modification, and it can be relocated or removed entirely when you move.
Do I need a jigsaw if I’m not doing a cutout pattern?
No. A solid panel or slatted design can be built entirely with a circular saw and straightedge guide. A jigsaw only becomes necessary if your design includes curved or geometric cutout shapes.
How do I keep a tall, freestanding divider from tipping over?
A substantial base — generally extending at least 12 to 16 inches perpendicular to the panel — provides good stability for most residential ceiling heights. For extra security, especially in homes with kids or pets, a discreet L-bracket anchored into a wall stud adds tip resistance without sacrificing the divider’s freestanding flexibility.
How long does this build typically take?
A solid panel design with a simple base can often be completed in a single weekend, including finishing time. A more elaborate geometric cutout or multi-panel folding screen typically takes a full weekend for cutting and assembly, plus an additional day or two for finishing coats to fully cure.
Final Thoughts: Divide the Space, Not the Character
An open floor plan doesn’t have to mean an undefined one. A thoughtfully built DIY wooden room divider using plywood gives you the flexibility of a movable, renter-friendly partition with none of the visual blandness of a generic folding screen — and at a fraction of the cost of adding a real wall. Whether you choose a solid panel that highlights plywood’s naturally striped edge, a slatted design that filters light beautifully, or a bold geometric cutout that doubles as a piece of art, the material itself does a remarkable amount of the design work for you.
Take the time to plan your dimensions around how the space will actually be used, choose a design direction that matches how much privacy versus openness you want, and don’t rush the finishing stage — it’s what turns a simple sheet of plywood into a piece that looks intentional in your home. Once it’s built and styled, you’ll have a room divider that does far more than split a space; it gives each side its own distinct sense of purpose.