 ATTENTION: World's Largest Collection of 16,000 Woodworking Plans!
Stop struggling with incomplete plans that waste your time and money!
Step-by-step instructions that make woodworking super easy, even for beginners
Detailed schematics, cutting lists, and materials lists for every project
Get new plans monthly for life - no recurring fees or hidden costs
Request custom plans for your unique projects at no extra charge
Get 4 valuable bonuses including woodworking guides and business tips
GET INSTANT ACCESS NOW!
ATTENTION: World's Largest Collection of 16,000 Woodworking Plans!
Stop struggling with incomplete plans that waste your time and money!
Step-by-step instructions that make woodworking super easy, even for beginners
Detailed schematics, cutting lists, and materials lists for every project
Get new plans monthly for life - no recurring fees or hidden costs
Request custom plans for your unique projects at no extra charge
Get 4 valuable bonuses including woodworking guides and business tips
GET INSTANT ACCESS NOW!
In small living spaces, making the most of your area is essential. Creative DIY furniture plans can help you maximize your space while adding a personal touch to your home. Whether you need storage solutions or functional furniture, there are numerous innovative ideas to explore. Here are some fantastic DIY furniture plans specifically designed for small spaces:
Multi-Functional Furniture
One of the best ways to save space is by choosing furniture that serves multiple purposes. Here are a few ideas:
- Storage Ottomans: An ottoman that opens up for storage can be a stylish coffee table or a place to stow away blankets and books.
- Foldable Tables: A table that can expand when needed and collapse when not in use is perfect for small dining areas. It allows flexibility depending on your guest list.
- Sofa Beds: A sofa bed acts as a couch during the day and transforms into a bed at night. This is ideal for accommodating guests in tight quarters.
Vertical Solutions
When floor space is limited, think up! Here are some vertical furniture ideas to utilize wall space:
- Wall Shelves: Creating wall-mounted shelves can store books, plants, or decorative items while saving valuable floor space. Opt for floating shelves for a clean look.
- Bunk Beds: If you need to maximize sleeping arrangements for kids, consider a bunk bed. This frees up floor space for play or additional storage underneath.
- Over-the-Door Racks: Perfect for shoes, accessories, or storage bins, these racks utilize often-forgotten spaces. They keep things organized without taking up extra room.
Custom Built-Ins
Invest time in building custom built-ins tailored to your needs. These can dramatically enhance your storage options while creating a polished look.
- Window Seats: A built-in window seat not only provides a cozy spot to relax but also adds storage underneath for books or toys.
- Bookcases: Custom bookcases can fit snugly into corners or awkward spaces. They provide valuable storage and display options for your books and decor.
- Entertainment Units: A sleek unit built around your television can keep wires organized and provide space for media equipment without creating clutter.
Compact Coffee Table Ideas
Your coffee table can also be multifunctional. Here are clever DIY plans for compact designs:
- Trunk Coffee Table: Repurpose an old trunk as a coffee table. Not only does it serve as a surface for drinks, but it also works as hidden storage.
- Nesting Tables: Small tables that can be stacked together or used separately are great for entertaining guests without taking over the space.
- Round Tables: A round coffee table can take up less visual space than a rectangular one, offering a more open feel in tight rooms.
Unique DIY Furniture Designs
Show off your creativity with unique furniture designs that stand out while being functional:
- Pallet Furniture: Utilize wooden pallets to create furniture like chairs, tables, or even beds. This adds a rustic charm and is budget-friendly.
- Repurposed Furniture: Old furniture can be transformed with a little paint or new upholstery. A dresser can become a TV stand, for example.
- Modular Seating: Use modular pieces that can be reconfigured as needed. They can be moved around based on your space requirements.
Building your DIY furniture not only allows for creativity but can also save you money and tailor pieces to fit your specific needs. For more ideas and inspiration, consider visiting Ana White or Instructables. These websites offer a wealth of plans and tutorials to guide you through your DIY journey. By choosing creative DIY furniture plans, you can transform your small living space into a personalized sanctuary while optimizing every square inch. With a little effort and imagination, you’ll have stunning, functional furniture that fits perfectly in your home.
Budget-Friendly Materials for Your DIY Furniture Projects
Embarking on DIY furniture projects can be an exciting journey, not to mention budget-friendly. When you choose the right materials, you save money and create unique pieces that reflect your personal style. Here’s how to collect and leverage materials that keep your costs low while maximizing quality.
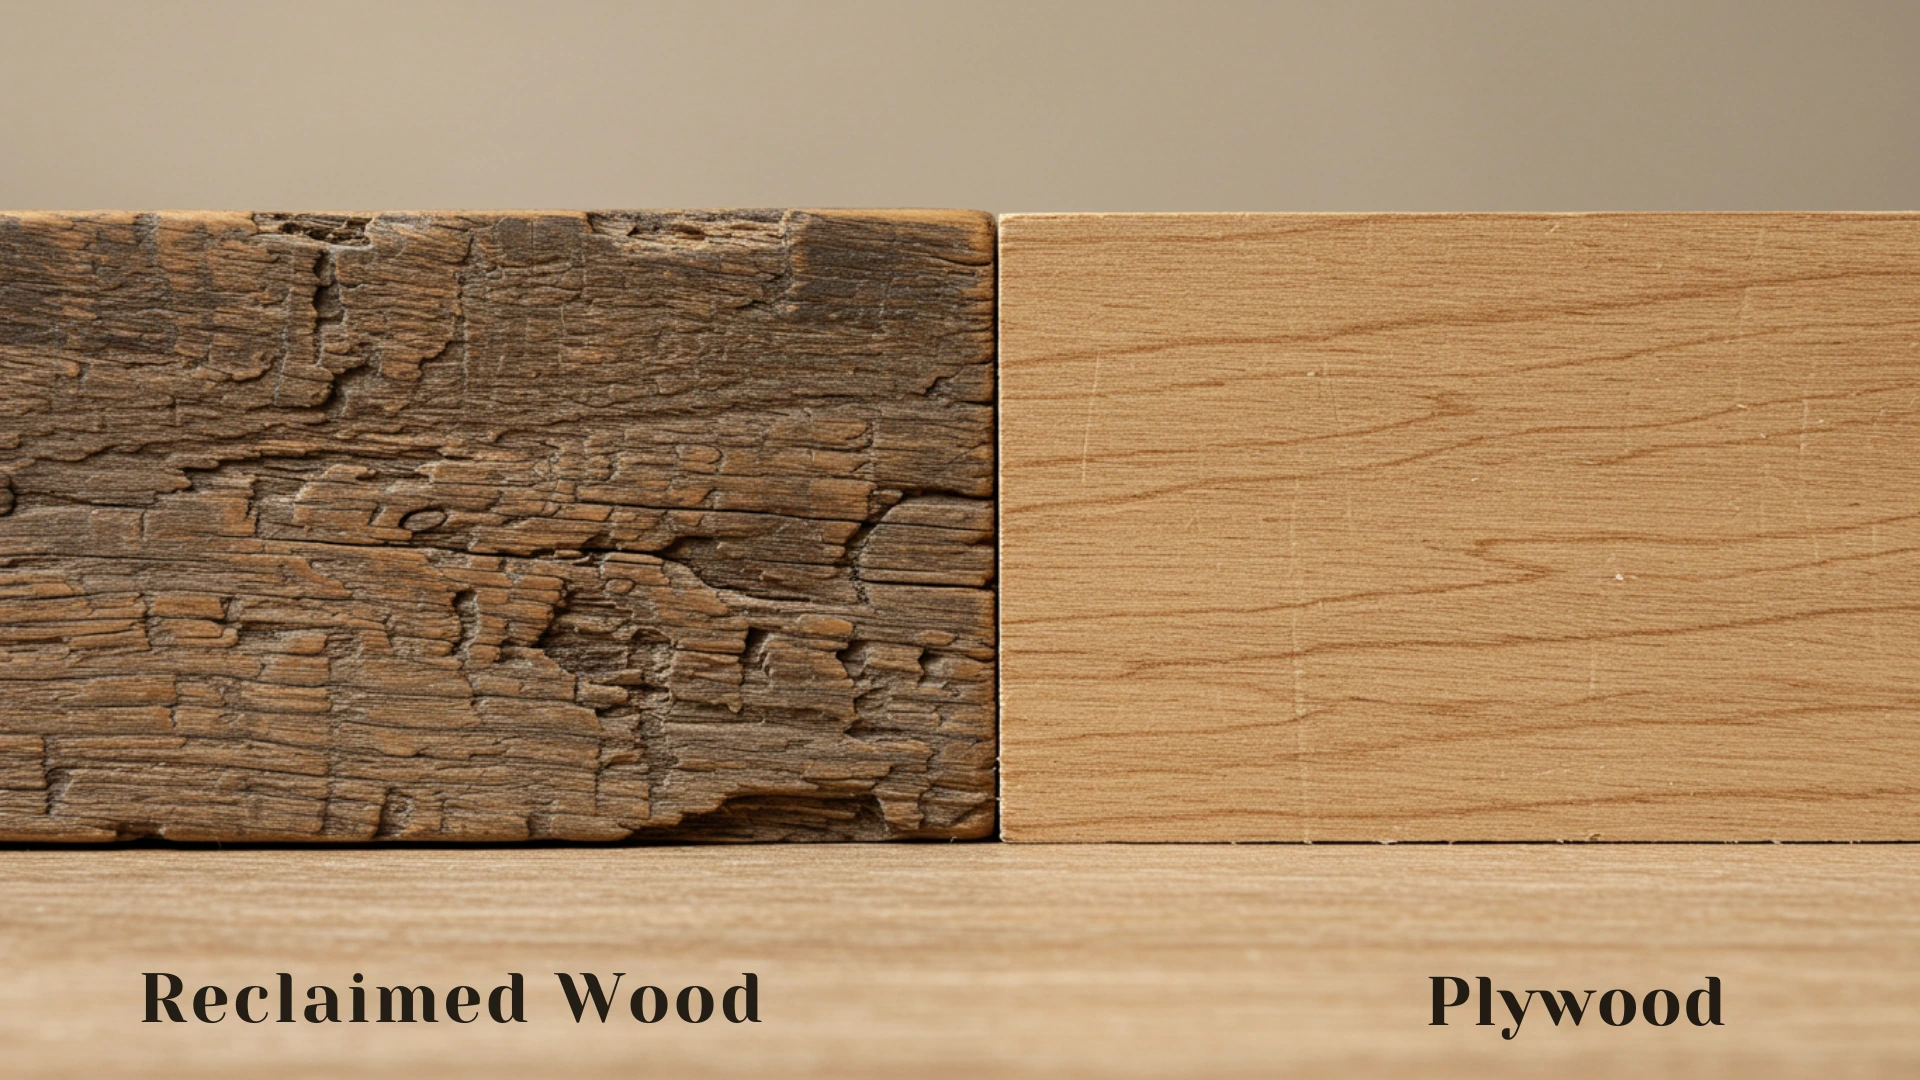
First, consider reclaimed wood. This material not only brings character to your projects but also enhances sustainability. You can find reclaimed wood at local salvage yards, online marketplaces like Facebook Marketplace, or websites like Rebuilding Exchange. Look for planks, old furniture, and pallets that can be transformed into stunning tables, chairs, or shelves.
Next, explore plywood. It’s inexpensive and easy to work with, making it a popular choice for DIY enthusiasts. When selecting plywood, go for a higher grade if you plan on staining or painting the finished product. Plywood can be found at most home improvement stores, such as Home Depot or Lowe’s.
| Material | Pros | Cons |
|---|---|---|
| Reclaimed Wood | Uniqueness, sustainability | May require extra cleanup |
| Plywood | Cost-effective, versatile | Can splinter if not handled well |
MDF (Medium-Density Fiberboard) is another great option. It’s smooth and ideal for painting. Since it’s usually cheaper than solid wood, it works well for projects like cabinets or shelves. Just remember that MDF is not water-resistant, so it’s best used indoors. You can usually find it in sheets at local hardware stores.
If you’re looking for a little flair, consider using laminate sheets. They come in various colors and textures, allowing you to give a high-end appearance to your DIY projects without a hefty price tag. Laminate can be adhered to surfaces like MDF or plywood for a more finished look. Check out suppliers like Formica for a wide selection.
Fabrics are essential for upholstered pieces, and they can also be sourced affordably. Thrift stores often have remnants or old furniture with usable fabric. If you’re after something specific, fabric stores like Fabric Selections offer frequent discounts. Faux leather or upholstery-grade fabric will elevate your projects while remaining pocket-friendly.
Metal components can add a modern touch to your DIY creations. Instead of buying brand new hardware, check your local hardware store’s clearance section or look for second-hand metals. Screws, nails, and brackets are often found at very low prices. Websites like Etsy may also have unique metal pieces that are perfect for your project.
Don’t overlook the power of paint and finishes. They can completely transform inexpensive materials into something extraordinary. Look for local paint shops that carry discontinued or clearance items. A fresh coat of paint can make worn-out wood look brand new, and you can often find spray paint for under $5 at places like Walmart or local hardware stores.
When planning your project, make a list of the materials you’ll need and where you plan to find them. Keeping an open mind can lead you to creative discoveries, turning ordinary finds into extraordinary creations. Remember, the best DIY furniture projects are built with both creativity and budget in mind. By choosing reclaimed wood, plywood, MDF, laminate, various fabrics, and metal components creatively, you can build beautiful furniture without breaking the bank. Happy crafting!
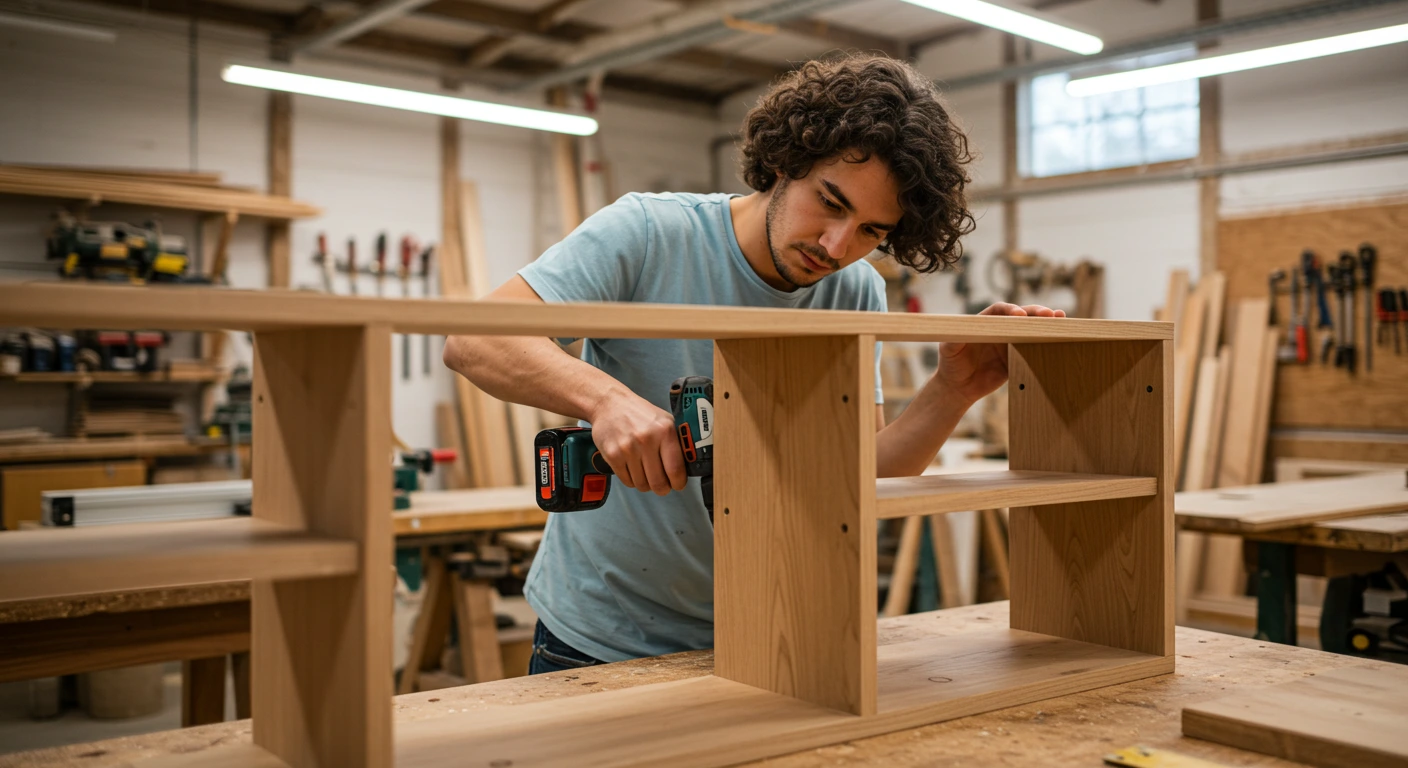
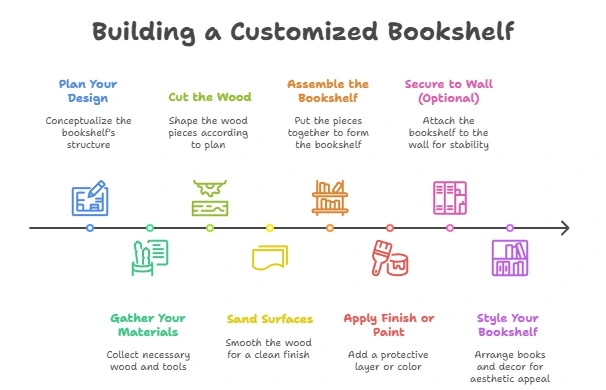
Step-by-Step Guide to Building a Customized Bookshelf
Building a customized bookshelf can bring a personal touch to your home, maximizing both style and function. This step-by-step guide will walk you through the process of creating a bookshelf that fits your space and your needs. Gather your materials, unleash your creativity, and impress your friends with your DIY skills!
Materials You’ll Need:
- Wood boards (choose your preferred type: pine, oak, plywood, etc.)
- Wood screws
- Wood glue
- Sandpaper (various grits)
- Wood finish or paint
- Measuring tape
- Power drill
- Saw (circular saw or miter saw)
- Clamps
Step 1: Plan Your Design
Before cutting any wood, decide on the design and dimensions of your bookshelf. Think about:
- The size you need: Measure the space where you’ll place the bookshelf.
- The number of shelves: How many shelves do you want to include?
- Your desired style: Do you prefer a modern look or a rustic vibe?
Sketch your design with these elements in mind, or use an online design tool to visualize your bookshelf.
Step 2: Gather Your Materials
Once you have your design planned, visit your local hardware store or check online suppliers for Woodworkers Source to pick up your materials. Choose a wood type that matches your decor and will hold the weight of your books.
Step 3: Cut the Wood
Using your saw, cut the wood according to your measurements. Make sure that you:
- Cut two side pieces for height
- Cut shelves according to your desired depth
- Consider adding a top and bottom piece for stability
Always wear safety goggles when using power tools, and double-check your measurements before cutting.
Step 4: Sand Surfaces
To achieve a professional look, sand all the wood pieces. Begin with a coarser sandpaper to remove any roughness and finish with a finer grit for a smooth surface. This will also help the paint or finish adhere better.
Step 5: Assemble the Bookshelf
With your pieces prepped, it’s time to assemble. Here’s how:
- Start by attaching the shelves to the side pieces. Use wood screws and wood glue for stability.
- Clamp the shelves in place while the glue dries.
- Once everything is secure, attach the top and bottom pieces.
Step 6: Apply Finish or Paint
After assembly, you can opt to paint or stain your bookshelf to match your decor. If you choose to stain, apply a wood finish that enhances the natural grain. For paint, use a primer first, followed by your choice of color. This step adds protection and aesthetic appeal.
Step 7: Secure to Wall (Optional)
If your bookshelf is tall or you anticipate heavy books, it’s wise to secure it to the wall to prevent tipping. Use brackets or straps for added safety.
Step 8: Style Your Bookshelf
Now that your bookshelf is complete, it’s time to fill it with your favorite books and decorative items. Consider a mix of books, plants, and personal keepsakes to create visual interest. Arrange items in various heights, and don’t shy away from leaving some space empty for balance. For more creative DIY furniture plans, check out Ana White for inspiration and guides. Creating a customized bookshelf is an enjoyable project that enhances your home. With a bit of planning and effort, you can build a functional piece that reflects your taste and provides a lovely spot for your books.
Eco-Friendly DIY Furniture Ideas Using Recycled Materials
Creating your own furniture can not only save you money but also allows you to express your creativity while helping the environment. Eco-friendly DIY furniture ideas using recycled materials are a fantastic way to breathe new life into old items, reduce waste, and design pieces that fit perfectly in your space. Let’s explore some imaginative approaches to upcycling that will enhance your home while being kind to the planet.
Why Choose Recycled Materials?

Using recycled materials for your DIY furniture projects offers numerous advantages:
- Environmentally Friendly: Reduces landfill waste and lowers the carbon footprint.
- Cost-Effective: Saves money by utilizing items that you may already have or purchasing inexpensive second-hand materials.
- Unique Designs: Each piece carries its own story, making your furniture one-of-a-kind.
- Creative Outlet: Provides an opportunity to hone your skills and express your creativity.
Transforming Pallets into Furniture
Pallets are a popular choice for eco-friendly DIY projects. They are sturdy and can be transformed into various pieces of furniture:
- Coffee Table: Stack two or three pallets, and add caster wheels to create a mobile coffee table.
- Garden Bench: Join the pallets together in an L-shape for a rustic bench perfect for your garden or patio.
- Beds: Use pallets as a base for your mattress; they allow for good airflow and you can customize the height.
For detailed instructions on building with pallets, check out resources on Pallet Life.
Upcycling Old Furniture
Sometimes, you can take existing furniture and breathe new life into it with a simple update:
- Refinishing: Sand down and repaint old furniture for a refreshed look.
- Reupholstering: Change the fabric on chairs or couches to match your current décor.
- New Hardware: Replace knobs and handles for an instant makeover.
Check out tutorial videos on IKEA Hackers for some inspiration on modifying your old furniture.
Using Repurposed Items
Look around your home; you might find items you can repurpose into functional furniture:
- Old Doors: Use an old door as a tabletop for a unique dining table.
- Suitcases: Stack vintage suitcases to create a quirky side table.
- Wine Crates: Use them as shelving units or side tables.
These projects not only reduce waste but also contribute to a charming, eclectic decor.
Creating Furniture with Cardboard
You might be surprised to learn how strong cardboard can be when used creatively. Consider the following ideas:
- Cardboard Chair: Build a sturdy chair by layering and shaping cardboard.
- Bookshelves: Construct lightweight bookshelves using reinforced cardboard.
For easy-to-follow plans and ideas, visit Instructables.
Designing with Bottles and Cans
Plastic bottles and metal cans can also be repurposed into furniture:
- Bottle Bench: Cut and arrange plastic bottles into a bench shape, then add a wooden top.
- Candle Holders: Use cans to make rustic candle holders for your outdoor space.
For creative ideas on using recycled plastics, check out The Craft Train.
Tips for Your Eco-Friendly DIY Project
When embarking on a DIY furniture project, keep these tips in mind:
- Plan Ahead: Have a clear idea of your design and gather all necessary materials before starting.
- Use Non-Toxic Products: When selecting paints or finishes, opt for eco-friendly options.
- Sustainability: Choose materials that are both recycled and sustainable.
With this guide, you’re well on your way to creating unique furniture pieces that are not only functional but also pocket-friendly and environmentally responsible. Start your eco-friendly DIY journey today and enjoy the satisfaction of crafting your own recycled masterpieces.
Tips for Personalizing Your DIY Furniture to Match Your Decor
Creating DIY furniture can be an exciting journey, and personalizing it to match your decor makes it even more rewarding. Custom furniture not only enhances your living space but also reflects your style. Here are some effective tips to help you tailor your DIY projects to harmonize with your home aesthetic.
Choose the Right Materials
The materials you select for your furniture play a significant role in determining its final look. When picking materials, consider the overall theme of your decor. Here are some options:
- Wood: A classic choice that offers warmth and versatility. Stains, paints, and finishes can enhance its natural beauty.
- Metal: Ideal for a modern or industrial look. Choosing between various metal types and finishes can create unique designs.
- Fabric: When adding cushions or upholstered parts, select fabrics that complement your existing color palette.
Incorporate Color Schemes
Your chosen colors should resonate with your home’s theme. Here’s how you can effectively use color in your DIY furniture:
- Matching Existing Colors: Use color swatches or photos of your space while designing your furniture.
- Accent Colors: Introduce a pop of color that stands out but still offers a cohesive look.
- Neutral Tones: They provide an excellent backdrop for bolder elements and can be a safe choice for large pieces.
Experiment with Textures
Textures can elevate your furniture, adding depth and interest. Here are some ideas:
- Distressed Finishes: This can give your furniture a vintage vibe, perfect for rustic or farmhouse styles.
- Soft Textures: Incorporate textiles like soft cotton or linen for cushions to create comfort.
- Smooth Finishes: A polished look may suit a minimalist or modern decor.
Focus on Shape and Design
| Style | Shape | Best For |
|---|---|---|
| Modern | Geometric | Sleek and minimal environments |
| Rustic | Organic | Cozy, warm settings |
| Industrial | Angular | Loft apartments or warehouses |
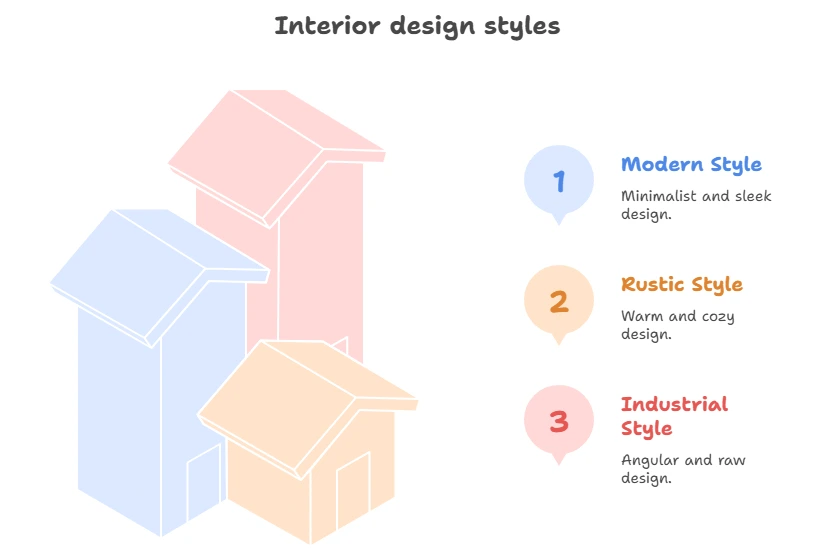
The shape of your furniture impacts how it interacts with your space. Choose designs that complement the existing furniture and architecture of your home.
Add Personal Touches
Adding unique elements can make your DIY furniture truly yours:
- Engraving: Personalize items with your initials or meaningful designs.
- Artwork: Add stencils or decoupage to create a piece of art.
- Custom Hardware: Swap out standard knobs and handles for unique ones to enhance character.
Utilize Functional Decor
When personalizing your DIY furniture, consider its function in your space. For example:
- Storage Solutions: Incorporate drawers or shelves that align with your decor needs.
- Multi-purpose Furniture: Design pieces that serve more than one function, like ottomans with storage.
- Lighting: If your furniture includes lighting elements, ensure the style matches the overall design of your home.
Get Inspired Online
There’s a treasure trove of inspiration available online. Websites like Ana White and Woodworking for Beginners offer a variety of DIY plans and ideas that can guide you as you create personalized furniture. In the world of DIY furniture, personalization makes all the difference. Through careful consideration of materials, color schemes, textures, shapes, and functional elements, you can create pieces that not only meet your needs but also reflect your unique style. Embrace your creativity, and transform your space one project at a time.
—
Conclusion
Creating your furniture through DIY plans can transform your living space while giving you personalized pieces that reflect your style. Whether you’re tackling small spaces with innovative designs or sticking to a budget with affordable materials, the possibilities are endless.
Building a customized bookshelf is just one of the many projects you can embark on, offering both functionality and aesthetic appeal. By following a step-by-step guide, you can confidently craft a bookshelf that perfectly fits your needs and space requirements.
Additionally, consider the benefits of using recycled materials for eco-friendly furniture. Not only does this practice contribute to sustainability, but it also adds a unique charm to your creations. Old wood, pallets, or even repurposed furniture parts can become beautiful, custom pieces in your home.
Don’t forget the importance of personalization in your DIY projects. Adding unique touches like paint, fabric, or hardware can help your furniture blend seamlessly with your decor, making your space wholly yours.
Engaging in DIY furniture plans empowers you to create functional and beautiful pieces that suit your lifestyle. By embracing creativity, resourcefulness, and sustainability, you can turn a simple project into a rewarding experience, all while enhancing your home’s character. So grab your tools, unleash your creativity, and start building! Happy crafting!