 ATTENTION: World's Largest Collection of 16,000 Woodworking Plans!
Stop struggling with incomplete plans that waste your time and money!
Step-by-step instructions that make woodworking super easy, even for beginners
Detailed schematics, cutting lists, and materials lists for every project
Get new plans monthly for life - no recurring fees or hidden costs
Request custom plans for your unique projects at no extra charge
Get 4 valuable bonuses including woodworking guides and business tips
GET INSTANT ACCESS NOW!
ATTENTION: World's Largest Collection of 16,000 Woodworking Plans!
Stop struggling with incomplete plans that waste your time and money!
Step-by-step instructions that make woodworking super easy, even for beginners
Detailed schematics, cutting lists, and materials lists for every project
Get new plans monthly for life - no recurring fees or hidden costs
Request custom plans for your unique projects at no extra charge
Get 4 valuable bonuses including woodworking guides and business tips
GET INSTANT ACCESS NOW!
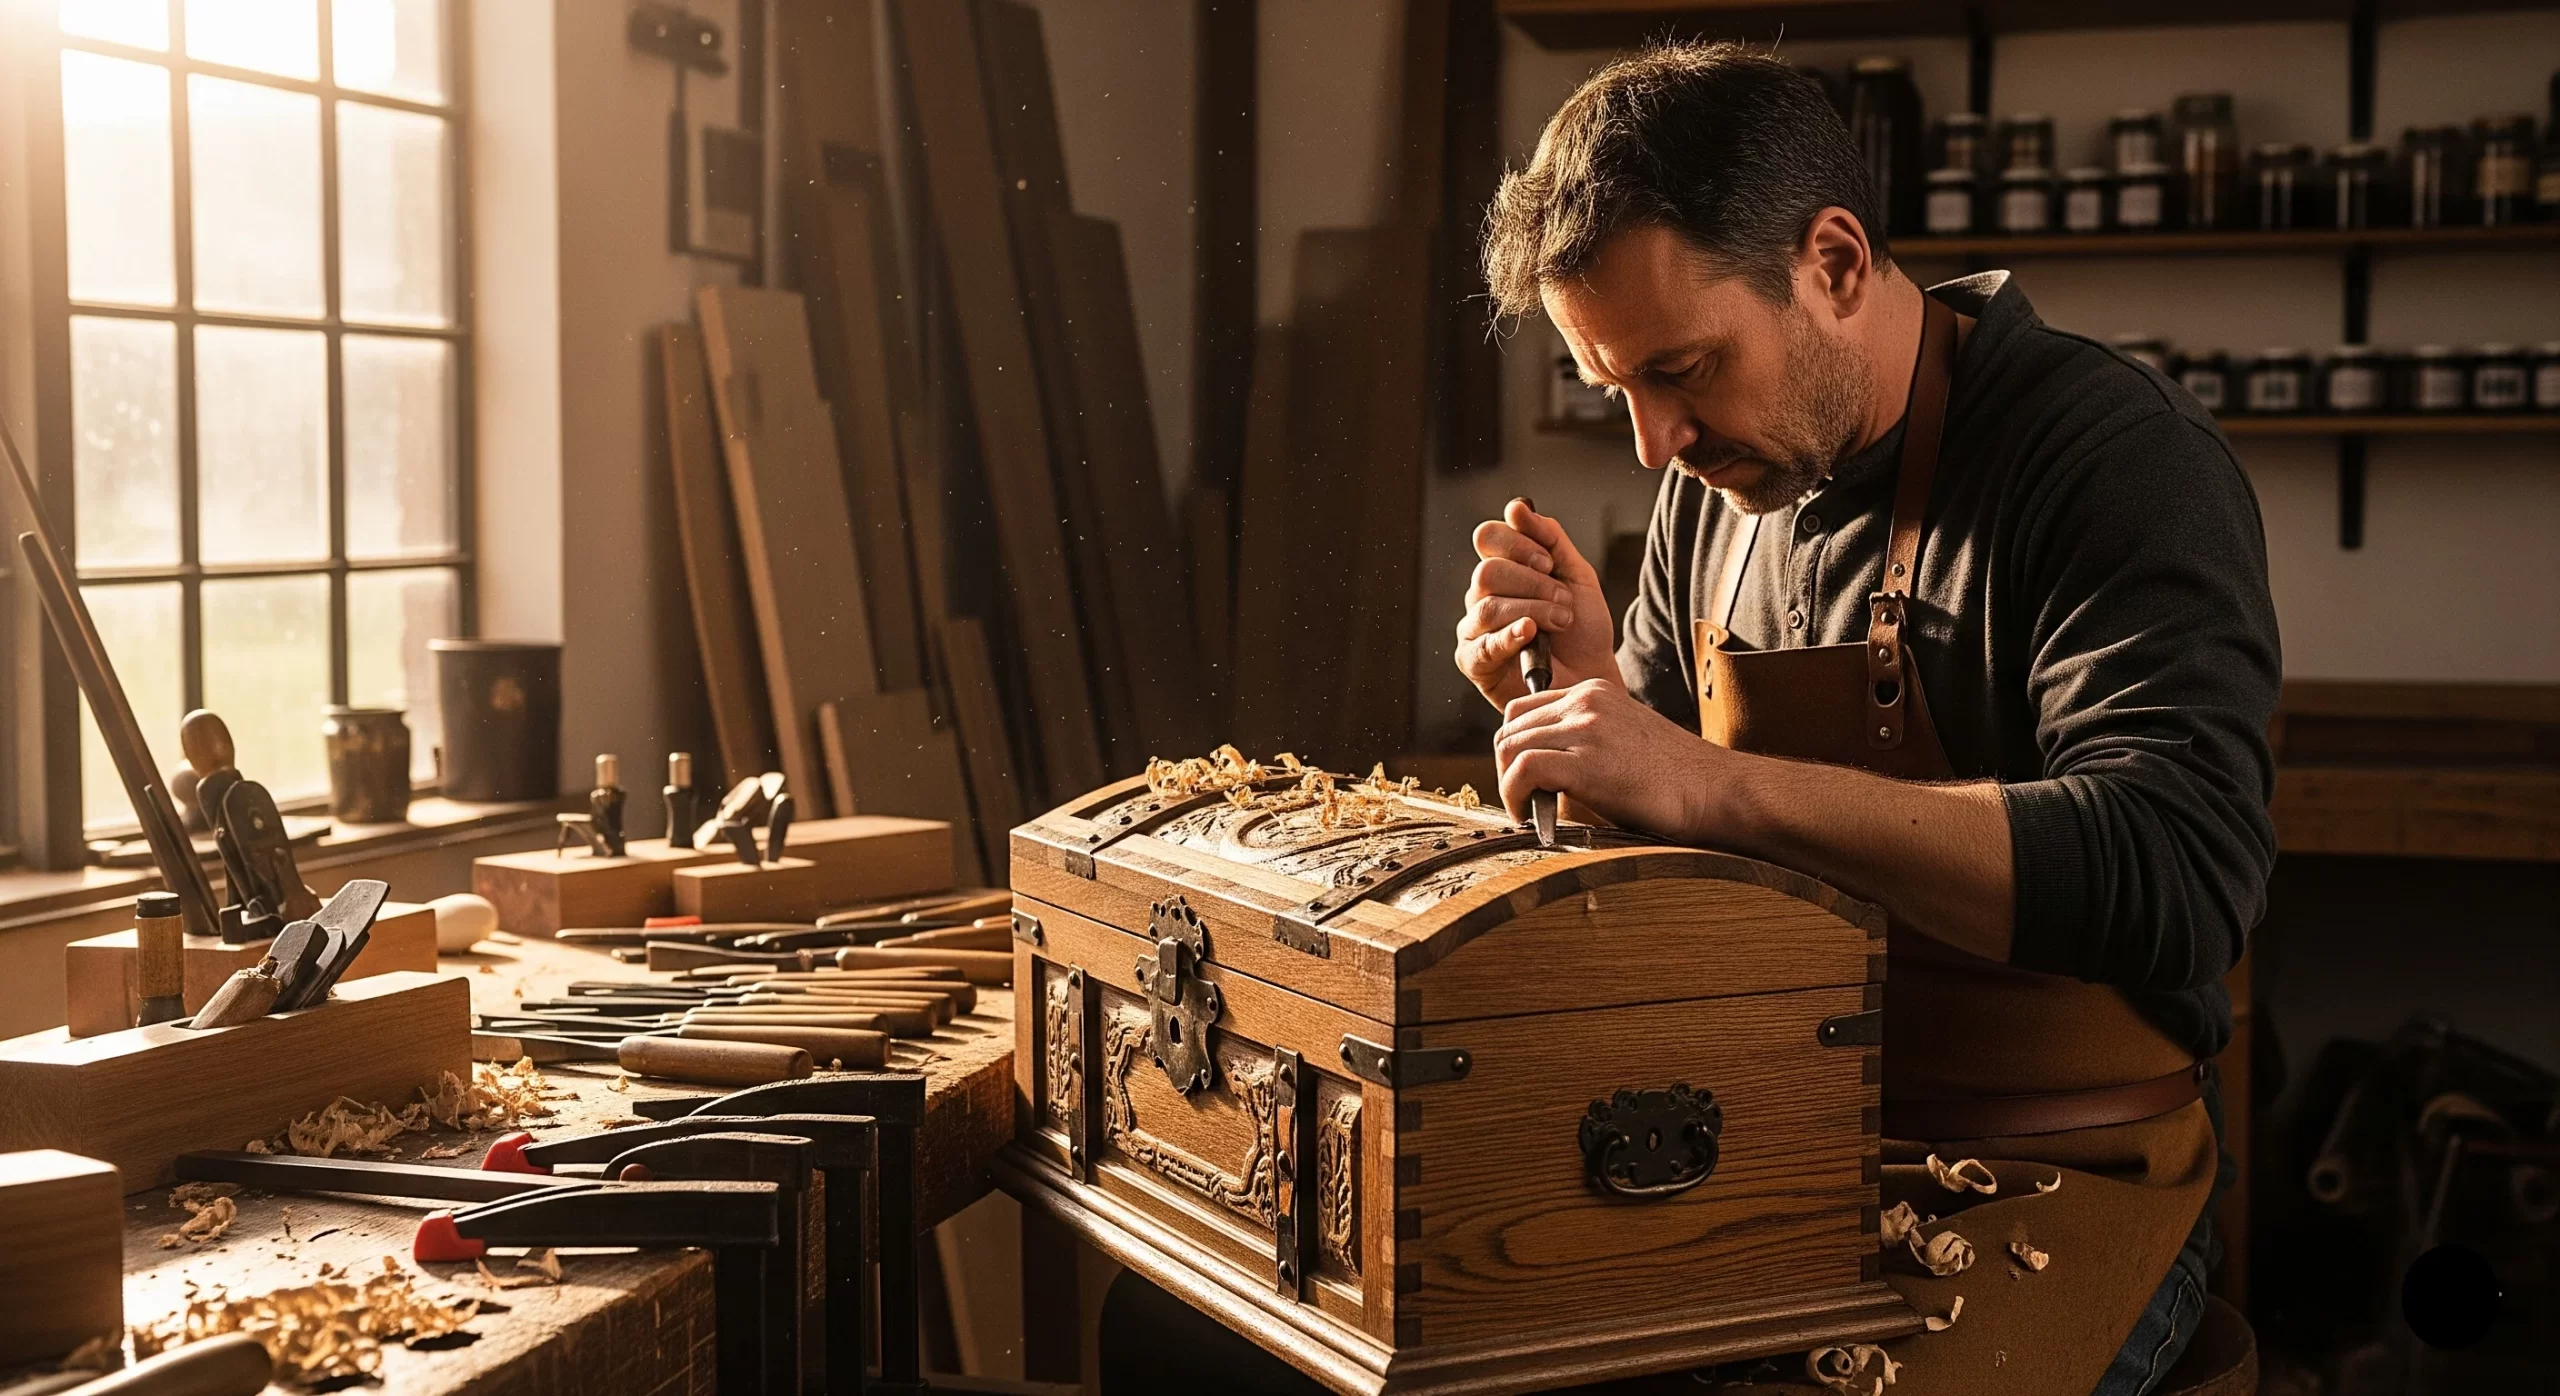
Woodworking can be an incredibly rewarding hobby, especially when you create beautiful and functional pieces for your home. If you’re a beginner looking to dive into woodworking, innovative chest can be both an exciting project and a practical addition to your skill set. Creating a chest not only enhances your home décor but also offers ample storage space. Below are some innovative ideas that can guide you through your first woodworking project.
Types of Chests You Can Build
There are several types of chests you can make, each with its own unique style and purpose. Here’s a list of popular designs to consider:
- Storage Chest: A basic design ideal for beginners. It offers significant storage and can be personalized with paint or varnish.
- Trunk Chest: A classic design featuring a hinged lid, perfect for storing blankets and seasonal items. The intricate designs can allow for more creativity.
- Jewelry Chest: Smaller chests that are great for beginners looking to practice fine woodworking skills. These often feature compartments and drawers.
- Hope Chest: Traditionally used for storing household items, these chests often have a more decorative touch and can be a fantastic gift for special occasions.
Getting Started with Chest Woodworking Plans
To begin your woodworking journey, selecting the right plans is crucial. Good plans will offer precise measurements and detailed instructions that make crafting your chest a breeze. When choosing your plans, ensure they include:
- Detailed diagrams
- Step-by-step instructions
- Material and tools lists
- Tips for customization
Essential Tools for Your Project
Having the right tools makes a significant difference in woodworking. For crafting your chest, consider gathering the following tools:
- Table saw or circular saw
- Drill and drill bits
- Screwdriver
- Sander or sanding block
- Tape measure
- Clamps
Investing in these tools will not only help you with your chest project but also open up possibilities for future woodworking endeavors.
Safety First
Before you jump into making your chest, it’s vital to prioritize safety. Ensure you have a proper workspace and always wear protective gear. Basic safety gear includes:
- Safety glasses
- Dust mask
- Hearing protection
- Non-slip shoes
Understanding how to use your tools correctly and ensuring a safe environment will enhance your woodworking experience.
Customizing Your Chest
Once you have completed your chest, think about how you can add personal touches. Some creative ideas include:
- Staining or painting in your preferred color.
- Adding decorative hardware like handles and locks.
- carvings or engravings to make it unique.
This creative process can make your chest much more than just a storage item; it becomes a piece of art that reflects your personal style.
You don’t need to be a professional woodworker to create stunning and functional furniture. With innovative chest, you can begin your woodworking journey confidently. Websites like Ana White offer free plans that you can modify based on your skill level and style preferences. As you embark on your chest-building project, remember that each step along the way is a learning opportunity.
Power Tools for Efficiency
Power tools can save you a considerable amount of time and effort. While not absolutely necessary, they greatly enhance precision and efficiency. Consider adding these tools to your collection:
- Table saw: This tool allows you to make straight cuts quickly and accurately.
- Miter saw: Essential for making angled cuts, especially for corners and joints.
- Drill/Driver: An electric drill helps create holes for screws and fastenings.
- Orbital sander: Gives your chest a smooth finish and is far quicker than sanding by hand.
Measurement and Marking Tools
Proper measurements are crucial when building furniture. These tools ensure you get everything right:
- Tape measure: Make sure to have a good-quality tape measure for accurate measurements.
- Framing square: This helps you check right angles and ensures that your pieces are square.
- Pencil: A sharp pencil is vital for marking cuts and pilot holes clearly.
Workbench and Safety Gear
Your workspace and safety should not be overlooked. Here’s what you’ll need:
- Workbench: A sturdy workbench provides a solid surface to work on.
- Safety goggles: Protect your eyes when cutting or sanding wood.
- Dust mask: A mask will help you breathe easier by keeping sawdust out of your lungs.
Final Touches
After constructing your chest, you may want to add some finishing touches. Consider using these items:
- Wood finish or stain: This will not only protect the wood but also enhance its appearance.
- Paint brushes: Use quality brushes for even application of stains or finishes.
Creative Design Ideas to Personalize Your Wood Chest
Creating a wood chest is a wonderful way to blend functionality with creativity. When you personalize your wood chest, it becomes more than just a storage solution; it showcases your unique style and creativity. Here are some engaging design ideas that can elevate your wood chest from ordinary to extraordinary.
Choose the Right Type of Wood
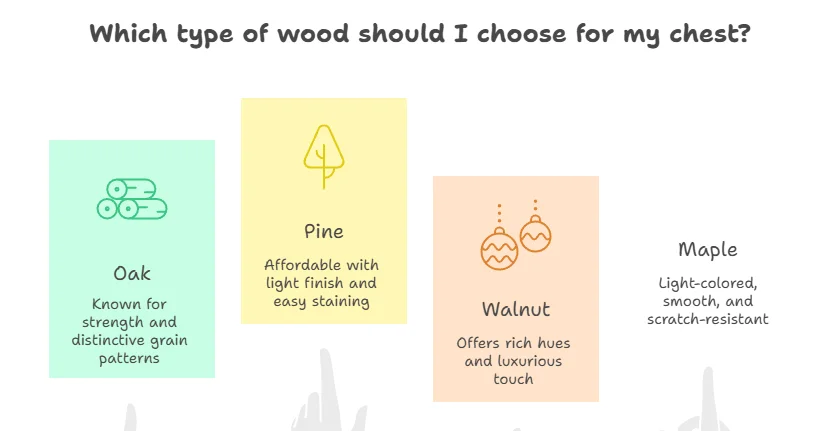
The type of wood you select can greatly influence the look and feel of your chest. Popular options include:
- Oak: Known for its strength and distinctive grain patterns.
- Pine: A more affordable choice, offering a light finish and easy staining options.
- Walnut: Offers rich hues and deep colors, perfect for a luxurious touch.
- Maple: Light-colored wood that is smooth and resistant to scratches.
Consider your space and the appearance you want to achieve when selecting the wood type.
Incorporate Unique Hardware
The hardware plays a significant role in how your chest looks. Consider these choices:
- Antique Handles: Rustic metal handles can add vintage charm.
- Decorative Hinges: Make your chest look artisanal with ornate hinges.
- Lock and Key: A functioning lock can enhance security and add an element of intrigue.
Mix and match hardware styles to craft a chest that truly reflects your personality.
Engage in Decorative Techniques
Decorative techniques can elevate your wood chest significantly. Here are some popular methods:
| Technique | Description |
|---|---|
| Wood Staining | Add color while highlighting the unique patterns of the wood. |
| Burning (Pyrography) | Use a wood-burning tool to create intricate designs on the surface. |
| Painting | Add a splash of color or a decorative pattern using paint. |
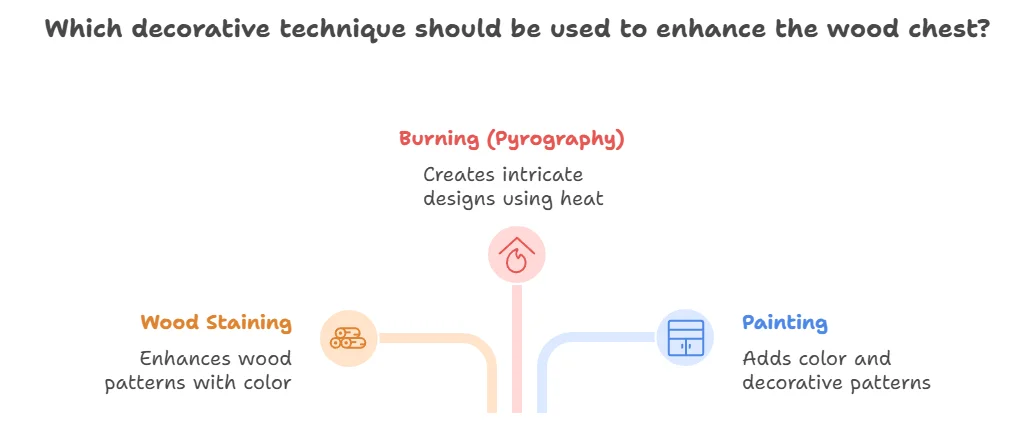
These techniques can help you express personal style and make your chest a standout piece.
Custom Engraving
Adding a personal touch through engraving makes your chest truly one-of-a-kind. Here are some ideas:
- Initials or Monogram: A classic choice that adds a personal feel.
- Quotes or Inspirational Sayings: Choose words that resonate with you.
- Family Crests or Symbols: Enrich your chest with family heritage.
Custom engraving transforms your chest into a meaningful keepsake, perfect for gifts or personal use.
Choose a Theme
The theme can tie together the look of your chest. Here are some themes to consider:
- Rustic Farmhouse: Use distressed paint and natural materials.
- Bohemian: Incorporate colorful fabrics or gemstones on the chest.
- Modern Minimalist: Opt for clean lines with a simple finish.
Choosing a theme can help guide your design choices, making the process easier and more cohesive.
Functionality and Storage Solutions
Remember that your wood chest is not just decorative; it should also be functional. Consider incorporating:
- Dividers: To keep items organized, especially for larger chests.
- Removable Inserts: For versatile usage, like transitioning from a toy chest to a storage trunk.
- Casters: For easy mobility, especially if the chest is heavy.
Thoughtful storage solutions maintain organization and enhance the usability of your chest.
Explore Online Resources
If you’re seeking inspiration or specific plans, consider checking out sites like:
These websites offer countless resources, including tutorials, plans, and design ideas for your wood chest project. By combining creativity with functionality, you can design a wood chest that’s both beautiful and practical. You will enjoy the whole process of crafting a unique storage solution that fits perfectly in your home. So gather your materials, dive in, and let your creativity flow!
Step-by-Step Guide to Constructing Various Chest Styles
Creating your own storage chests can be a rewarding experience. With numerous styles available, you can choose designs that resonate with your personal aesthetic or serve specific functionality. Let’s break down the steps for constructing various chest styles, ensuring that you have both the knowledge and confidence to build a project that suits your needs.
Start with Planning
Before you gather materials or tools, it’s essential to plan your design. Consider the following:
- Purpose: What will you store in your chest? This can influence size and style.
- Size: Measure the space where the chest will reside to ensure a perfect fit.
- Wood Type: Choose durable woods like oak or pine, depending on your budget and the aesthetic you desire.
Gather Your Materials
Once you have a plan, collect the following materials:
- Sheets of wood (based on your design)
- Screws or nails
- Wood glue
- Sandpaper
- Wood finish or paint (optional)
Having all your materials at hand can make your building process smoother.
Building a Basic Chest
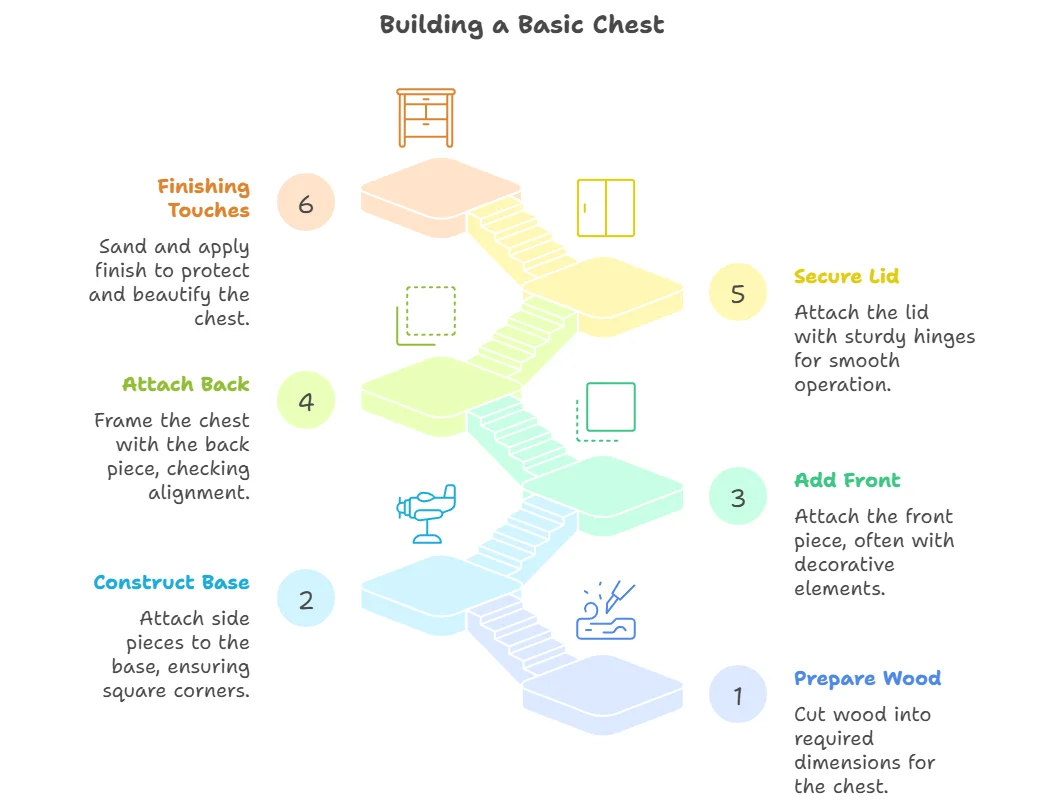
Here’s a simple step-by-step guide to constructing a basic chest:
- Prepare the Wood: Cut your wood into required dimensions. Typically, you’ll need a bottom, four sides, and a lid.
- Construct the Base: Attach the side pieces to the base using wood glue and screws. Ensure that the corners are square.
- Add the Front: Attach the front side piece. This piece often has a decorative element or a different finish to add character.
- Attach the Back: Frame the chest with the back side piece. Carefully check for alignment.
- Secure the Lid: The lid can be a single piece or divided for easier access. Use sturdy hinges for smooth functionality.
- Finishing Touches: Sand down rough areas, then apply your chosen finish to protect the wood and enhance its beauty.
Creating a Trunk Style Chest
Trunk-style chests add a vintage flair. Here’s how to make one:
- Design: Trunk chests typically have rounded lids. You may need to curve your lid by using steam bending techniques.
- Construct the Body: Similar to the basic chest, but ensure to reinforce joints to manage the weight of the lid.
- Lock Mechanism: Incorporate a locking mechanism for security and aesthetic appeal.
Building a Decorative Chest
If you desire a chest that doubles as decor, consider adding intricate carvings or painting designs. Here’s how:
- Choose a Theme: Decide on a theme for your decor — floral, geometric, or vintage.
- Incorporate Details: Use wood carving tools for embellishments or add stenciled patterns before applying a finish.
- Choosing Colors: Paint can transform your chest — consider using chalk paint for a rustic look.
Tips for Success
Here are some additional tips to ensure your chest-making project is successful:
- Always measure twice before cutting.
- Don’t rush the drying time of glue or finishes; it can greatly affect durability.
- Practice on scrap wood if you are trying new techniques.
Remember, woodworking is as much about patience as it is about technique. Take your time and enjoy the process. For a deeper dive into woodworking, including Chest Woodworking Plans, visit Wood Magazine or check out Popular Woodworking for comprehensive guides.
Next Steps and Resources
Once you’ve constructed your chest, consider the following to enhance your woodworking skills:
- Join a local woodworking club to exchange ideas and get feedback.
- Explore advanced plans or tutorials at websites like Ana White.
- Attend workshops to learn specialized techniques.
Chest Woodworking Plans can be a starter point for a lifelong craft. Through exploring various styles, you can not only enhance your living space but also develop valuable skills along the way.
Maintenance Tips for Keeping Your Wood Chest in Great Condition
Wood chests are not just beautiful storage solutions; they are also treasured pieces that can serve your family for generations. To ensure that your wood chest remains in great condition, regular maintenance is key. Here are essential tips to keep your wooden chest looking new and functioning well.
Clean Regularly
One of the easiest ways to maintain your wood chest is by keeping it clean. Dust and dirt can accumulate and damage the finish. Here’s how to do it:
- Use a Soft Cloth: A microfiber cloth will trap dust and prevent scratches. Wipe down the surface weekly.
- Avoid Moisture: Excessive moisture can warp the wood. If cleaning with a damp cloth, make sure to dry the surface immediately.
- Gentle Cleaners: If necessary, use a mild soap mixed with water. Never use harsh chemicals as they can damage the finish.
Protect from Sunlight
Direct sunlight can wreak havoc on wood finishes, leading to fading and discoloration. To protect your chest:
- Positioning: Place your wood chest out of direct sunlight or use curtains to block UV rays.
- UV Protectant: Consider using a UV protective spray designed for wood that can help minimize sun damage.
Maintain Humidity Levels
Wood is sensitive to humidity, and fluctuations can lead to cracks and warping. It’s advisable to maintain consistent humidity levels in the room where your chest is located:
- Dehumidifier: Using a dehumidifier can be beneficial in areas with high humidity.
- Humidity Monitor: Invest in a hygrometer to keep track of humidity levels.
Regularly Oil the Wood
Oiling helps maintain the look of the wood and keeps it nourished. Here’s how to oil your chest:
- Choose the Right Oil: Use oil specifically meant for wood, such as linseed oil or tung oil.
- Application: Apply oil using a soft cloth, working in the direction of the wood grain. This should be done every 3 to 6 months.
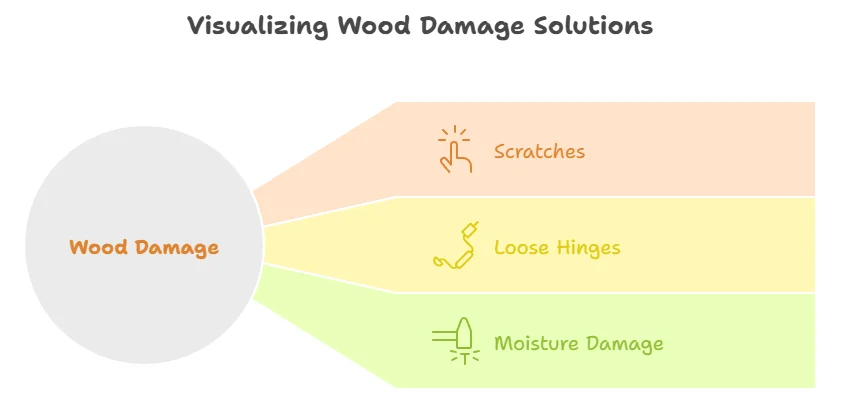
Inspect for Damage
Keeping an eye out for damage can save you a lot of trouble down the line. Regular inspections should include:
| Type of Damage | Solution |
|---|---|
| Scratches | Use a wood repair marker or touch-up kit. |
| Loose Hinges | Check and tighten screws regularly. |
| Moisture Damage | Allow the wood to dry and possibly sand down the affected area. |
Use Liners
Adding a liner to your chest can not only protect the wood from scratches and stains but can also enhance its aesthetic appeal:
- Fabric Liners: Use cotton or linen for a soft touch.
- Removable Options: Consider removable liners so they can be washed easily.
Seal Periodically
A sealant can provide an additional layer of protection against moisture and dirt:
- Choose the Right Sealant: Look for one designed for wood furniture.
- Application Frequency: Seal every couple of years, depending on the wear and tear.
By following these maintenance tips, you can keep your wood chest in excellent condition, ensuring it remains a cherished piece for years to come.
Conclusion
Creating a wood chest is not just about building a piece of furniture; it’s about crafting something unique that can stand the test of time. With innovative chest designed for beginners, anyone can embark on this rewarding project, regardless of their skill level. Understanding the essential tools required for building your chest ensures that you are well-equipped and ready to tackle the task at hand.
Personalizing your wood chest with creative design ideas allows you to express your individuality, making your piece not only functional but also a true representation of your style. Following a detailed step-by-step guide will help streamline the construction process, giving you the confidence to experiment with various chest styles—be it a classic trunk, a modern storage unit, or a decorative piece.
Moreover, investing time in maintenance is crucial to preserve the beauty and longevity of your wooden chest. Regular care protects the wood from damage and ensures it will be enjoyed for generations to come. By engaging in this fulfilling woodworking project, you’re not just building a chest; you’re creating a lasting heirloom.
So gather your tools, unleash your creativity, and enjoy the journey of crafting a beautiful wood chest that serves a purpose in your home while showcasing your craftsmanship. Every step you take in this woodworking adventure will deepen your appreciation for the art and make the finished piece even more rewarding.