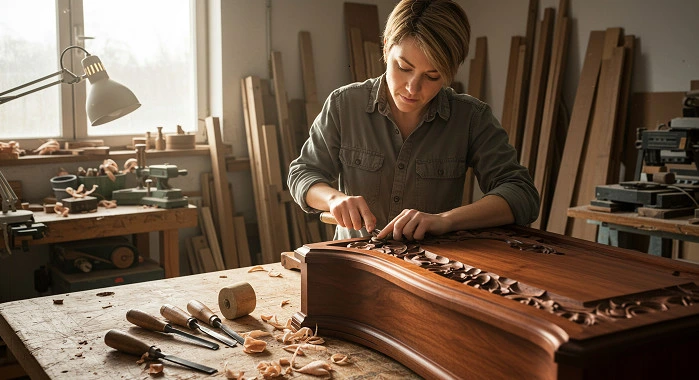
Carving can be a rewarding hobby that allows you to express your creativity and make beautiful art pieces. Whether you’re working with wood, soapstone, or another material, mastering the right carving techniques can elevate your skills and enhance your projects. This guide will walk you through essential carving techniques that every beginner should know, making your carving journey easier and more enjoyable.
Understanding the Basic Tools
Before you start carving, familiarize yourself with the basic tools you’ll need. Here’s a list of essential tools:
- Carving Knife: This is a versatile tool for shaping and detailing.
- Chisels: These come in various sizes and shapes for different purposes. Flat chisels are commonly used for broad cuts, while V-shaped chisels are great for details.
- Gouges: Used for scooping out material, perfect for creating concave shapes.
- Rasps and Files: These help smooth out your work after the initial carving is done.
- Safety Gear: Protective gloves and a carving apron are essential for safety.
Choosing the Right Material
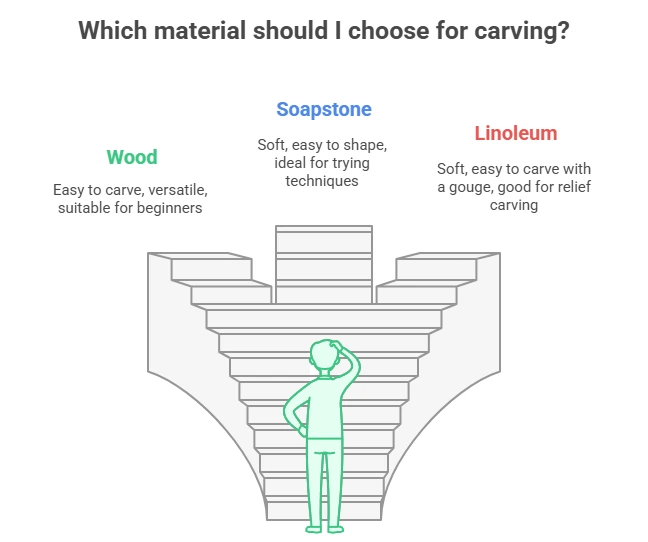
Selecting the appropriate material for carving can impact your experience. Here are a few options that you can consider:
| Material | Characteristics |
|---|---|
| Wood | Easy to carve, available in various densities, suitable for beginners. |
| Soapstone | Soft and easy to shape, ideal for beginners wanting to try out different techniques. |
| Linoleum | Primarily used for relief carving; it’s soft and easy to carve with a gouge. |
Embracing Basic Carving Techniques
Whittling
Whittling is the process of carving shapes out of wood using just a knife. Start with simple forms like a bird or a small figure. Hold the knife at a comfortable angle and carve away thin layers of wood.
Relief Carving
In relief carving, the design is carved into a flat surface, creating a three-dimensional effect. Draw your design lightly on the surface, then use a chisel or gouge to carve out the background while leaving your design raised.
Carving In-the-Round
This technique involves creating a sculpture that is three-dimensional. Start with a block of material and gradually work towards your desired shape, remembering to rotate the piece as you carve.
Learning to Control Your Movements
- Grip: Hold the tool firmly but not too tight to maintain control.
- Body Position: Position yourself so that you’re comfortable and can effectively use your strength.
- Angle: Always carve at an angle that feels natural to prevent slipping.
Practice and Patience
As with any skill, practice is key in carving. Work on small projects to improve your technique. Start with easy shapes and gradually take on more complex designs. Don’t rush the process—take your time to refine your skills.
Finding Inspiration
Look for inspiration in various places. Websites such as Carving Magazine provide tips and showcase works from other artists. You can also find tutorials and videos online that demonstrate specific techniques.
Join local or online carving communities too. Engaging with others can provide valuable feedback and new ideas to enhance your projects.
Staying Safe While Carving
Always prioritize safety while engaging in carving. Use a cutting mat, keep your tools sharp, and wear protective gear. This will help prevent accidents and ensure you enjoy your carving projects to the fullest.
With these basic carving techniques and tips, you’ll be well on your way to creating beautiful carved pieces. Remember, every expert was once a beginner, so be patient with yourself and keep practicing.
The Essential Tools for Effective Wood Carving
Wood carving is a delightful craft that allows you to create beautiful and intricate designs from simple blocks of wood. To get started on this fulfilling journey, you’ll need a set of essential tools. The right tools make all the difference in your carving projects and can enhance your results while making the process more enjoyable.
Basic Tools You Will Need
- Carving Knives: A high-quality carving knife is vital. It should have a sharp blade and a comfortable handle. A basic set usually includes a detail knife and a roughing knife.
- Chisels: Look for straight chisels, gouges, and V-tools. Opt for chisels made of hard steel for longevity.
- V-tools: Sharp, V-shaped blades perfect for adding texture or detail to your projects.
- Mallet: Use a lightweight wooden, rubber, or plastic mallet to strike your chisels.
- Sharpening Tools: Use whetstones or honing guides to maintain blade edges.
- Bench Knife: Great for precise, thin slices of wood.
- Sandpaper: Use various grits for finishing your project.
- Protective Gear: Gloves and eyeshields to guard against accidents.
Overview of Tool Functions
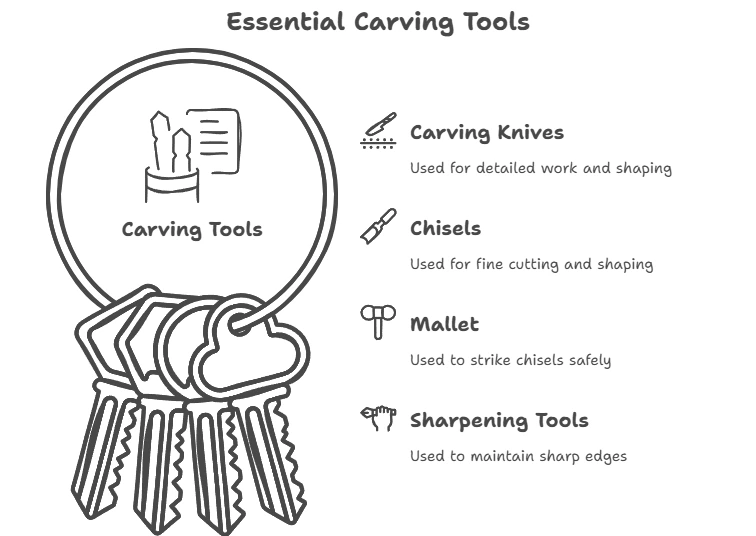
| Tool | Function | Importance |
|---|---|---|
| Carving Knives | Detail work and rough shaping | Essential for versatility in carving styles |
| Chisels | Fine cutting and shaping | Critical for achieving precise details |
| Mallet | To strike chisels | Needed for applying force safely |
| Sharpening Tools | Maintain sharp edges | Ensures tools work efficiently |
As you develop your wood carving skills, consider exploring online resources and communities. Websites like Woodcraft and Wood Magazine offer valuable insights, tutorials, and product reviews to further enhance your craftsmanship.
Remember that your choice of wood can also affect the carving experience. Softwoods like pine are easier to carve, while hardwoods like oak offer more challenges but yield beautiful results. Choose wisely based on your skill level and the type of project you wish to undertake.
Wood carving is not just about the tools but also about patience, passion, and practice. Equip yourself with the essentials and begin your journey today!
Exploring Decorative Carving Styles and Their Unique Applications
Carving is a delicate art that has a rich history and diverse applications across various cultures. Decorative carving styles enhance the beauty and functionality of objects, transforming simple materials into intricate artworks. From furniture to architectural details, these techniques add a unique touch, making them valuable in both modern and traditional contexts.
Understanding Different Decorative Carving Techniques
There are numerous techniques involved in decorative carving, each with its unique touch and application. Here are some popular styles:
- Relief Carving: This technique involves carving an image into a flat surface, creating a design that stands out. It’s often used on wooden panels and furniture.
- Chip Carving: This style consists of removing small chips from the surface of wood to create geometric patterns or designs. It’s common in boxes and utensils.
- In-the-Round Carving: In this technique, figures are carved free-standing from the material, often depicting life-sized or exaggerated forms. Sculpture is the main application of this style.
- Flat Plane Carving: As the name suggests, this method produces a flat, two-dimensional character or scene. It’s great for creating decorative pieces with minimal depth.
- Intaglio Carving: This technique involves engraving designs or images into a surface that are often filled with colors; it’s used in printmaking as well.
Applications of Decorative Carving
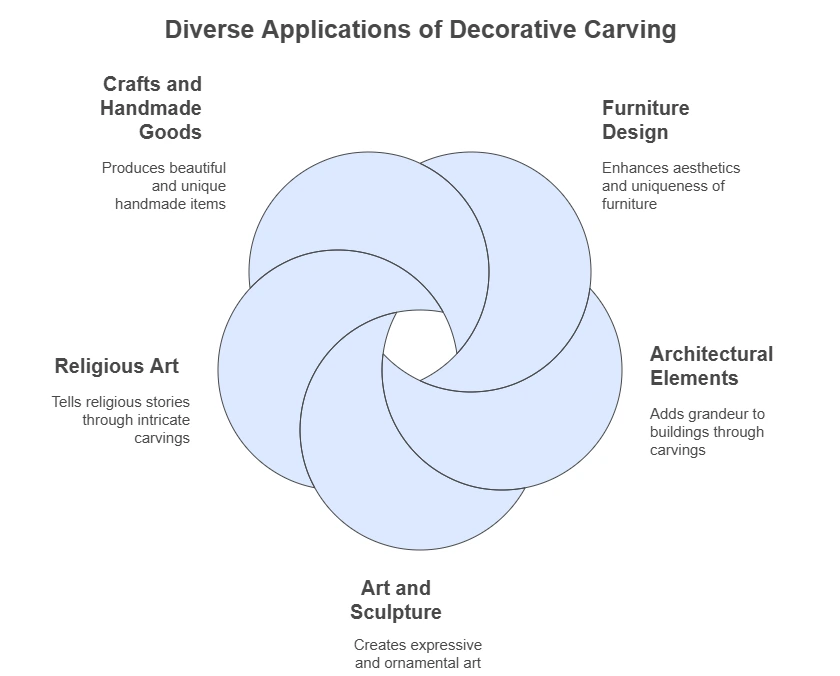
Decorative carving finds its way into various applications. Here are some primary areas where these techniques shine:
| Application | Description |
|---|---|
| Furniture Design | Decorative carving finds its way into various applications. Here are some primary areas where these techniques shine: |
| Architectural Elements | Decorative carving finds its way into various applications. Here are some primary areas where these techniques shine: |
| Art and Sculpture | Many artists use carving to create expressive sculptures and ornamental art pieces. |
| Religious Art | Churches and temples often showcase intricate carvings that tell religious stories. |
| Crafts and Handmade Goods | From jewelry to kitchen utensils, carving is used to create beautiful, unique handmade items. |
Choosing the Right Technique for Your Project
When exploring decorative carving for a project, consider the material and the desired outcome. Each technique suits different purposes and looks better on certain surfaces. For example, if you’re looking to create a statement piece for your living room, relief carving on a wooden panel can provide depth and detail that catches the eye.
On the other hand, if you aim for a more playful yet simplistic approach, chip carving can offer beautiful patterns without overwhelming intricacy. This adaptability makes decorative carving appealing to a range of artisans and hobbyists alike.
Tools of the Trade
The right tools make all the difference in decorative carving. Some basic tools include:
- Chisels: Various sizes and shapes help achieve different details and effects on wood or stone.
- Knives: Sharp carving knives allow precision and control for intricate details.
- Gouges: These curved tools are great for removing larger amounts of material and creating shapes.
- V-bits: Used for incising lines, ideal for detail work and outlining.
- Sandpaper: A necessary tool for finishing, smoothing, and perfecting carved surfaces.
Learning Resources
If you are interested in learning more about decorative carving, numerous resources can help enhance your skills:
- Woodcraft – This site offers tools, supplies, and instructional materials for carving.
- Chip Carving – A resource hub for chip carving enthusiasts, featuring techniques and patterns.
- Wood Magazine – Articles focusing on woodworking projects, including decorative carving insights.
Decorative carving not only enriches the aesthetic appeal of various objects but also connects us to the rich history of craftsmanship. Whether you are a hobbyist or a professional, exploring these diverse techniques can inspire new and creative projects.
Safety Tips for Wood Carvers: Protecting Yourself While Creating
Wood carving is an enjoyable and creative hobby that allows you to express your artistic side. However, it is essential to prioritize safety while working to avoid injuries. Here are effective safety tips that every wood carver should keep in mind to protect yourself while creating beautiful pieces of art.
Wear the Right Protective Gear
Wearing suitable protective gear is critical in reducing the risk of injuries. Here are some items you should include in your safety equipment:
- Safety Glasses: Always wear safety glasses to protect your eyes from wood chips and dust.
- Cut-Resistant Gloves: Invest in cut-resistant gloves to shield your hands from accidental cuts.
- Face Masks: Use a face mask when sanding or working with fine particles to avoid inhalation.
- Ear Protection: Consider using earplugs if you’re working with loud machinery.
Maintain a Clean Workspace
A clean workspace leads to fewer accidents. Here’s how to keep your working area safe:
- Regularly remove wood shavings and debris to avoid slipping.
- Organize tools and materials so you can find everything quickly.
- Ensure that the surfaces are stable and without clutter.
- Ensure good lighting to see your workspace clearly.
Understand Your Tools
Familiarize yourself with the tools you use. Every wood carver should know how to handle tools safely. Here are some tips:
- Read the manufacturer’s instructions for each tool.
- Keep tools sharp, as dull tools can slip and cause injuries.
- Use the right tool for the job to prevent accidents.
- Always cut away from your body and keep your hands behind the cutting line.
Practice Good Technique
Proper carving techniques not only result in better artwork but also enhance safety. Follow these guidelines:
- Use a stable bench to work, ensuring a steady surface when carving.
- Take your time; rushing can lead to mistakes and injuries.
- Maintain control of your tools and avoid distractions while working.
- Practice proper hand positioning to avoid cuts.
Take Breaks
Wood carving can be intricate and time-consuming. Taking regular breaks helps to maintain focus and reduces fatigue, which can lead to accidents. Here’s how you can manage breaks effectively:
- Set a timer to remind yourself to take a break every hour.
- Use breaks to stretch and relax your hands and wrists.
- Walk around to refresh your mind and improve circulation.
Stay Hydrated and Nourished
Staying hydrated and nourished plays a significant role in your concentration and energy levels. Drink water regularly and consume healthy snacks during breaks to keep your focus sharp.
Keep First-Aid Supplies Nearby
Accidents can happen, even with the best precautions. Always have a well-stocked first-aid kit within reach. Make sure it includes:
- Band-aids for minor cuts.
- Antiseptic wipes to clean wounds.
- Gauze and adhesive tape for larger injuries.
- Ice packs for swelling or pain relief.
Learn Emergency Procedures
In the event of an accident, knowing how to respond is vital. Familiarize yourself with emergency procedures:
- Know how to apply first aid for cuts and other injuries.
- Have emergency contacts saved in your phone for quick access.
- Teach those around you how to help in case of an emergency.
By following these safety tips, you can enjoy wood carving while minimizing risks. To expand your knowledge and skills in wood carving, consider visiting Wood Carving Illustrated or explore resources from Wood Carvers. Prioritize safety first, and allow your creativity to flow!
Advanced Carving Techniques: Elevating Your Craftsmanship to New Heights
When it comes to carving techniques, mastering the art can truly elevate your craftsmanship. Whether you’re working with wood, stone, or other materials, advanced carving techniques can take your projects to new heights. Here, we’ll explore various methods, tools, and practices to enhance your carving skills. Allow yourself to dive deep into these intricate ideas and discover what they can do for your art.
One of the core aspects of advanced carving is understanding your materials. Different types of wood and stone behave uniquely during the carving process. Here’s a look at some popular materials:
| Material | Advantages | Considerations |
|---|---|---|
| Mahogany | Easy to carve, resistant to rot | Can be pricey and may not be sustainable |
| Basswood | Soft, great for detailed work | Not very durable, can dent easily |
| Soapstone | Soft enough for beginners, beautiful finish | Breaks easily, requires careful handling |
| Pine | Readily available, easy to work with | Can have knots that disrupt carving |
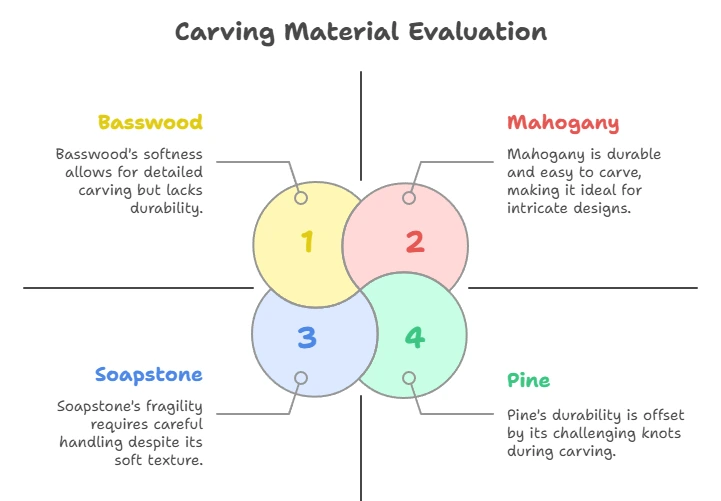
Now that you know about materials, let’s turn our attention to techniques. Several advanced carving techniques can transform your work. Here are a few to consider:
- Negative and Positive Space Carving: This technique involves carving away from the main object to create depth. It emphasizes both the carved piece and its surroundings, giving a more three-dimensional feeling to your work.
- Drum-Locking: A unique method particularly used for woodturning, where tools are locked in place to achieve consistent carvings. This is ideal for creating uniform patterns.
- Chip Carving: A more decorative technique where small chips are removed to create intricate designs. It’s an excellent choice for adding details to furniture or decorative pieces.
- Relief Carving: This involves carving into a flat surface but leaving parts raised. It’s popular in creating decorative wall hangings or furniture embellishments.
Each of these techniques offers something different. Understanding when and how to use them is key to improving your craftsmanship and getting the results you desire.
Specialized Tools for Advanced Carving
Tools also play a pivotal role in carving. Advanced techniques often require specialized tools that can perform specific tasks. Consider the following tools for your toolkit:
- Carving Knives: Essential for detail work, sharp knives allow for precision.
- Gouges: These come in various shapes and sizes, perfect for sculpting and shaping.
- Chisels: Great for removing large sections of material quickly.
- V-Tools: Ideal for creating sharp lines and details.
- Power Tools: Tools like rotary machines can speed up the carving process and help achieve intricate designs.
Before diving into any project, it’s essential to sketch your ideas. Visualizing your design can guide you through the carving process, ensuring you don’t stray too far from your initial conception. Don’t forget to invest time in practice. Experimenting with scrap material can help build your confidence, letting you focus on refining your approach and mastering advanced techniques.
Furthering Your Skills
For those seeking to further refine their skills, consider engaging with online workshops or tutorials offered by experts in the field. Websites like Woodcraft and Carving.com offer valuable resources to help you grow. Continuous learning is vital in the world of craftsmanship and can open doors to new techniques and perspectives.
Networking with other carvers can provide not only inspiration but also constructive feedback. Joining local workshops or online forums can connect you with like-minded individuals who share your passion. Collaboration and communication can yield new ideas that will enhance your craft.
Advanced carving techniques require patience, practice, and an eagerness to learn. As you embrace these methods and tools, you’ll see your projects evolve, reflecting the dedication you pour into your artistry. Remember, every master was once a beginner, so keep pushing your boundaries and continue to refine your craft.
Conclusion
Mastering carving techniques opens up a world of creativity and self-expression. Whether you are a novice just starting your journey or an experienced carver looking to refine your skills, understanding the foundational steps is crucial. With the right tools at your disposal, such as knives, chisels, and gouges, you’ll find that your projects come to life more easily. Embracing different decorative carving styles allows you to explore unique applications, transforming simple wood into stunning pieces of art, each telling its own story.
Safety should always be a top priority in your carving practice. By adhering to safety tips, you protect yourself and keep your creative space enjoyable. As you become more confident, don’t hesitate to delve into advanced techniques. These methods can elevate your craftsmanship, allowing you to produce intricate and professional-looking designs that stand out.
Carving is not just a hobby; it’s a fulfilling journey that cultivates patience, precision, and passion. Remember to explore, practice, and push the boundaries of your creativity. Surround yourself with a community of other wood carvers, share your experiences, and continue learning from each project. Embrace every challenge as an opportunity to grow, and soon, your skills will reflect your dedication. So, pick up your tools, carve out some time for practice, and let your creativity shine!