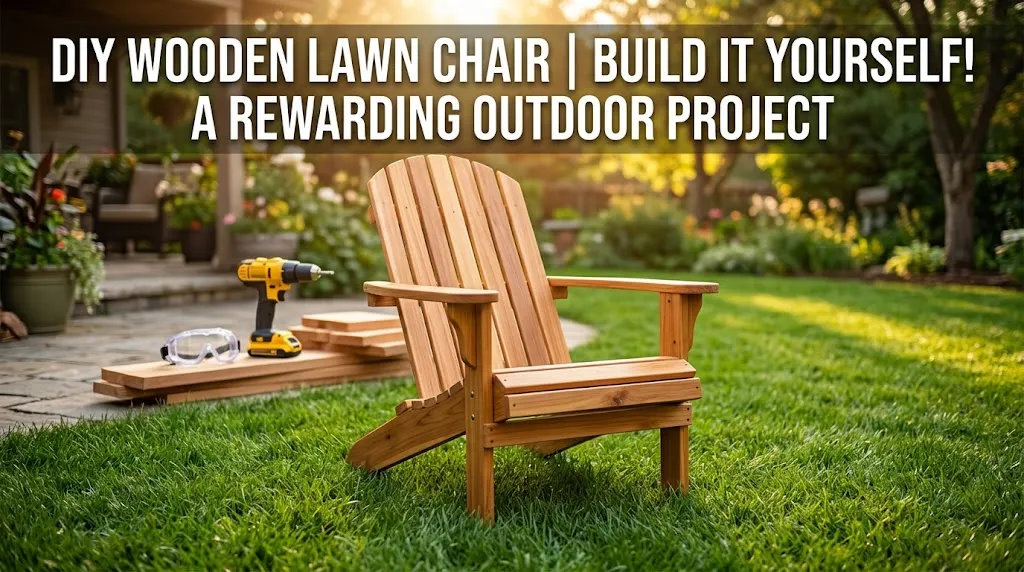
Building a Wooden Lawn Chair can be a fun and rewarding DIY project. Not only will you save money, but you’ll also possess a unique and stylish chair for your outdoor space. In this guide, you’ll find step-by-step instructions to create your own wooden lawn chair.
Gather the Necessary Materials
Before you start, gather all the materials you need:
- 1” x 4” lumber (choose cedar or pine for durability)
- Wood screws (2.5 inches)
- Wood glue
- Sandpaper (medium and fine grit)
- Outdoor wood finish or sealant
- Measuring tape
- Saw (circular or miter saw)
- Drill with bits
- Safety goggles
- Clamps
Step 1: Cut the Wood
Measure and cut the wood according to the following specifications:
| Part | Quantity | Dimensions |
|---|---|---|
| Seat Slats | 5 | 24” (length) |
| Backrest Slats | 5 | 24” (length) |
| Seat Frame | 2 | 30” (length) |
| Side Frames | 2 | 26” (length) |
| Leg Supports | 4 | 8” (length) |
Cut the lumber using your saw. Always wear safety goggles while cutting. After cutting, sand the edges of each piece to smooth any rough spots.
Step 2: Assemble the Seat Frame
Start by assembling the seat frame. Take the two 30” pieces and place them parallel to each other, then attach the 26” pieces at each end using wood screws and wood glue. Ensure they are square by measuring diagonally from corner to corner.
Step 3: Attach the Seat Slats
Next, lay the five 24” seat slats across the frame you just built. Space them evenly, allowing for gaps between each slat to help with water drainage. Secure each slat with wood screws to the frame.
Step 4: Build the Backrest
Using the remaining 24” slats, create the backrest using a similar method as the seat. Attach the slats to the backrest frame, ensuring there’s a slight tilt for comfort. Attach the backrest frame to the rear of your seat frame at a comfortable angle, usually around 15 degrees.
Step 5: Attach the Legs
For stability, attach the four leg supports to the corners of the seat frame. Make sure they are firmly secured to avoid wobbling. You may want to create a small angle on each leg’s bottom to allow for balance on uneven surfaces.
Step 6: Sand and Finish
Once assembled, thoroughly sand the entire chair to smooth out any rough edges or surfaces. This step is crucial for a comfortable seating experience. After sanding, apply an outdoor wood finish or sealant to protect your chair from the elements.
Essential Tools and Materials Needed for Lawn Chair Construction
Building a Wooden Lawn Chair can be a rewarding project, especially when you gather the right tools and materials to make the process smoother. Whether you’re a seasoned woodworker or a beginner looking to tackle your first DIY project, knowing what you need is crucial. Let’s break down the essential tools and materials you will need to bring your wooden lawn chair to life.
Tools Required
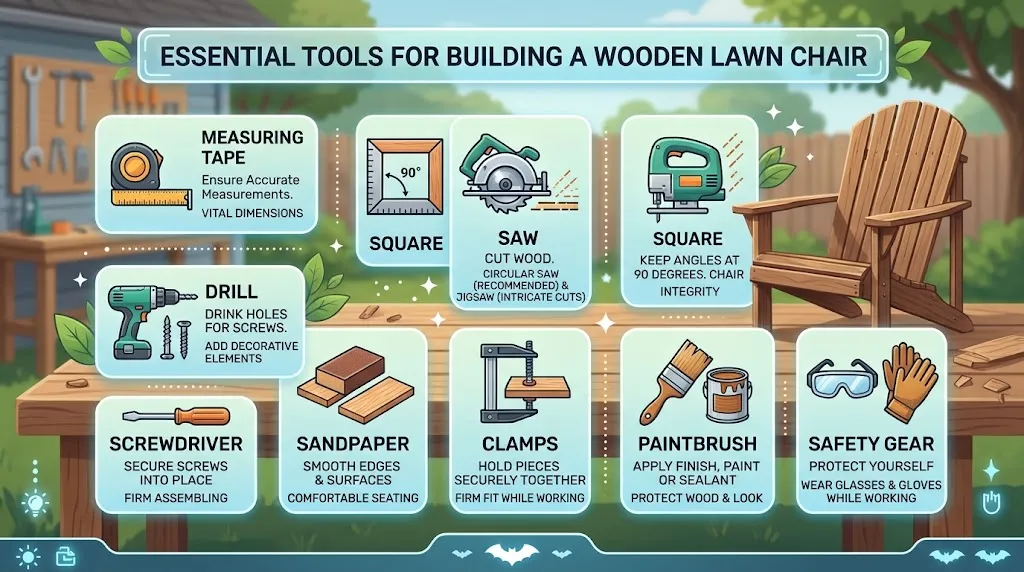
Here’s a comprehensive list of tools that are essential for building a wooden lawn chair:
- Measuring Tape: Accurate measurements are vital. A measuring tape helps ensure that all dimensions of your chair are just right.
- Square: This tool helps you keep angles at 90 degrees. It’s vital for the integrity of your chair.
- Saw: A circular saw is recommended for cutting the wood. For more intricate cuts, you might want a jigsaw as well.
- Drill: A power drill allows you to make holes for screws easily. It’s also handy for adding decorative elements later.
- Screwdriver: You’ll need both a flathead and a Phillips screwdriver to secure screws into place.
- Sandpaper: This will help smooth out the edges and surfaces of your chair, making it comfortable to sit on.
- Clamps: Using clamps can hold your pieces together while you work, ensuring a firm fit as you construct.
- Paintbrush: If you plan to finish your chair with paint or sealant, a good-quality paintbrush is essential.
- Safety Gear: Don’t forget to stock up on safety glasses and gloves to protect yourself while working.
Materials Needed
Now that you have your tools sorted, it’s time to gather the materials you’ll need to construct the lawn chair:
- Wood: Choose a durable type of wood for outdoor use. Cedar or pressure-treated pine are excellent choices due to their resistance to weather.
- Screws: Stainless steel or galvanized screws are ideal because they resist rust when outdoors.
- Wood Glue: Wood glue can add extra strength to joints when combined with screws.
- Outdoor Paint or Sealant: Selecting a high-quality paint or sealant protects the wood from the elements.
- Foam Cushions (optional): If you want extra comfort, consider using foam cushions covered with weather-resistant fabric.
Detailed Material Breakdown
| Material | Description | Purpose |
|---|---|---|
| Wood (Cedar or Pine) | Durable, water-resistant | Frame Structure |
| Screws | Stainless steel or galvanized | Joining Wood Pieces |
| Wood Glue | Strong adhesive | Reinforcing Joints |
| Outdoor Paint | Weather-resistant coating | Protection Against Elements |
| Foam Cushions | Soft padding | Comfort Enhancement |
Before you start your project, prepare your workspace. Ensure it’s clean and organized. This will make it easier to access your tools and materials while working.
For those seeking detailed plans or step-by-step guidance, consider checking out resources such as Wood Magazine where you can find patterns and plans tailored for lawn chair construction. You can also visit Ana White for free woodworking plans that include lawn furniture projects. These websites offer great starting points if you need inspiration or more guidance.
Building your Wooden Lawn Chair can be a fun and fulfilling task. By gathering the proper tools and materials beforehand, you pave the way for a smoother construction process. With a bit of patience and creativity, you’ll have a beautiful piece of furniture to enjoy in your outdoor space.
Choosing the Right Type of Wood for Durability and Comfort
When it comes to building a Wooden Lawn Chair, the type of wood you choose plays a crucial role in ensuring both durability and comfort. Each type of wood comes with its unique characteristics, affecting how well your chair will stand up to the elements and how comfortable it feels when you sit down. Understanding these options will help you make an informed decision.
Common Types of Wood for Lawn Chairs
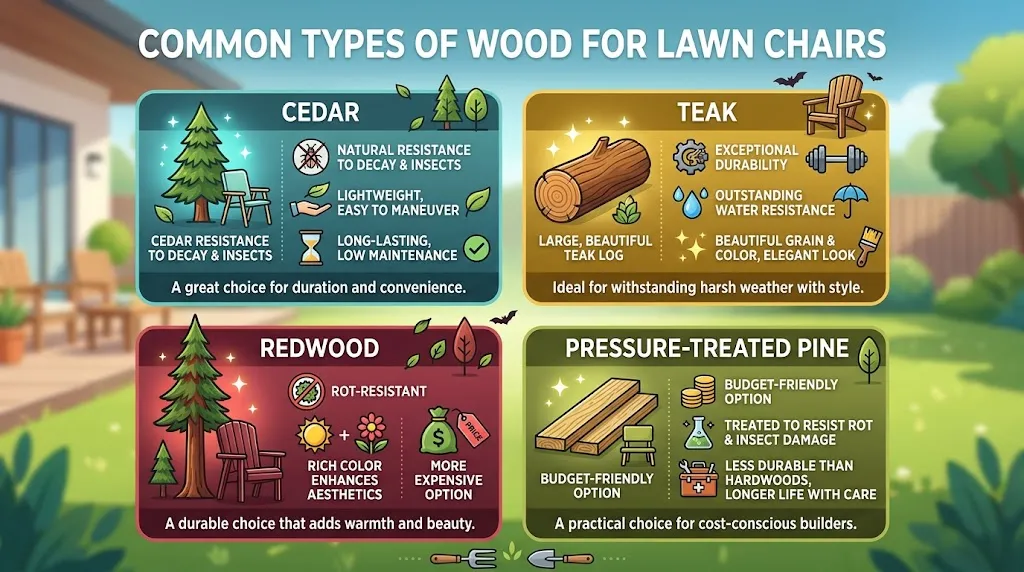
Several types of wood are commonly used for outdoor furniture like lawn chairs. Here are some types you should consider:
- Cedar: Known for its natural resistance to decay and insects, cedar is lightweight, making it easy to maneuver. It’s a great choice if you want a chair that lasts a long time without requiring much maintenance.
- Teak: This hardwood is renowned for its exceptional durability and water resistance. Teak wood can withstand harsh weather conditions, making it ideal for outdoor furniture. Its beautiful grain and color also add elegance to any lawn chair.
- Redwood: Another excellent option for outdoor use, redwood is not only rot-resistant but also has a rich color that enhances the aesthetics of your chair. However, it can be more expensive compared to other woods.
- Pressure-Treated Pine: This is a budget-friendly option popular for outdoor furniture. It’s treated to resist rot and insect damage. While it’s less durable than hardwoods, it can still last many years if properly maintained.
Key Factors to Consider
When selecting wood for your lawn chair, keep these factors in mind:
- Weather Resistance: Choose wood that can withstand rain, sun, and humidity. Cedar and teak excel in this aspect.
- Comfort: The shape and design of the chair enhance comfort significantly. However, softer woods can be more forgiving for sitting long hours.
- Maintenance: Some woods require regular sealing and treatment to maintain their appearance and durability. Teak, while low in maintenance, can be more costly upfront.
- Aesthetic Appeal: Consider the look you want for your outdoor space. Teak and redwood provide a natural beauty that can complement your garden or patio.
Durability vs. Comfort
Finding a balance between durability and comfort is vital for any lawn chair. While hardwoods like teak or mahogany offer excellent longevity, they can sometimes feel rigid. Conversely, softer woods like pine may feel more comfortable initially but might not endure the test of time as well. Here are some insights on how to achieve this balance:
Test for Comfort
Before committing to your wood choice, consider creating prototypes or testing samples. People have varied preferences regarding sitting posture, so understanding comfort levels in familiarity with different woods is vital.
Choosing the Right Finish
A good finish not only enhances the wood’s appearance but also protects it from the elements. For outdoor uses, consider using oils or sealants that can withstand UV rays and moisture, prolonging the life of your chair. Regular maintenance will keep your chair looking and feeling comfortable.
Making the Final Choice
Your final choice of wood should depend on various considerations. If your priority is long-term durability with minimal maintenance, teak is worth the investment. For a balance between cost and durability, cedar is an excellent choice. Ultimately, you want wood that feels great to sit on, looks good in your outdoor space, and withstands the elements.
Design Variations: Customizing Your Wooden Lawn Chair
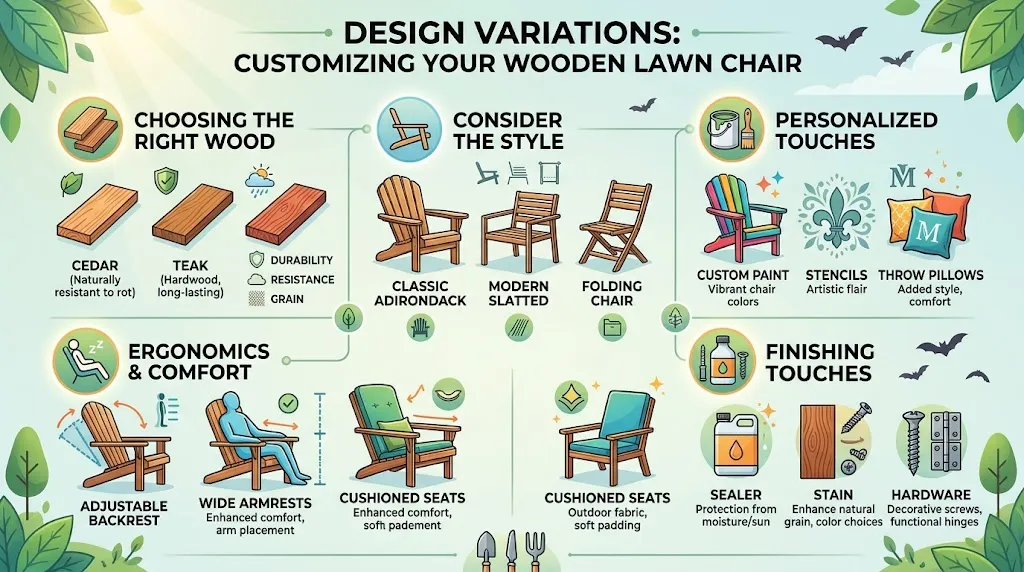
Creating a Wooden Lawn Chair offers the chance to express your personal style while enjoying the beauty of nature. There are countless design variations that can elevate your lawn chair from a simple seat to a stunning piece of outdoor furniture. Here are some effective ways to customize your wooden lawn chair to match your aesthetic and functional requirements.
Choosing the Right Wood
Different types of wood present unique textures, colors, and durability levels. Here are some excellent choices:
- Cedar: Naturally resistant to rot and insects, cedar is lightweight and offers a beautiful grain.
- Redwood: Known for its rich color and aroma, redwood is durable and great for outdoor settings.
- Teak: This hardwood is famous for its density and resistance to moisture, ensuring longevity.
Consider the Style
Your lawn chair can reflect various styles. Think about the overall look of your outdoor space and choose a design that complements it:
- Classic Adirondack: This timeless design features a wide seat and angled back for comfort.
- Modern Slatted: A minimalist approach with straight lines and slats gives a contemporary feel.
- Folding Chair: Practical for storage, a folding design is perfect for those with limited space.
Personalized Touches
Adding personalized touches is a fun way to make your lawn chair unique. Here are some ideas:
- Custom Paint: Use outdoor paint to add a splash of color that matches your garden.
- Stencils: Create patterns or monograms using stencils for an artistic flair.
- Throw Pillows: Custom throw pillows can add comfort and style, enhancing your chair’s aesthetic.
Ergonomics and Comfort
Comfort is key for any chair you build. Consider how you can tweak the design to make it more ergonomic:
- Adjustable Backrest: Build a chair with a reclining back to suit your lounging needs.
- Wide Armrests: Adding wider or lower armrests can enhance comfort, especially for longer sitting sessions.
- Cushioned Seats: Incorporate a cushioned seat with outdoor fabric for extra comfort.
Finishing Touches
Once the chair is built, finishing touches play a critical role in both aesthetics and protection. Here’s what to consider:
- Sealer: A weather-resistant sealant will protect the wood from moisture and sun damage.
- Stain: Choosing a wood stain can enhance the beauty of the natural grain and allow you to customize the color.
- Hardware: Using decorative screws and hinges can improve functionality while adding style.
Maintenance Tips for Long-lasting Wooden Lawn Chairs
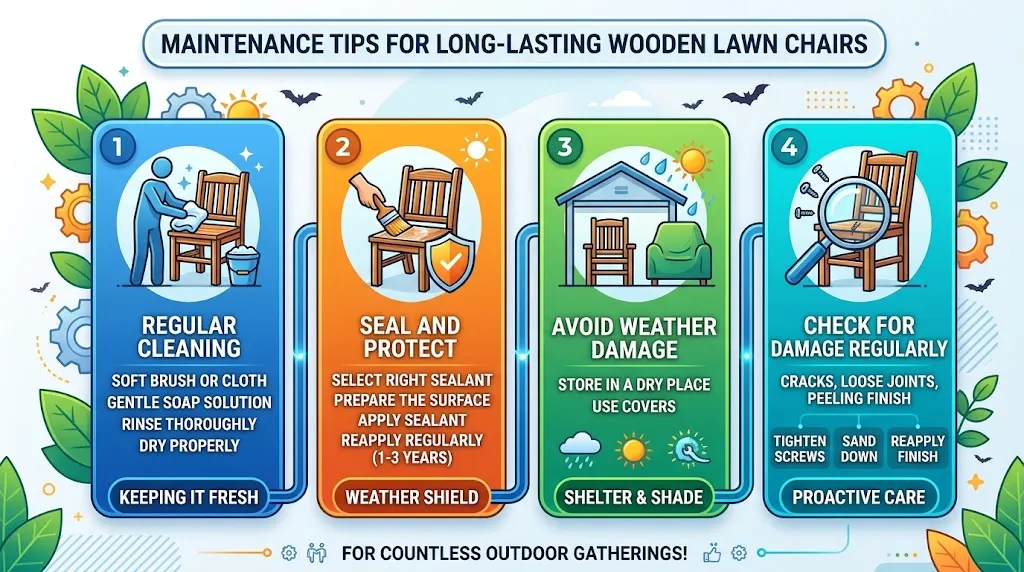
Wooden lawn chairs can be a delightful addition to your outdoor space, providing both comfort and style. To ensure they remain beautiful and functional for years to come, regular maintenance is key. Here are some essential maintenance tips to help you keep your wooden lawn chairs looking great.
Regular Cleaning
Cleaning your wooden lawn chairs regularly will prevent dirt and grime from accumulating, which can lead to discoloration and damage. Here’s how you can do it:
- Soft Brush or Cloth: Use a soft brush or cloth to remove dust and debris.
- Gentle Soap Solution: Mix mild soap with warm water and gently scrub the surface with a soft cloth.
- Rinse Thoroughly: Make sure to rinse off any soap residue with clean water.
- Dry Properly: Allow your chairs to dry completely to prevent moisture damage.
Seal and Protect
Applying a protective sealant to your wooden lawn chairs can significantly enhance their lifespan. Here are the steps for sealing your chairs:
- Select the Right Sealant: Choose a sealant suitable for outdoor wood. Look for options that are waterproof and UV-resistant.
- Prepare the Surface: Sand the chair surfaces lightly to ensure the sealant adheres well.
- Apply Sealant: Use a brush or cloth to apply the sealant evenly. Follow the manufacturer’s instructions for drying times.
- Reapply Regularly: Depending on weather conditions, reapply the sealant every 1-3 years.
Avoid Weather Damage
Weather is one of the biggest threats to your wooden lawn chairs. Taking a few precautionary steps will minimize weather-related wear:
- Store in a Dry Place: When not in use, store chairs in a sheltered location, such as a garage or shed.
- Use Covers: Invest in quality outdoor covers to protect your chairs from the elements.
- Avoid Combining Chairs: If stacking chairs, ensure they are dry to prevent moisture retention.
Check for Damage Regularly
Regularly inspecting your wooden chairs for damage can help you catch issues before they become serious. Here are specific areas to check:
| Issue | Signs | Solution |
|---|---|---|
| Cracks | Visible splits in the wood | Fill with wood putty and sand smooth. |
| Loose Joints | Wobbly chairs | Tighten screws or use wood glue to secure joints. |
| Peeling Finish | Rough patches or discoloration | Sand down and reapply finish. |
Seasonal Maintenance Tips
Adapting your maintenance routine to the seasons can keep your wooden lawn chairs in the best condition:
- Spring: Clean, inspect, and apply new sealant as necessary.
- Summer: Regularly clean to remove dust and debris.
- Fall: Prepare for winter by cleaning thoroughly and covering with protective materials.
- Winter: Store indoors if possible, or ensure they are covered to protect from snow and ice.
Looking for more detailed guidance? Websites like Fine Woodworking can offer expert insights on woodworking maintenance.
By following these maintenance tips, you’ll not only enhance the longevity of your wooden lawn chairs, but also maintain their beauty and functionality for countless outdoor gatherings. Remember, a little care goes a long way in preserving your investment and ensuring countless evenings of relaxation in your garden.
Conclusion
Building a Wooden Lawn Chair can be a rewarding project that enhances your outdoor space. By following the step-by-step guide, you can create a comfortable and stylish seating option tailored to your needs. Ensuring you have the essential tools and materials at hand simplifies the process, allowing you to focus on crafting a sturdy chair. Selecting the right type of wood is crucial for both durability and comfort; hardwoods like teak or cedar not only resist weathering but also provide a beautiful finish.
Customization options abound, whether adding armrests, choosing a specific design, or incorporating cushions for added comfort. Your personal touch can transform a simple chair into a centerpiece for relaxation in your garden or patio. To ensure your creation lasts for years to come, it’s vital to understand maintenance tips such as regular cleaning, applying sealants, and protecting it from harsh weather conditions.
Ultimately, building a Wooden Lawn Chair is not just about the end product but also the satisfaction of creating something with your own hands. It’s an opportunity to learn new skills, express creativity, and enjoy the fruits of your labor in a cozy outdoor setting. With careful planning, attention to detail, and ongoing care, your wooden lawn chair can become a cherished addition to your home for many seasons. Embrace the process, and enjoy the comfort of your handiwork as you relax in the great outdoors.