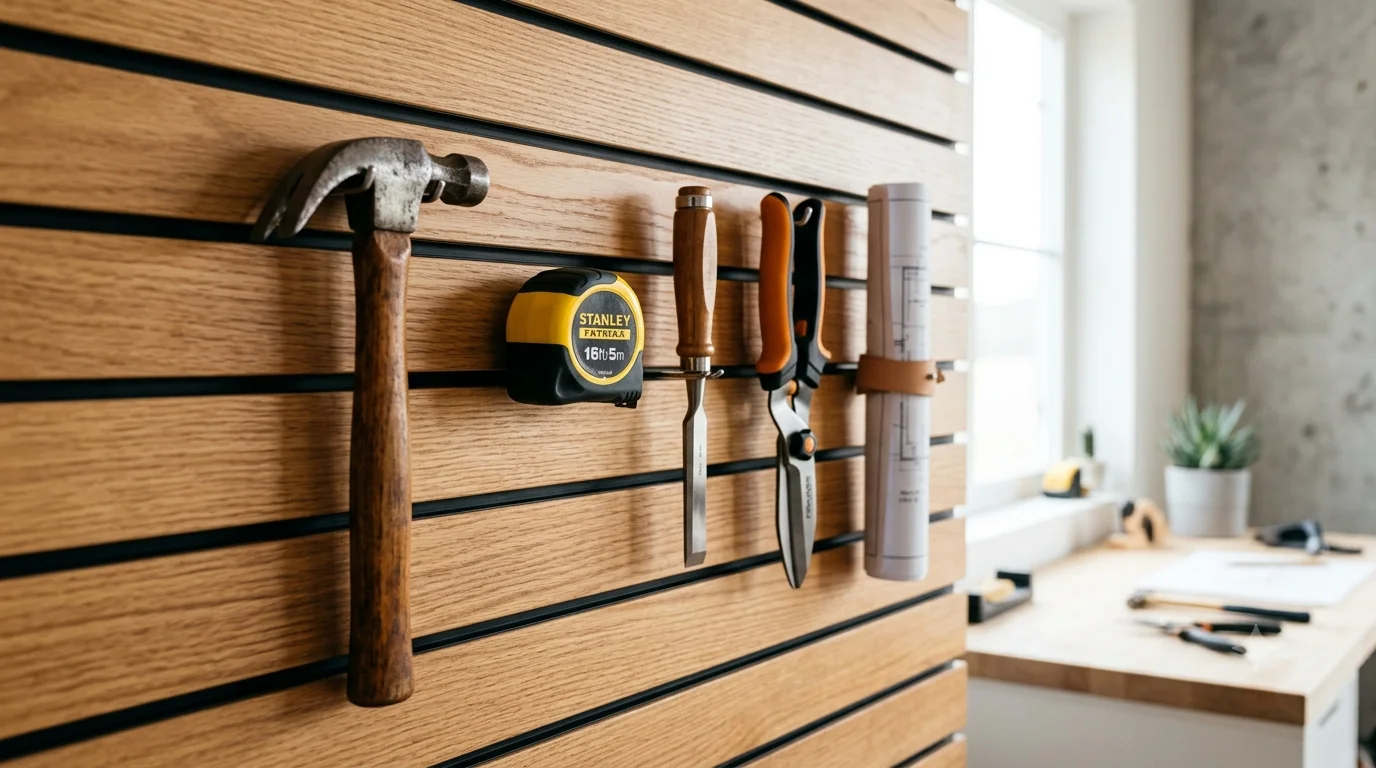
Creating a DIY Slat Wall Panel with Free Plans is a fantastic way to enhance your home or workspace. Slat wall panels are versatile, functional, and can be customized to fit your style. Whether you’re looking for a place to display items, create organization in a retail space, or simply beautify a room, this guide will walk you through it step by step. With free plans available online, making your own slat wall doesn’t have to be daunting.
The beauty of a slat wall panel lies in its sleek design and practicality. You can use it for various purposes, such as hanging tools, displaying art, or showcasing merchandise. Plus, you can easily adapt the design to your needs.
Materials Needed
- 3/4-inch plywood or MDF sheets
- Horizontal slats (1×3 lumber is common)
- Wood glue
- Wood screws
- Measuring tape
- Circular saw or table saw
- Drill and drill bits
- Sanding block or electric sander
- Paint or finish (optional)
Here are the basic steps to follow when creating your slat wall panel:
Step 1: Plan Your Design
Before you begin building, sketch your design on paper. Decide how large you want your slat wall to be and how many slats you’ll need. Remember, the spacing between slats can significantly affect the overall look and functionality. For instance, a standard spacing of 12 inches often works well.
Step 2: Cut the Panels
Using a circular saw or table saw, cut your plywood or MDF sheets to the desired size for the back panel. Typically, a panel size of 4 feet by 8 feet is a good starting point. Next, cut your horizontal slats to length. Make sure they’re all consistent in size.
Step 3: Sand the Edges
After cutting the pieces, use a sanding block or electric sander to smooth out any rough edges. Sanding is crucial to ensure safe handling and a polished look after painting or staining.
Step 4: Attach the Slats
Begin attaching the slats to the back panel. Apply wood glue along the edge of each slat, then screw them into place. Start from the bottom and work your way up, spacing each slat evenly. Keep in mind the overall design and the spacing you planned in Step 1. A distance of 12 inches between slats is often suitable, but feel free to adjust based on your needs.
Step 5: Finish the Panel
Once all slats are attached, let the glue dry according to the manufacturer’s instructions. You can then paint or finish the panel as desired. Using a paint sprayer or roller can provide a smooth finish that enhances the overall look of your slat wall.
Step 6: Mounting the Slat Wall
For mounting, find the wall studs using a stud finder, as this will ensure that your panel securely attaches to the wall. Secure the slat wall into place using screws, ensuring it is level. If you want a more permanent installation, consider using heavy-duty anchors to provide additional support.
Step 7: Add Accessories
Once your slat wall is up, it’s time to get creative! You can purchase hooks, shelves, and brackets designed for slat walls. These accessories are perfect for organizing tools in your garage or displaying artwork in a living room.
You can access free plans for DIY Slat Wall Panel with Free Plans at Wood Magazine, featuring various designs and dimensions to suit your needs. This can help expand your project even further.
A DIY Slat Wall Panel with Free Plans is an engaging project that can breathe life into any space. With these step-by-step instructions, you’re well-equipped to undertake the project. Enjoy the benefits of a stylish and functional organization solution that you can truly call your own!
Benefits of Using Slat Wall Panels in Your Home
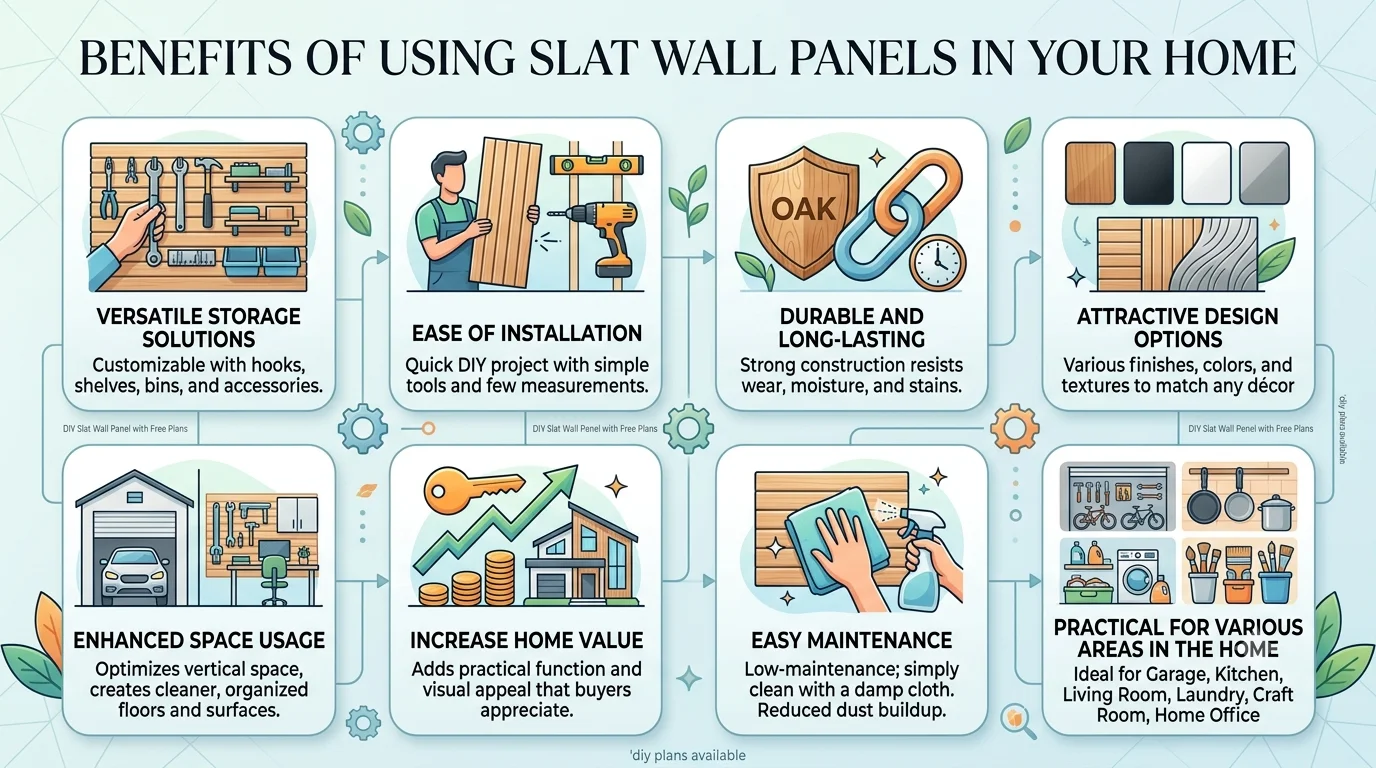
Using slat wall panels in your home can offer a variety of benefits that enhance both functionality and aesthetics. These panels are not only practical, but they also add a touch of style to any space. Here are some compelling reasons to incorporate slat wall panels into your home design.
Versatile Storage Solutions
One of the major advantages of slat wall panels is their versatility. You can customize the setup to fit your specific needs. Whether you need extra space in your garage, a display for your merchandise, or a way to organize tools, slat wall panels can accommodate various hooks, shelves, and bins:
- Garage Organization: Easily store bikes, tools, and sporting equipment.
- Retail Displays: Showcase products effectively to improve sales.
- Kitchens: Organize pots, pans, and other cooking essentials.
Ease of Installation
Installing slat wall panels is a straightforward process that can be completed in a single afternoon. Most slat wall systems come with pre-drilled holes, which eliminates the need for complex measurements. You can easily cut them to fit your space, making them adaptable for walls of any size.
Durable and Long-Lasting
Slat wall panels are typically made from high-quality materials such as MDF, plywood, or melamine, which makes them durable. They can withstand wear and tear from daily use, ensuring that your investment lasts for years. Additionally, they are resistant to moisture and stains, making them suitable for various environments, including kitchens and bathrooms.
Attractive Design Options
Gone are the days of dull, boring walls. Slat wall panels come in a range of colors, finishes, and textures, allowing you to match them with your home’s décor. Whether you’re looking for a modern look with sleek finishes or a rustic charm with natural wood stains, there’s a design that can enhance your home.
Enhanced Space Usage
Slat wall panels optimize vertical space, allowing you to take advantage of every square inch in your home. Instead of cluttering countertops and floors with items, you can vertically store them, creating a cleaner, more organized living area. This feature is particularly beneficial for smaller rooms where every bit of space counts.
Increase Home Value
Including slat wall panels can elevate the overall appeal of your home. Potential buyers often appreciate the functional benefits of slat wall systems and may see it as a valuable feature. Whether you’re planning to sell your home soon or just want to enjoy the benefits now, slat wall panels can certainly add value.
Easy Maintenance
Another significant benefit is the low maintenance required for slat wall panels. Cleaning is as simple as wiping them down with a damp cloth. Unlike traditional shelves that can host dust and dirt in hard-to-reach places, slat walls are designed to reduce these issues. This convenience is particularly appealing for busy households.
Practical for Various Areas in the Home
Slat wall panels are not limited to specific areas; they can be utilized in a multitude of rooms, including:
| Room Type | Uses |
|---|---|
| Living Room | Display art, store books, or showcase collectibles. |
| Bedroom | Organize accessories, bags, and hats. |
| Home Office | Store office supplies, files, and tools. |
| Kids’ Room | Display toys, arts and crafts, or school materials. |
Slat wall panels into your home does not just add storage space; it brings a sense of order and efficiency that many homeowners desire. When you select the right design and configuration, slat walls can seamlessly blend into your décor while also providing practical solutions.
Creative Ideas for Customizing Your Slat Wall Panel
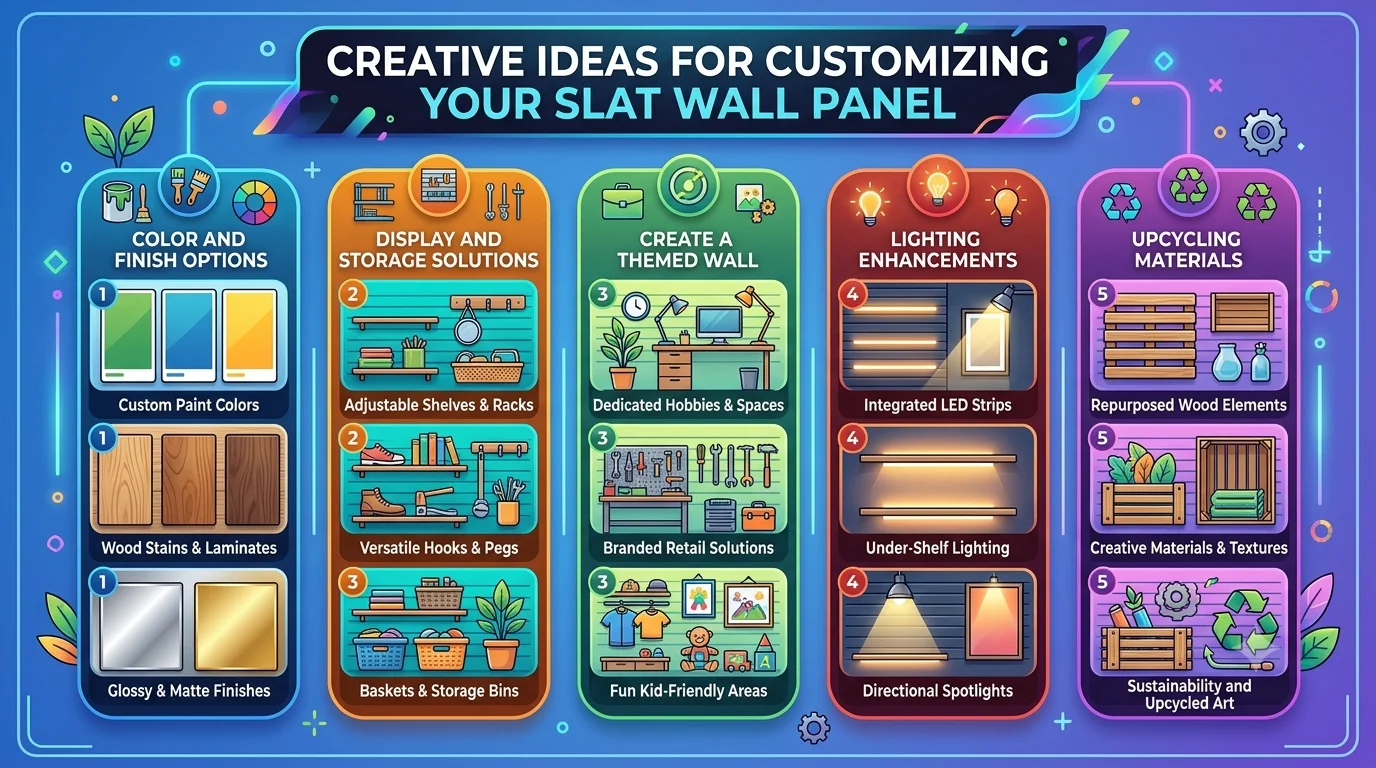
Slat walls are a functional and stylish addition to any space, whether it’s a garage, retail store, or home workshop. If you’ve installed a slat wall panel or are considering a DIY Slat Wall Panel with Free Plans, you’re likely thinking about how to make it your own. Customizing your slat wall can elevate its functionality and aesthetic appeal. Here are some creative ideas to help you take your slat wall panel to the next level.
Color and Finish Options
Your slat wall can be customized with various colors and finishes to match your decor. Here are some suggestions:
- Paint: Choose a bold color or a chic neutral palette. You can even use a spray paint for a smooth finish.
- Stain: For a more rustic look, consider using wood stain. This enhances the natural wood grain and adds warmth.
- Wallpaper: Apply adhesive wallpaper to give your slat wall a unique pattern. This can be easily changed if you want a quick refresh.
Display and Storage Solutions
Maximize the potential of your slat wall with functional displays and storage options that suit your needs. Here are some ideas:
- Hooks: Use a variety of hooks for different items, from tools to accessories. Select hooks in different finishes for a mixed media effect.
- Shelves: Install floating shelves for decorative items or practical storage. This makes it ideal for showcasing plants or collectibles.
- Bins and Baskets: Hang stylish bins or baskets to keep items organized. These can add a pop of color while serving a practical purpose.
Create a Themed Wall
Theming your slat wall can give it a distinct character. Here are some fun ideas to consider:
- Office Wall: Use your slat wall to display office supplies, gadgets, or even motivational quotes.
- Art Space: Design a gallery wall featuring your favorite art pieces, photo frames, or DIY crafts.
- Garden Center: If you’re passionate about gardening, incorporate planters, gardening tools, and decor related to plants.
Lighting Enhancements
Lighting can dramatically alter the look of your slat wall. Consider these options:
- LED Strips: Install LED light strips along the edges to create a modern glow that highlights your wall’s features.
- Spotlights: Use small spotlights to direct attention to specific items displayed on your slat wall.
- Backlighting: For a striking effect, you can position lights behind certain sections of your slat wall to create depth.
Upcycling Materials
Make your slat wall even more unique by incorporating upcycled materials. This not only helps the environment but also adds one-of-a-kind features. Here are some upcycling ideas:
- Old Pallets: Repurpose wooden pallets to create sections of your slat wall for a rustic appeal.
- Fabric Swatches: Use colorful fabric pieces and attach them to your wall for a cozy and inviting look.
- Repurposed Furniture: Take parts from unused furniture, like drawer fronts or door panels, to create an eclectic design.
To inspire your customization journey, numerous resources offer free plans for DIY slat wall panels, allowing you to get started on your project right away. Websites like Ana White and Family Handyman provide excellent guides and ideas without cost.
Your slat wall doesn’t have to be a bland, uniform surface. With these creative customization ideas, you can transform your slat wall panel into a functional, stylish part of your space that reflects your personality and meets your practical needs. Whether you’re looking for fun display ideas, unique theming, or practical storage solutions, the possibilities are virtually endless.
Get inspired, gather your materials, and let your creativity flow. Your DIY Slat Wall Panel with Free Plans is just the beginning of what you can achieve!
Tools and Materials Needed for Your DIY Slat Wall Project
If you’re thinking about building a DIY slat wall, gathering the right tools and materials is your first step to success. A slat wall can enhance your space, whether for storage, display, or organization. Below is a detailed breakdown of what you’ll need to get started.
Essential Tools
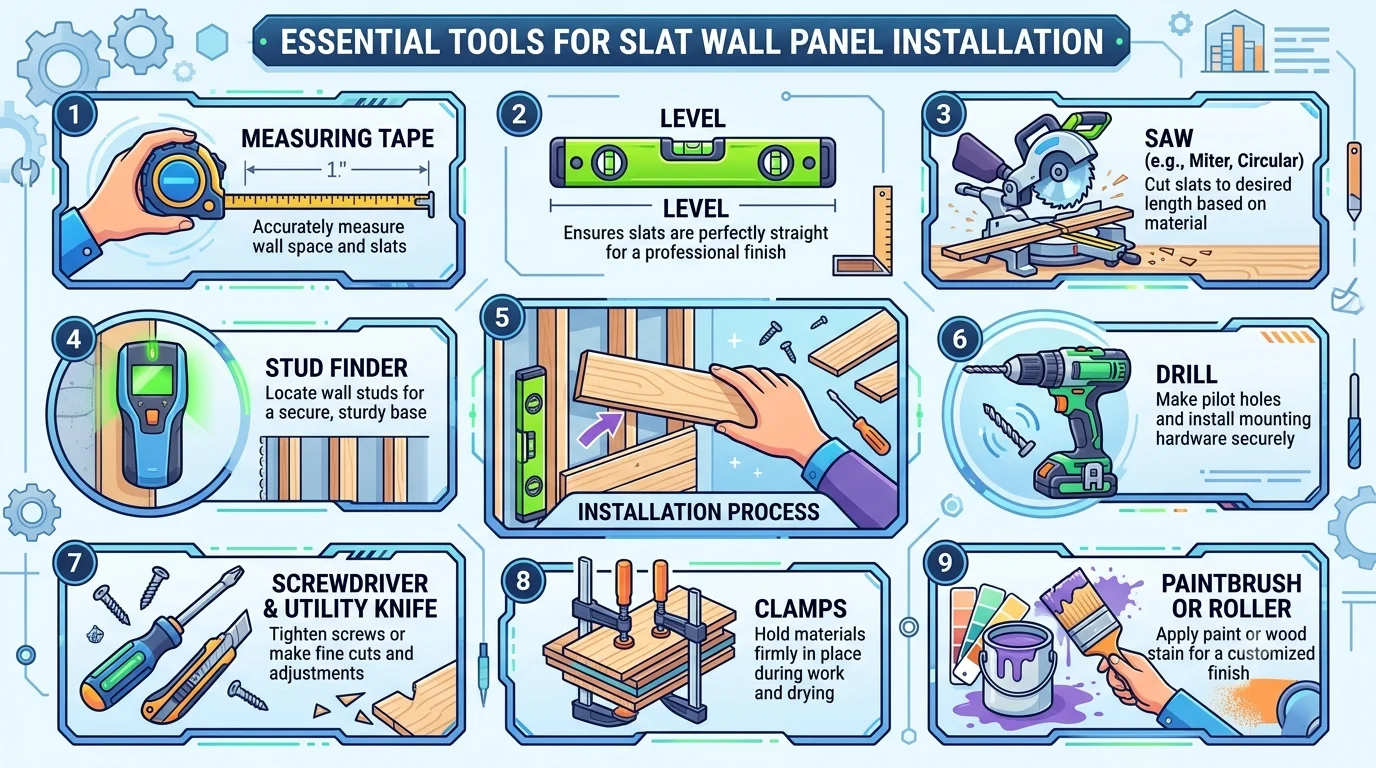
- Measuring Tape: This will help you measure the walls and slats accurately.
- Level: A level ensures that your slat wall is perfectly straight, providing a professional finish.
- Study Saw: Depending on the material you choose, a circular saw or a miter saw can be used to cut the slats to your desired length.
- Drill: A drill is essential for making pilot holes and installing mounting hardware.
- Screwdriver: You may need a screwdriver for tightening screws, especially if you’re using screws instead of nails.
- Utility Knife: This can be useful for various cutting tasks, especially if you’re working with thinner materials like plywood.
- Stud Finder: This tool helps locate wall studs to provide a sturdy base for your wall panel.
- Clamp: A clamp can hold your materials in place while you work on them.
- Paintbrush or Roller: If you decide to paint your slats or wall, you will need these tools.
Materials Needed
Choosing the right materials is just as important as having the right tools. Here’s a list of materials that you may need for your DIY slat wall:
- Main Panels: You need sheets of plywood, MDF, or slatted wood. Typically, ½ inch to ¾ inch thick boards work well.
- Slats: You can cut strips from the main panels or buy pre-made slats from a hardware store.
- Paint or Stain: Choose a color that complements your décor. You may want to use a wood stain for a natural look.
- Mounting Hardware: Heavy-duty screws or brackets are essential for attaching the slats to the wall.
- Wood Glue: This can provide additional hold for the slats.
- Wall Anchors: If you’re mounting on drywall, using wall anchors will help distribute weight.
- Safety Gear: Don’t forget to wear safety glasses, gloves, and a mask to protect yourself while working.
Building Your Slat Wall
Once you have all your tools and materials ready, you can start your project. Here’s a quick overview of the steps you will undertake:
- Measure Your Space: Use the measuring tape to determine how much wall space you want to cover.
- Cut the Panels and Slats: Based on your measurements, cut your panels and slats accordingly.
- Prepare the Wall: Use the stud finder to identify where you can attach the slat wall securely.
- Paint or Stain: If desired, treat your wood before installation to ensure long-lasting beauty.
- Install the Panels: Start by attaching the main panels to the wall using your drill, screws, and wall anchors.
- Add the Slats: Space the slats evenly and attach them using screws or glue.
Where to Find Plans
If you’re looking for detailed DIY Slat Wall Panel with Free Plans plans, there are numerous resources available online. Websites such as Ana White and Wood Magazine provide free plans that can help guide you in your project.
Creating your DIY Slat Wall Panel with Free Plans can be a rewarding and functional addition to your space. By gathering the right tools and materials listed above, and following a simple plan, you’ll be well on your way to a beautiful and organized area.
Maintenance Tips for Keeping Your Slat Wall Panels in Great Shape
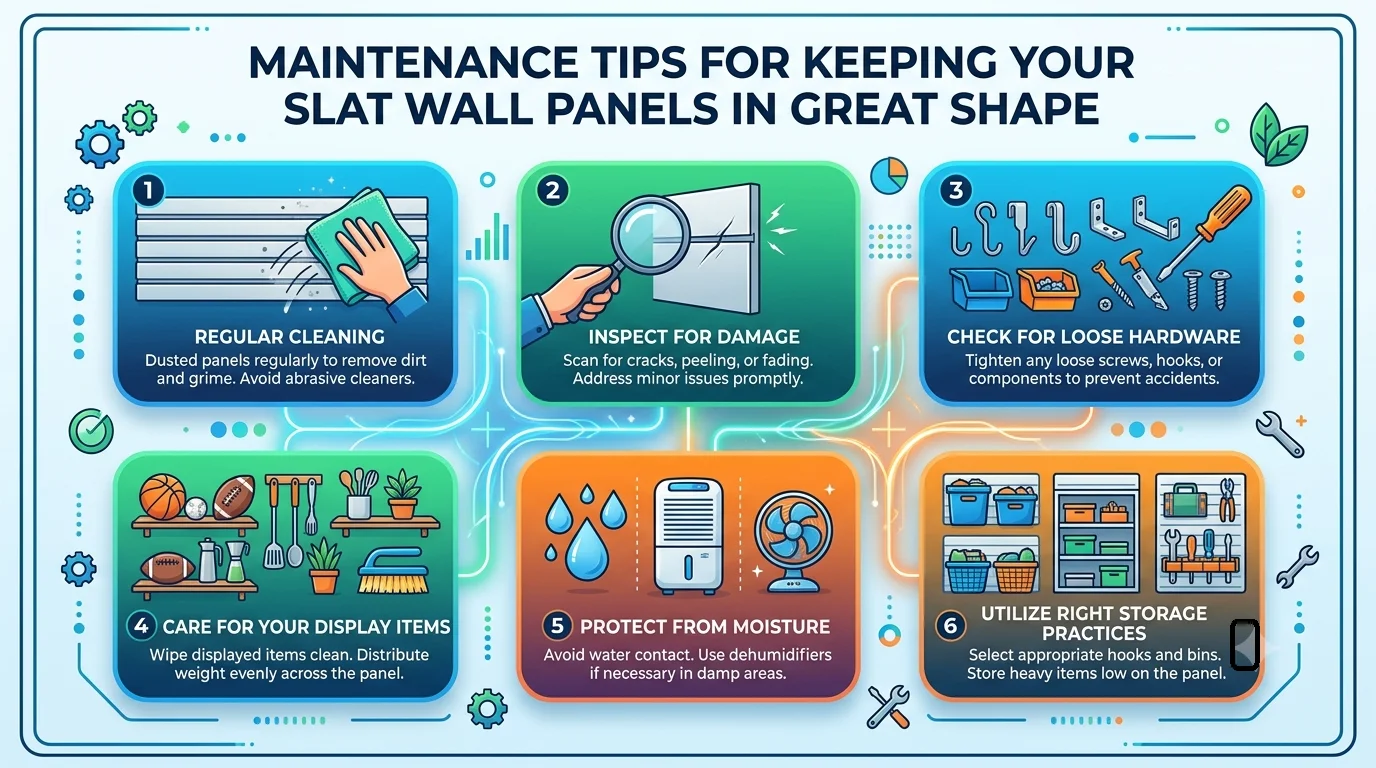
Slat wall panels are an excellent choice for organizing and displaying your items, whether in a retail space or your garage. However, like any feature in your home or business, they need proper maintenance to keep them looking fresh and functioning well. Here are some practical tips for maintaining your slat wall panels in great shape.
Regular Cleaning
One of the most straightforward ways to maintain your slat wall panels is by keeping them clean. Dust and dirt can accumulate over time, especially if the panels are placed in high-traffic areas. Here’s how to effectively clean your panels:
- Use a Soft Cloth: Wipe the panels down with a soft, dry cloth to remove dust.
- Gentle Cleaners: For stuck-on grime, use a mild soap solution. Avoid harsh chemicals that can damage the finish.
- Rinse and Dry: If you use water or cleaners, always rinse with clean water and dry thoroughly to prevent moisture damage.
Inspect for Damage
Regular inspections can help you detect damage early on. Look for cracks, warping, or peeling paint. If you notice any issues, address them promptly:
- Fill Cracks: Use wood filler to fill in any cracks. Sand the area smoothly once it dries.
- Repaint as Needed: If the paint is peeling, consider repainting the affected areas. Choose a high-quality paint for durability.
Check for Loose Hardware
Over time, the hardware holding your slat wall panels in place may loosen. Regularly check screws and brackets to ensure everything is secure:
- Tighten Screws: Use a screwdriver to tighten any loose screws.
- Inspect Brackets: Make sure all brackets are firmly attached and not showing signs of wear.
Care for Your Display Items
Your slat wall panels are designed to hold various items, and how you care for those items can impact the panels’ condition. Ensure that:
- Weight Limits: Avoid overloading the panels with items beyond their weight capacity.
- Even Distribution: Distribute the weight evenly across the panel to prevent sagging.
Protect from Moisture
Moisture can warp or damage slat wall panels. To keep them in good condition, consider the following:
- Use in Dry Areas: Place your slat wall panels away from wet environments like bathrooms or basements.
- Water Damage Repairs: If moisture gets onto the panels, dry it immediately to prevent permanent damage.
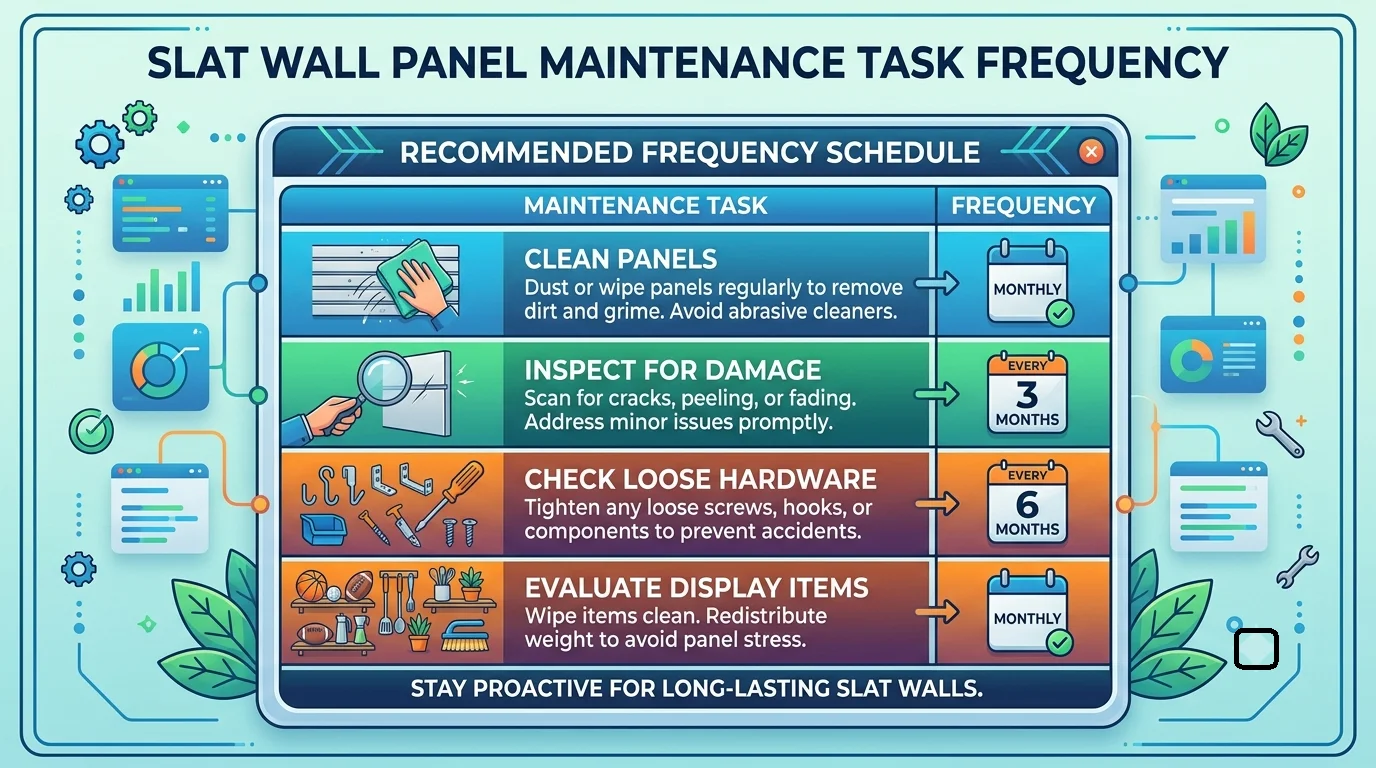
| Maintenance Task | Frequency |
|---|---|
| Clean Panels | Monthly |
| Inspect for Damage | Every 3 Months |
| Check Loose Hardware | Every 6 Months |
| Evaluate Display Items | Monthly |
Utilize Right Storage Practices
How you store items on your slat wall can impact its lifespan. Here are tips to follow:
- Use Appropriate Hooks and Brackets: Ensure that the hooks and brackets used are suitable for your items.
- Seasonal Adjustments: Rotate seasonal items to avoid long periods of weight on the panels.
By implementing these maintenance tips, you can ensure that your slat wall panels remain an attractive and functional feature in your space. For further insights on slat wall panel maintenance and designs, consider visiting Wood Magazine. By staying proactive in your maintenance routine, you can enjoy your slat wall for many years to come.
Conclusion
Creating your own DIY Slat Wall Panel with Free Plans can transform your space while offering practical benefits. The step-by-step guide and free plans provided give you a strong starting point for your project, ensuring that even beginners can achieve professional-looking results. Slat wall panels lines do not only enhance your interior design but also maximize functionality by providing customizable storage solutions that adapt to your needs.
The versatility of slat walls allows you to personalize your setup, from showcasing decorative items to organizing tools. With a few creative ideas, you can make your slat wall truly unique and tailored to your personal style. Plus, gathering the right tools and materials beforehand streamlines the process, making it easier and more enjoyable to bring your vision to life.
Once your slat wall panel is complete, maintaining its appearance and functionality is crucial. By following simple maintenance tips, you can ensure that your slat wall remains in great shape for years to come. Regular cleaning and inspections will help keep it looking fresh and ready for any new items you want to display.
Ultimately, a DIY Slat Wall Panel with Free Plans enhances your living space, showcases your creativity, and meets your organizational needs. With the knowledge and skills you’ve gained, along with the free plans, you’re well-equipped to embark on this rewarding project. The satisfaction of completing your own slat wall is unmatched, encouraging you to tackle more home improvement endeavors in the future.