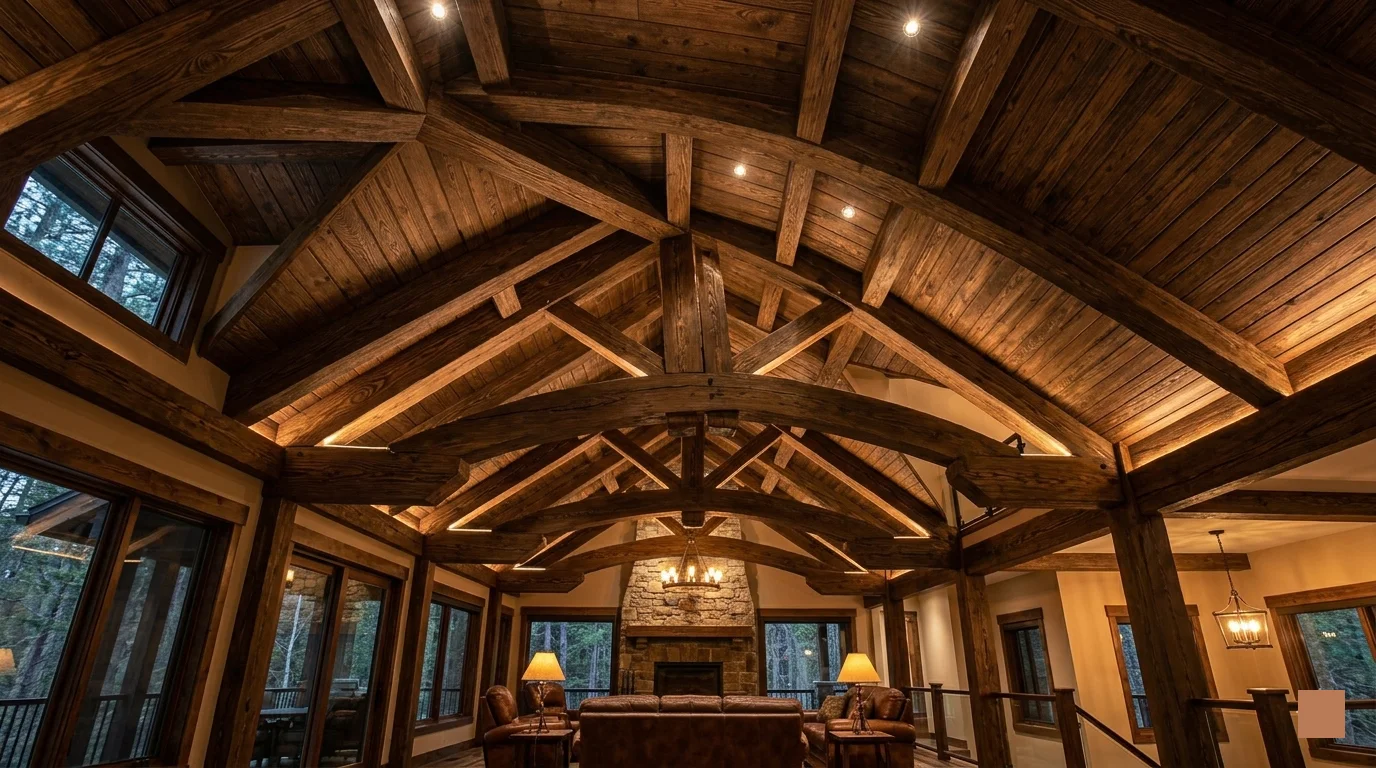
Creating a warm and inviting atmosphere in your home can be as simple as adding wooden accent ceiling beams. These beams not only enhance your interior design but also lend a rustic charm that complements various styles. Here’s a step-by-step guide on how to build wooden accent ceiling beams, ensuring your project is both manageable and enjoyable.
Gather Your Materials
Before you start, make sure to gather everything you need for the project:
- Wood Beams: Choose the type of wood that fits your style. Common options include pine, oak, or cedar.
- Circular Saw: Essential for cutting wood to length.
- Drill: Needed for pre-drilling holes.
- Wood Screws: These will secure the beams.
- Level: Ensures your beams are straight.
- Ladder: Helps you reach the ceiling safely.
- Measuring Tape: For accurate measurements.
Planning Your Design
Before you begin construction, it’s crucial to plan your design. Consider the length, width, and spacing of the beams:
- Determine the dimensions of your room.
- Decide how many beams you want to install.
- Sketch a layout to visualize the final design.
Measure and Mark the Ceiling
Accurate measurements are key to a professional-looking installation. Follow these steps:
- Use the measuring tape to find the desired positions for your beams.
- Mark each location with a pencil, ensuring they are evenly spaced.
- Double-check your measurements to avoid mistakes.
Cut the Wood Beams
Now it’s time to cut your wood beams to size:
- Using the circular saw, cut the beams according to your measurements.
- Ensure each cut is straight for a professional look.
- Sand the edges to avoid splinters.
Install the Beams
Once your beams are cut and ready, it’s time to install them:
- Start by lifting the first beam into place and use the level to ensure it is straight.
- Drill pilot holes into the ceiling through the beam for the wood screws.
- Screw the beam into place securely.
- Repeat this process with the additional beams, ensuring they maintain even spacing.
Finish the Beams
To add the final touch, consider finishing your beams:
- Stain or Paint: Choose a color that complements your decor.
- Sealant: Protects the wood and enhances its longevity.
Maintenance Tips
Once your beams are installed, maintaining them ensures they look great for years. Here are some tips:
- Dust the beams regularly to prevent buildup.
- Check for any signs of wear and address them promptly.
- Avoid excessive moisture to prevent warping.
Building wooden accent ceiling beams can transform your space and add character to your home. For more information and ideas on ceiling beams, visit Home Depot or Wood Magazine. These websites offer valuable resources and tips to aid your DIY project.
Choosing the Right Type of Wood for Ceiling Beams
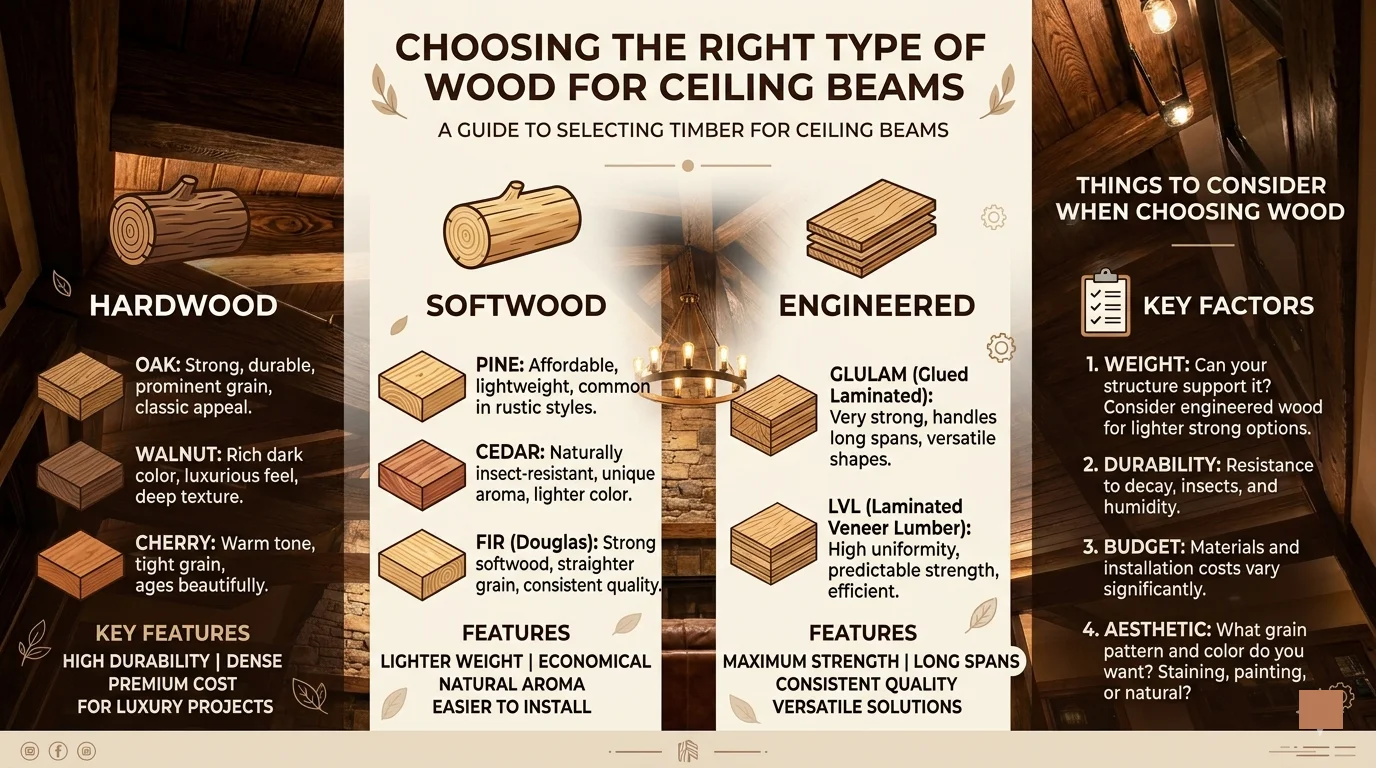
When considering accent ceiling beams for your home, choosing the right type of wood is crucial. The wood you select not only impacts the aesthetic but also affects the durability and overall ambiance of your space. With so many options available, here’s a breakdown of the most popular types of wood used for ceiling beams and what makes each unique.
Hardwood Options
Hardwoods are known for their durability and beautiful grain patterns. Here are some common hardwoods to consider:
- Oak: Oak offers strength and a classic look. The tight grain makes it ideal for a rustic feel.
- Maple: Maple is known for its smooth surface and light color, perfect for contemporary designs.
- Walnut: Walnut provides rich color variations with deep tones, giving an elegant touch to any room.
When selecting hardwood, consider the finish and sealant to enhance its natural beauty and protect against wear.
Softwood Options
Softwoods are generally lighter and more affordable than hardwoods, making them a popular choice for ceiling beams.
- Pine: Pine is a favored choice due to its affordability and versatility. It can be stained or painted to fit any style.
- Cedar: Cedar offers a lovely smell and natural resistance to decay, making it suitable for varying climates.
- Fir: Fir has a straight grain and a pale color, ideal for creating a clean, modern look.
Engineered Wood
For those seeking cost-efficient and stable options, engineered wood can be a game changer.
- LVL (Laminated Veneer Lumber): LVL is made from glued layers of wood, making it strong and less likely to warp.
- Glulam (Glued Laminated Timber): Glulam can span larger distances than solid wood without loss of strength, providing great design flexibility.
Things to Consider When Choosing Wood
When selecting the right type of wood, keep these factors in mind:
- Style: Consider the overall aesthetic of your space. Traditional homes may benefit from rich, dark hardwoods, while modern spaces might suit lighter softwoods.
- Maintenance: Some woods require more upkeep than others. For instance, hardwoods need regular polishing to maintain luster, while some softwoods may need frequent stains.
- Budget: Establishing a budget early on can guide your wood choice. Hardwoods are generally more expensive than softwoods or engineered options.
- Environmental Impact: Look for sustainable sourcing options. Woods certified by the Forest Stewardship Council (FSC) ensure responsible forest management.
To help you visualize the content, consider the following comparison table for wood types:
| Wood Type | Durability | Cost | Maintenance |
|---|---|---|---|
| Oak | High | High | Moderate |
| Pine | Moderate | Low | Low |
| Cedar | High | Moderate | Low |
| LVL | High | Moderate | Low |
When planning the installation of wooden accent ceiling beams, remember that these choices significantly influence your home’s aesthetic and practical aspects. Researching local suppliers and consulting with professionals can further aid your decision. Check out resources like Wood Magazine for detailed guides and insights on wood selections. Additionally, explore Woodworker’s Source for various wood types and purchasing options.
By considering these factors and the available options, you’ll ensure your ceiling beams not only enhance your home but also stand the test of time.
Creative Design Ideas for Accent Beams in Home Décor
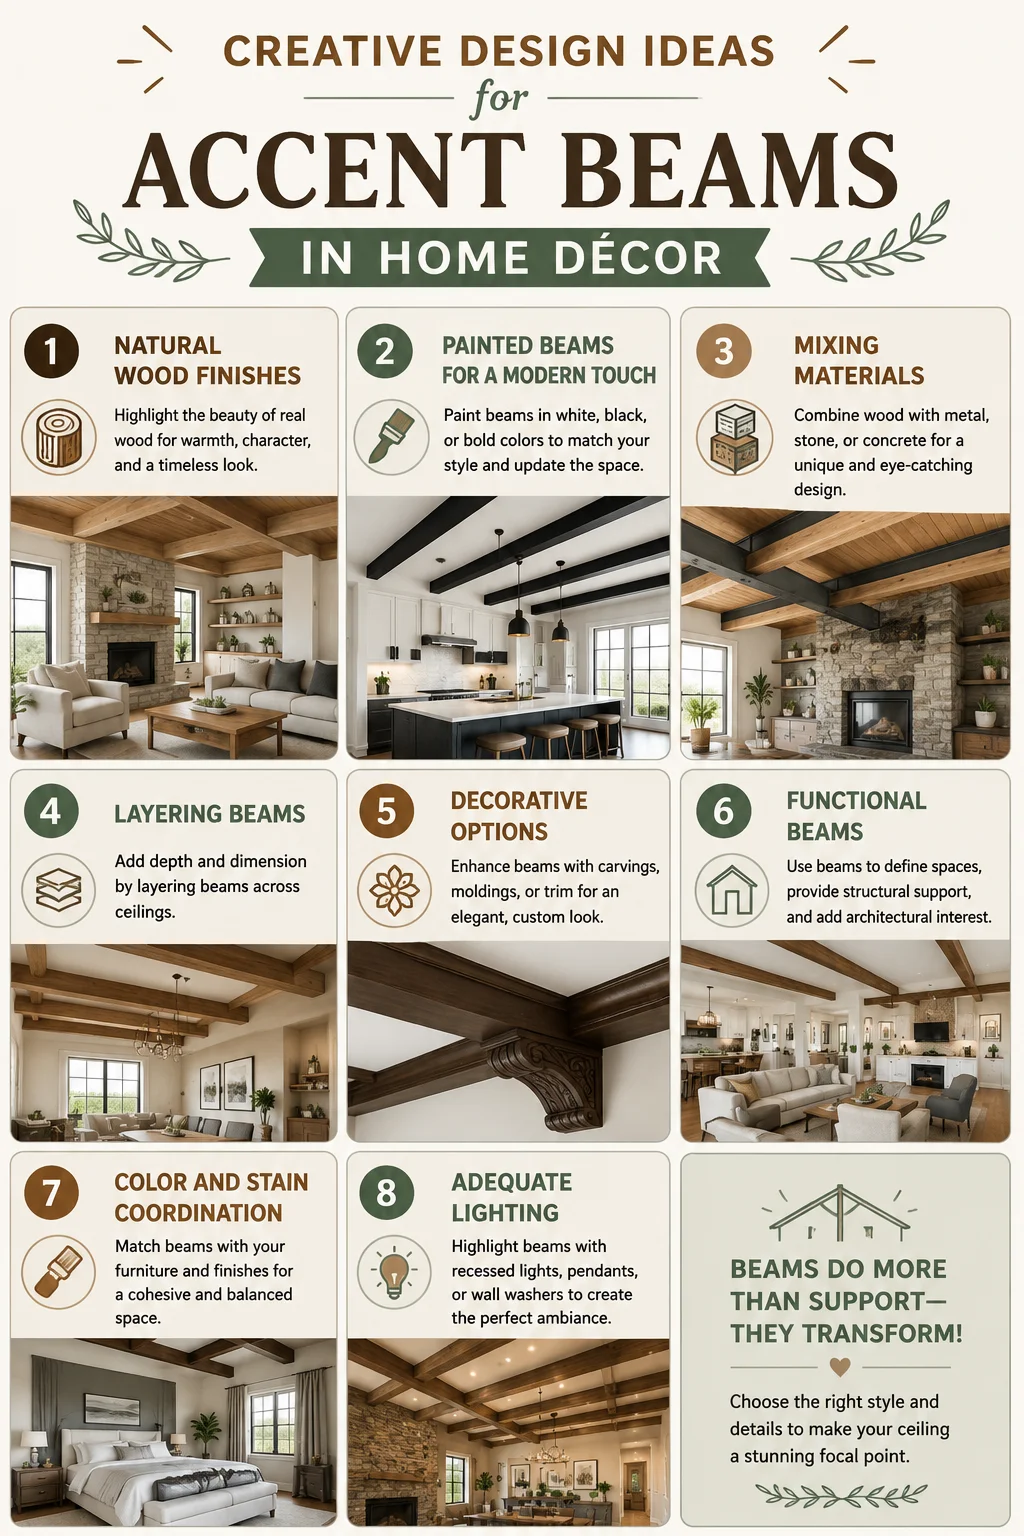
Adding wooden accent beams to your home can dramatically enhance its decor. They not only add rustic charm but also provide depth and character, making any room feel more inviting. Here are some creative design ideas for incorporating accent beams into your home decor.
Natural Wood Finishes
One of the simplest ways to highlight wood beams is by keeping their natural finish. Light sanding and a clear finish can bring out the wood’s grain, preserving its original beauty. This approach works wonders in spaces with a cozy or farmhouse feel.
Painted Beams for a Modern Touch
If you’re going for a more contemporary look, consider painting your wooden beams. Here are a few ideas:
- Bold Colors: Bright colors like navy blue or forest green can serve as a stunning contrast against neutral walls.
- White Wash: A light wash can soften the appearance of raw wood, giving it a delicate touch.
- Ombre Effects: Gradually transitioning colors can create a stunning visual effect and draw the eye upward.
Mixing Materials
For a more eclectic style, you might want to mix wood with other materials. Consider combining wooden beams with metal elements or reclaimed barn wood. This mix of textures can add versatility and interest to your space.
Layering Beams
Layering horizontal beams with vertical ones can create a more dynamic and visually appealing look. This design method works best in larger spaces like living rooms or dining areas, where the ceiling height allows for creativity. When layering, be sure to maintain balance for an organized appearance.
Decorative Options
You can further accessorize your wooden accent beams to enhance your décor:
- Hanging Plants: Adding greenery can bring life to your space.
- Fairy Lights: String lights can add warmth and a cozy ambiance.
- Artwork Display: Consider using the beams to hang artwork or family photos.
Functional Beams
Wooden beams can serve functional purposes as well. You can use them to create shelving units or even to support a swing. This approach can integrate style with utility, offering more than just a decorative element.
Color and Stain Coordination
When selecting paint or stain for your beams, think about the entire color scheme of your room. Choosing a color that complements your walls and furnishings will create a cohesive look. Here’s a tailored table to help you select the right stain or paint colors for your wooden accent beams:
| Wood Finish | Suitable Colors | Best Room Type |
|---|---|---|
| Natural | Soft whites, beige, earthy tones | Living Room, Kitchen |
| Painted White | Pastel shades, bold primary colors | Children’s Rooms, Play Areas |
| Dark Stain | Deep reds, navy blues, charcoal | Reading Nooks, Studies |
Adequate Lighting
Lighting plays a significant role in highlighting wooden beams. You can use recessed lighting to create shadows, or pendant lights to draw attention to the beams themselves. Positioning fixtures to illuminate the texture of the wood can enhance its natural beauty.
Tools and Materials Needed for Installing Wooden Beams
Bringing warmth and character to your home with wooden accent ceiling beams is an exciting project. However, before you dive into installation, it’s essential to gather the necessary tools and materials to ensure a smooth process. Below is a detailed list of what you’ll need, along with some tips to keep in mind.
Basic Tools Required
- Measuring Tape: Accurate measurements are crucial. A sturdy measuring tape will help you get the dimensions right.
- Level: A level ensures that your beams are installed straight and true, preventing unsightly slants.
- Chalk Line: This tool helps you create straight lines across the ceiling for guiding your beam placement.
- Drill: You’ll need a drill to make pilot holes for screws and to secure your beams.
- Screwdriver: A good screwdriver is essential for securing beams with screws; an electric screwdriver can speed up the process.
- Hammer: A hammer may be necessary for securing nails in case you choose that option instead of screws.
- Circular Saw: Cut your wooden beams to the desired lengths with a circular saw, providing clean, precise cuts.
- Safety Gear: Always wear safety glasses and gloves to protect yourself while working with power tools.
Materials Needed
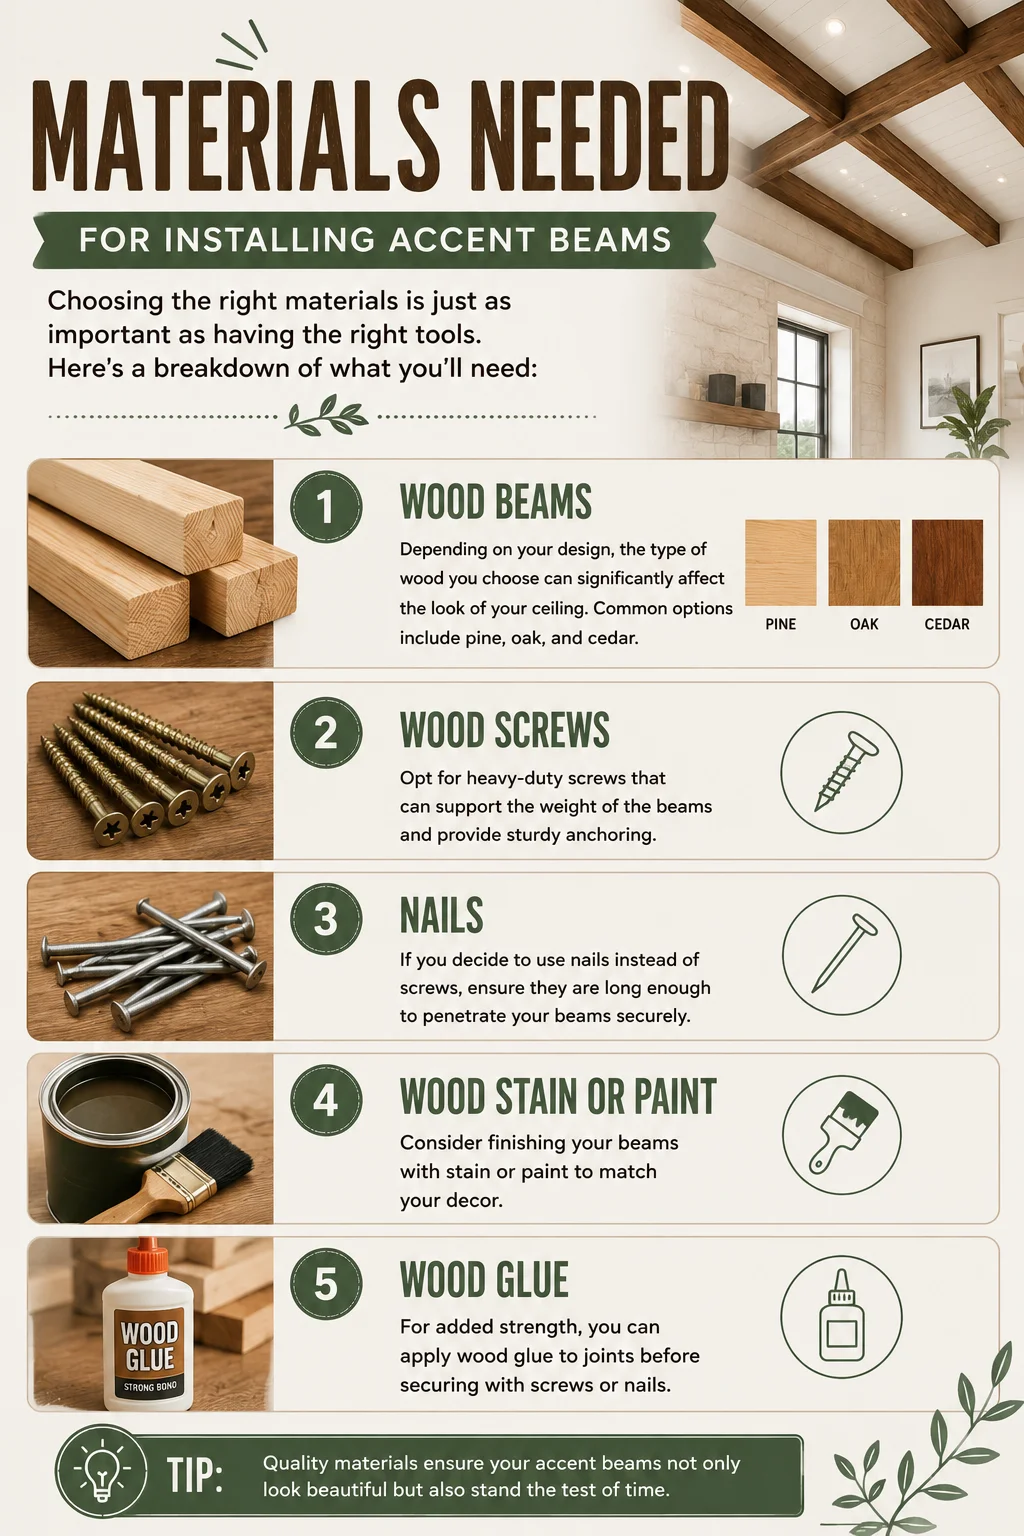
Choosing the right materials is just as important as having the right tools. Here’s a breakdown of what you’ll need:
- Wood Beams: Depending on your design, the type of wood you choose can significantly affect the look of your ceiling. Common options include pine, oak, and cedar.
- Wood Screws: Opt for heavy-duty screws that can support the weight of the beams and provide sturdy anchoring.
- Nails: If you decide to use nails instead of screws, ensure they are long enough to penetrate your beams securely.
- Wood Stain or Paint: Consider finishing your beams with stain or paint to match your decor.
- Wood Glue: For added strength, you can apply wood glue to joints before securing with screws or nails.
Preparation Steps
- Plan Your Layout: Before starting, have a clear plan for where you want to install the beams. Use your measuring tape and chalk line to mark the locations on the ceiling.
- Cutting Beams: Based on your measurements, cut your wooden beams to the appropriate lengths using your circular saw.
- Safety First: Don’t forget to wear your safety gear when cutting and installing the beams!
Installation Process
With your tools and materials ready, you can now focus on the installation process. Here’s a brief overview:
- Start by marking where each beam will go. Use your chalk line and level to ensure accuracy.
- Once marked, make sure that your ceiling can support the weight of the beams. If you’re uncertain, consult with a professional.
- Begin installing your beams by securing one end, making sure it is level, and then secure the opposite end.
- Continue adding beams as per your design, periodically checking the level for alignment.
- Finish your beams with stain or paint, allowing them to dry completely before cleaning up.
For more detailed guides and assistance, you can visit Home Depot or check resources at Wood Magazine for woodworking tips.
With the right tools and materials, installing wooden accent ceiling beams can be a rewarding project, adding aesthetic value to your home. Make sure to take your time and enjoy the process! Happy building!
Common Mistakes to Avoid When Building Ceiling Beams
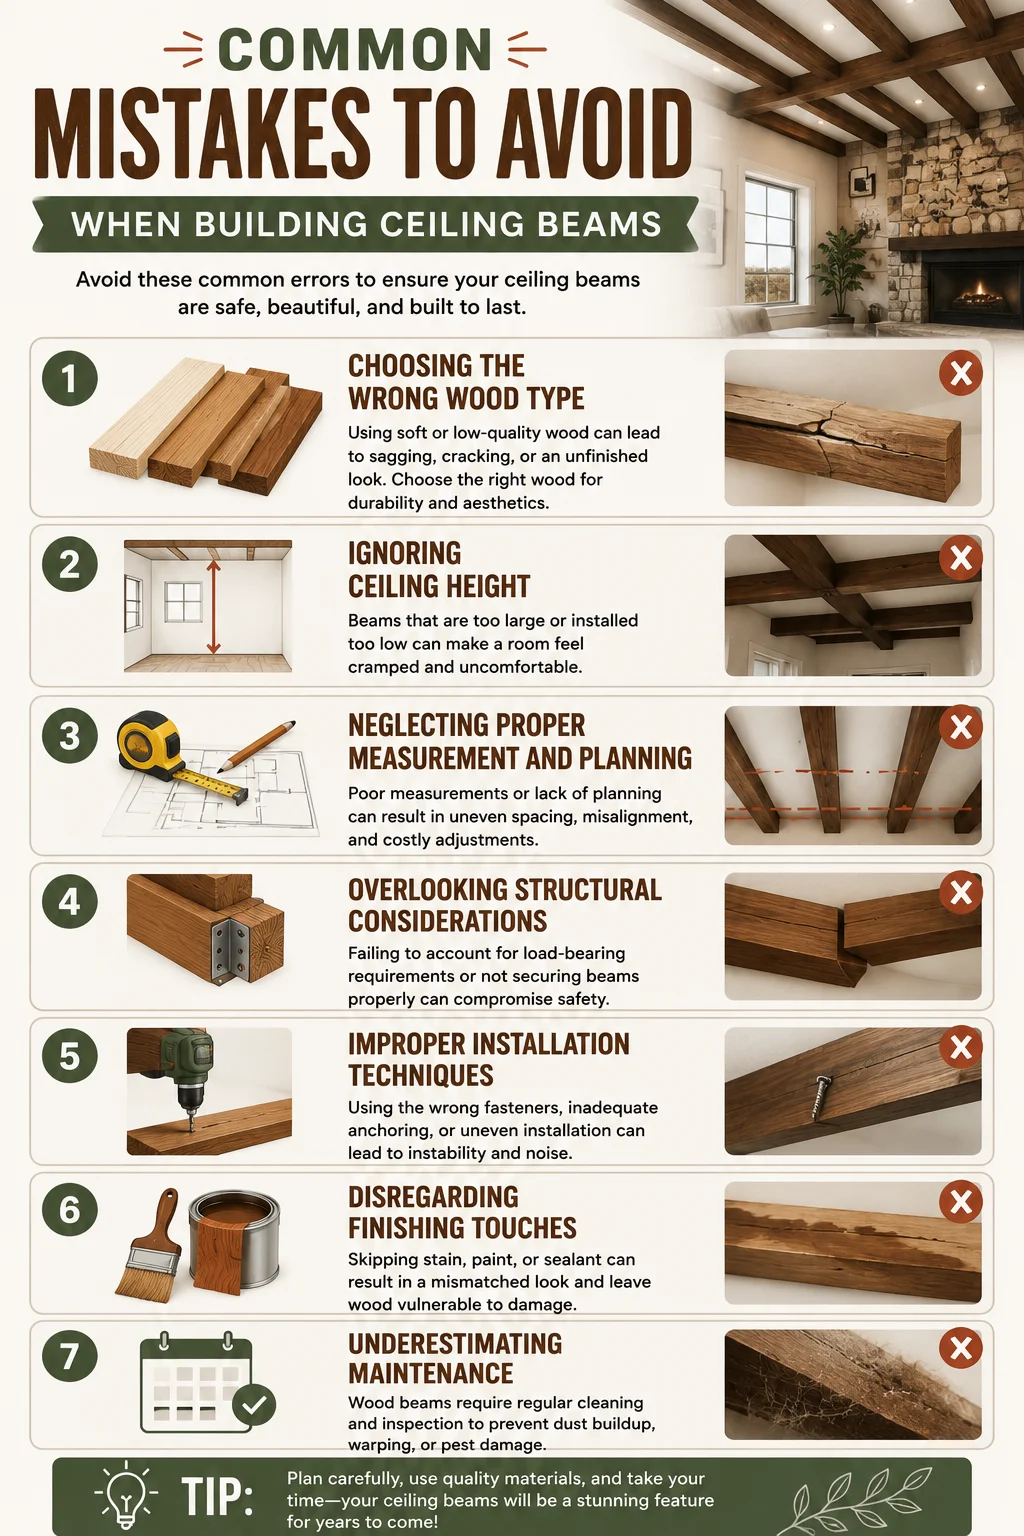
Building ceiling beams can enhance the aesthetic appeal of any room. However, many people make common mistakes that can lead to undesirable outcomes. Here’s a look at some pitfalls to avoid to ensure your wooden accent ceiling beams look perfect and function well.
Choosing the Wrong Wood Type
One of the most frequent mistakes is not selecting the right type of wood. Each wood species has different aesthetics and structural properties. For example:
- Pine: A popular choice for its affordability and versatility.
- Oak: Known for its strength and durability, best for more rustic designs.
- Cedar: Great for an aromatic property and natural resistance to moisture.
Always consider the climate of your area and the room’s humidity before making a choice.
Ignoring Ceiling Height
The height of the ceiling plays a crucial role. If your ceiling is low, large beams can make the space feel cramped. As a solution, consider the following options:
- Use thinner beams: Smaller beams can trick the eye into thinking the space is larger.
- Paint beams the same color as your ceiling: This creates a seamless effect.
Always measure before you commit to a beam size.
Neglecting Proper Measurement and Planning
One cannot overstress the importance of meticulous measurements. Failing to measure accurately can lead to beams that do not fit properly or are unevenly spaced. To avoid errors:
- Use a laser level for precise measurements.
- Sketch a layout before cutting or purchasing materials.
- Consider obtaining a second opinion on your plan.
Overlooking Structural Considerations
Many DIY builders underestimate the structural requirements when installing accent ceiling beams. Here are some aspects to bear in mind:
- Weight Distribution: Ensure the ceiling can support the weight of the beams.
- Local Building Codes: Verify the regulations in your area, as they may dictate specific requirements.
Improper Installation Techniques
Using incorrect methods while installing ceiling beams can lead to damage over time. Avoid these practices:
- Don’t rely solely on adhesive materials; ensure beams are securely fastened.
- Avoid using nails alone, as they can loosen over time under stress.
Instead, consider using bolts and brackets for added strength.
Disregarding Finishing Touches
Finishing your ceiling beams affects both looks and longevity. Common mistakes include:
- Bare wood can warp or discolor over time; consider staining or sealing your beams.
- Neglecting to fill any gaps or imperfections will detract from the overall quality.
It’s essential to choose a finish that complements the room’s decor while ensuring durability. For some design ideas and finishing techniques, visit HomeAdvisor.
Underestimating Maintenance
Don’t overlook maintenance! Wooden beams may require upkeep to maintain their appearance and structure. Regularly check for signs of wear or pests and peel away flaking paint or finish. Using a protective sealant can help prolong their lifespan.
Common Questions and Answers
| Question | Answer |
|---|---|
| Can I install beams myself? | Yes, with the right tools and instructions, many people can successfully install them, but proper knowledge is key. |
| Do I need professional help? | If you are unsure about the structural integrity or local codes, hiring a contractor is advisable. |
You want your ceiling beams to not only look stunning but also be functional and safe. By avoiding these common mistakes, you can achieve a beautiful and durable accent in your home. For professional advice and services related to wooden beams, check out Wood Magazine for tips and articles.
Conclusion
Building wooden accent ceiling beams can transform your space, adding warmth and character while also serving as a stylish focal point. By following the detailed step-by-step guide, you can make this project a rewarding experience. Selecting the right type of wood is essential; materials like pine, oak, or cedar can provide durability and enhance the visual appeal of your beams.
Don’t forget to explore creative design ideas that suit your home décor style, whether that be rustic, modern, or something in between. This is your opportunity to personalize your space and showcase your unique taste. Gathering the necessary tools and materials beforehand will streamline the installation process, ensuring you have everything you need at hand.
As you embark on this project, stay mindful of common pitfalls that can turn a simple task into a frustration. Taking the time to plan and avoid these mistakes ensures that your wooden beams look professionally done and stand the test of time.
With a bit of patience and creativity, you’ll not only enhance your home’s aesthetics but also instill a sense of accomplishment. Enjoy the process of transforming your ceiling and let your new accent beams be a testament to your DIY skills and design vision. Remember, each beam you install is an opportunity to create a cozy atmosphere, inviting you and your guests to enjoy your beautiful space.