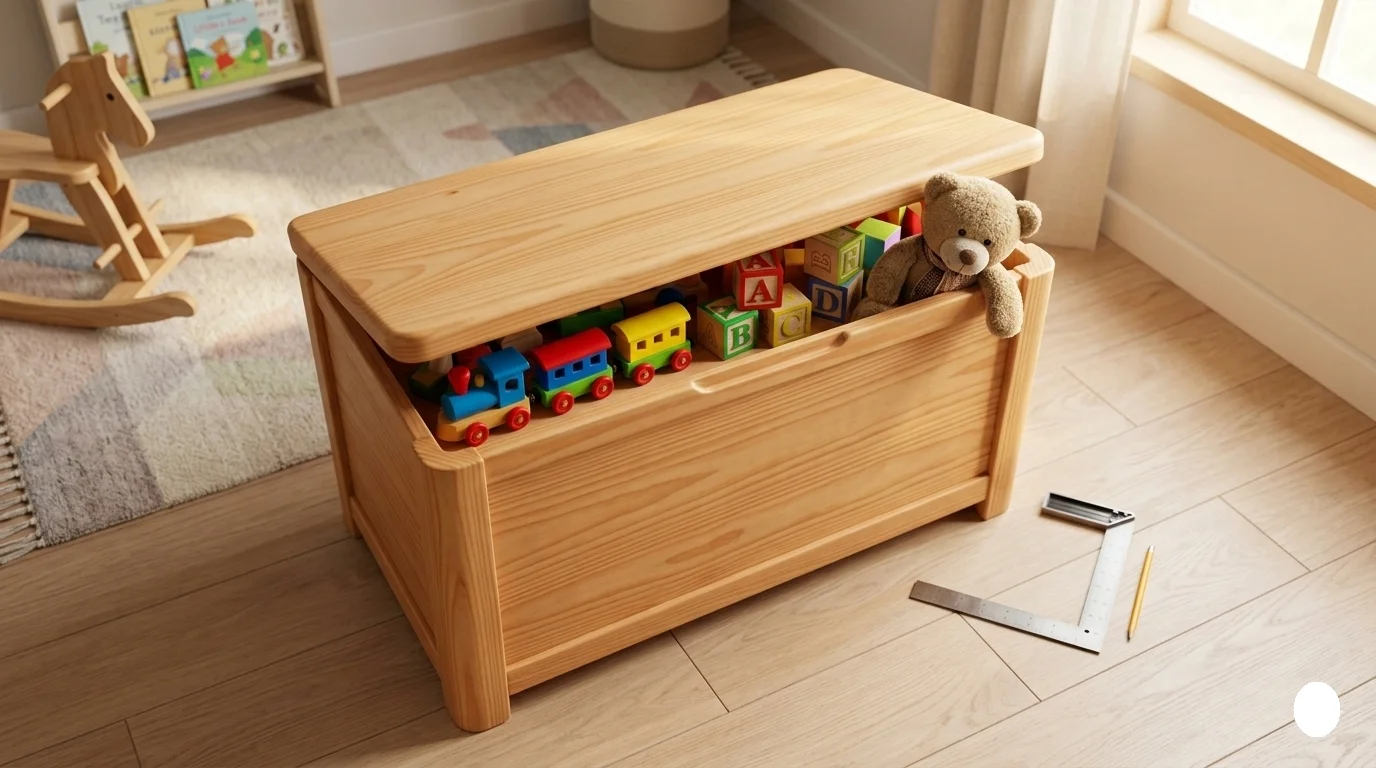
Creating a wooden toy chest is a rewarding project that combines creativity and practicality. Not only will you have a beautiful piece to store your child’s toys, but you will also create a lasting memory. Here’s a step-by-step guide that will help you learn How To Make A Wooden Toy Chest with ease.
Materials Needed
- Wood (Pine or Birch recommended)
- Wood screws
- Wood glue
- Sandpaper (various grits)
- Wood finish or paint
- Hinges (for the lid)
- Handles (optional)
- Measuring tape
- Saw (circular or jigsaw)
- Drill
- Paintbrush (if painting)
Step 1: Measure and Cut the Wood
The first step in building your wooden toy chest is to measure the dimensions based on how much space you have and how many toys need to be stored. A common size for a toy chest is 36 inches long, 18 inches wide, and 18 inches high. Use the measuring tape to mark out the pieces on your wood:
- 2 pieces for the sides (18″ x 18″)
- 2 pieces for the front and back (36″ x 18″)
- 1 piece for the base (36″ x 18″)
- 1 piece for the lid (36″ x 18″)
Carefully cut the wood to size using a saw. Make sure to wear safety goggles and follow all safety protocols as you learn How To Make A Wooden Toy Chest.
Step 2: Assemble the Toy Chest
Start by joining the front, back, and sides to form a rectangle. Apply wood glue along the edges and secure them together using wood screws for added strength. Here’s how to do it:
- Position one side piece on your work surface.
- Attach the back piece to one edge, followed by the front piece on the opposite edge.
- Attach the other side piece to the remaining edge.
After the sides are in place, add the base by attaching it to the bottom using screws. Ensure everything is square by checking the corners. If needed, you might use a clamp to hold the wood pieces together while the glue dries.
Step 3: Add the Lid
For the lid, position it on top of the chest and mark where the hinges should be attached. You want the lid to open easily and stay up when needed. Use the drill to pre-drill the holes for the hinges, then attach them securely to both the chest and the lid. Make sure the lid’s weight is balanced to prevent it from slamming down, which can be dangerous for small children.
Step 4: Sand and Finish Your Toy Chest
Once the assembly is complete, sand the entire chest thoroughly. Start with a rougher grit sandpaper and finish with a finer grit for a smooth surface. Pay special attention to any sharp edges to ensure safety. Now it’s time to add a finish. You can use paint to give your toy chest a pop of color, or a wood finish to enhance the natural beauty of the wood. Use a paintbrush to apply an even coat and allow it to dry completely. If desired, add a second coat for deeper color or additional protection.
Step 5: Add Final Touches
Once the finish has dried, consider adding handles on each side for easy lifting and moving. These can be attached using screws, as well. You might also want to add a soft-close mechanism for the lid to ensure little fingers don’t get caught.
Safety Tips
- Always supervise children when using the toy chest.
- Secure the chest to a wall if it’s tall to prevent tipping.
- Use non-toxic finishes to ensure safety for kids.
After completing these steps, you will have a beautiful wooden toy chest that can be a functional part of your child’s room. It’s not only a storage solution but also a great addition to their play space. For more detailed woodworking plans and ideas, check out Wood Magazine and Popular Woodworking.
Essential Tools for Crafting Your Own Toy Chest
Creating a wooden toy chest can be a fun and rewarding project, especially when you have the right tools on hand. When you’re ready to embark on building a toy chest, knowing which tools to gather will help ensure a smooth and enjoyable crafting experience. Let’s explore the essential tools you’ll need for your wooden toy chest project.
Hand Tools
When working with wood, having a variety of hand tools is fundamental. Here are some key tools to consider:
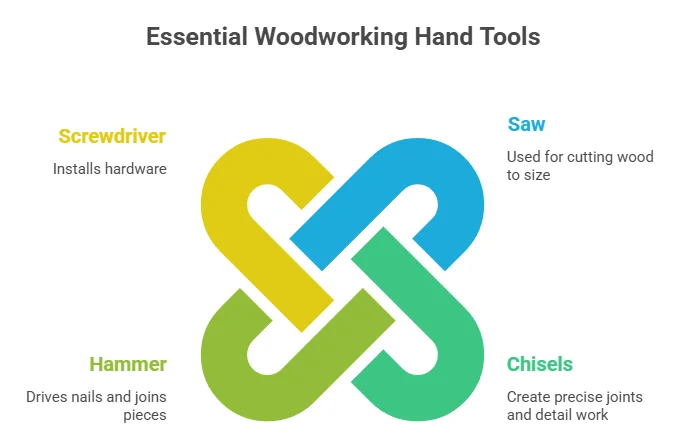
- Saw: A hand saw or a jigsaw is essential for cutting wood to the desired size.
- Chisels: Chisels will help you create precise joints and detail work.
- Hammer: A reliable hammer is crucial for driving nails and joining pieces together.
- Screwdriver: You’ll need both flathead and Phillips screwdrivers for installing hardware.
Power Tools
If you want to speed up the building process or achieve a more polished finish, consider using power tools. Here are some power tools that can make your toy chest project easier:
- Power Drill: A power drill makes making holes for screws and dowels quick and easy.
- Table Saw: This tool provides precise cuts for larger pieces of wood.
- Sander: An electric sander will save you time and effort when smoothing out rough edges.
Measuring and Marking Tools
Accurate measurement is key to building a sturdy toy chest. Here are measuring and marking tools you should have:
- Tape Measure: A reliable tape measure ensures you get the correct dimensions.
- Square: A carpenter’s square helps ensure right angles during assembly.
- Pencil and Marking Gauge: A good marking gauge helps you mark lines accurately on the wood.
Safety Gear
Safety shouldn’t be overlooked during crafting. Here are important safety gear essentials:
- Safety Glasses: Protect your eyes from flying debris while cutting or sanding.
- Dust Mask: A dust mask protects you from inhaling wood dust.
- Ear Protection: If you’re using power tools, ear protection is a smart choice.
Additional Supplies
Besides tools, consider gathering some additional supplies that will aid you in completing your toy chest project:
- Wood Adhesive: A strong adhesive helps bond pieces of wood together.
- Nails and Screws: Having a variety of sizes will ensure you can secure different components.
- Wood Finish or Paint: To protect your toy chest, choose a wood finish or child-safe paint.
Choosing the Right Wood for Your Toy Chest Project
When embarking on the journey of building a wooden toy chest, selecting the right type of wood is crucial. The wood you choose will not only determine the strength and longevity of the chest but will also affect its appearance and finish. Here are several wood types popular among toy chest builders, along with their advantages and disadvantages.
Alder
Alder is a soft wood that’s widely appreciated for its workability and aesthetic grain. This wood offers a warm, reddish-brown hue that can easily be stained or painted.
- Advantages: Easy to work with, provides a smooth finish, and is usually more affordable.
- Disadvantages: It can be less durable than harder options, making it more susceptible to scratches and dents.
Maple
Hard Maple is a favorite choice for toy chests because of its resistance to wear and tear. It has a fine, even texture that contributes to a polished look.
- Advantages: Highly durable, resists denting, and has a beautiful natural appearance.
- Disadvantages: More expensive than softer woods and can be challenging to stain evenly.
Pine
Pine is one of the most common woods used in furniture making. It’s lightweight, affordable, and readily available, making it an excellent choice for DIY projects.
- Advantages: Inexpensive, easy to find, and has a rustic charm.
- Disadvantages: Softer than hardwoods, making it more prone to damage.
Oak
Oak is a classic choice for furniture due to its strength and durability. Both red and white oak varieties are excellent options for building a sturdy toy chest.
- Advantages: Extremely durable, long-lasting, and has an attractive grain pattern.
- Disadvantages: Heavier than other woods and typically more expensive.
Birch
Birch is another hardwood that provides excellent durability and a fine finish, much like maple. Its smooth surface makes it suitable for staining.
- Advantages: Strong, versatile, and resistant to warping.
- Disadvantages: Higher cost and can be challenging to cut without splintering.
Considerations for Selecting Wood
| Factor | Importance |
|---|---|
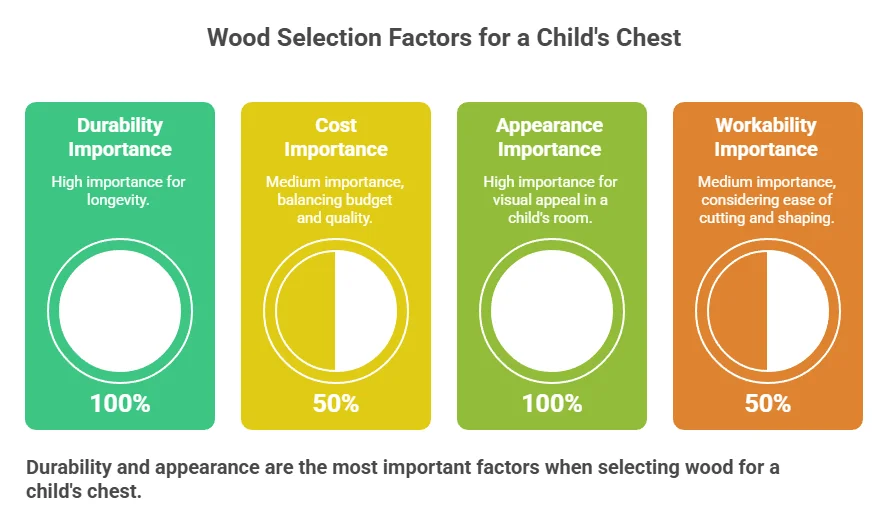
| Durability | High – ensuring the chest lasts through the years. |
| Cost | Medium – balancing your budget against quality. |
| Appearance | High – the visual appeal is important for a child’s room. |
| Workability | Medium – some woods are easier to cut and shape than others. |
Ultimately, the type of wood you choose for your toy chest affects both its functionality and design. Ensure that the wood is safe for children, especially since it will contain toys and other items meant for play. You may want to visit The Wood Database to explore additional wood types and their characteristics, as well as Home Depot’s Project Guides to find detailed instructions for your project. Remember to take your time during this selection process to pick the ideal wood that suits your needs. Building a wooden toy chest can be a rewarding project, providing a blend of functionality and craftsmanship. Selecting the right wood will set a solid foundation for your craftsmanship and the joy it brings to your child.
Decorative Ideas for Personalizing Your Wooden Toy Chest
Wooden toy chests not only serve as practical storage solutions but also present an opportunity for creativity and personalization. With a little imagination, you can transform a simple wooden box into a beautifully customized piece that suits your child’s personality and enhances your home decor. Here are several decorative ideas to help you personalize your wooden toy chest.
Choose a Theme
- Superheroes – Paint or stencil superhero logos.
- Princesses – Use pastel colors and add glitter or gold accents.
- Space – Use dark blue paint with glow-in-the-dark stars.
- Woodland Creatures – Paint friendly animals and trees.
Paint It Bright
One of the simplest ways to personalize your wooden toy chest is with paint. You can choose a solid color or create a design. Use non-toxic, child-safe paint to ensure it’s safe for your little ones. Here are a few painting techniques:
- Sponge Painting: This technique adds texture and fun patterns.
- Stripes and Polka Dots: Add bold, playful designs that are easy to apply.
- Stenciling: Use stencils for more intricate designs like letters or shapes.
Add Personalized Touches
- Name Plates: Create a wooden nameplate with your child’s name and attach it to the front.
- Photo Decals: Use adhesive photo paper to print and stick pictures of family or friends.
- Initials: Paint or carve your child’s initials on the lid for a custom look.
Incorporate Textures
- Fabric Lining: Line the inside or top of the chest with soft fabric for a cozy feel.
- Natural Elements: Attach small twigs or branches for a rustic aesthetic.
- Mixed Media: Combine wood, fabric, and paint to create a multi-dimensional look.
Accessories and Functional Decor
- Soft Cushions: Place cushions on top for a comfortable seating area.
- Decorative Handles: Replace or add decorative handles that fit the theme you’ve chosen.
- Artwork Display: Attach a small frame on the front to easily change and display artwork.
Decorative Techniques
- Decoupage: Apply cut-out images from magazines or wrapping paper and seal with a protective finish.
- Wood Burning: Use a wood burner to create intricate designs or lettering.
Smart Storage Solutions
| Storage Option | Description |
|---|---|
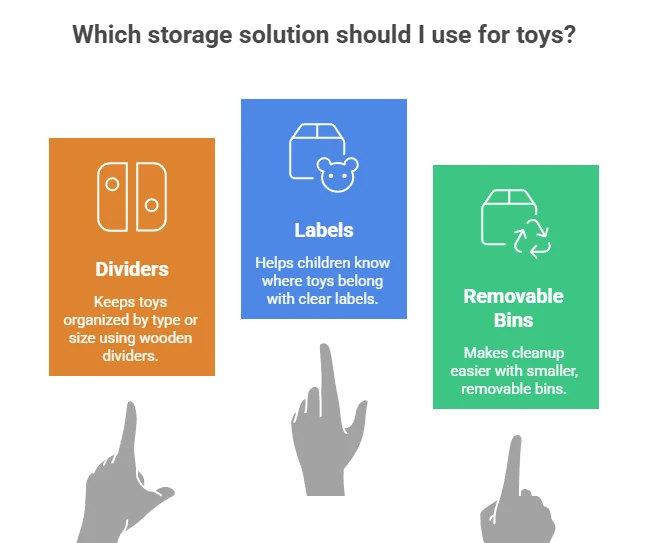
| Dividers | Use wooden dividers to keep toys organized by type or size. |
| Labels | Add labels to sections to help your child know where everything belongs. |
| Removable Bins | Include smaller, removable bins for easier cleanup. |
These decorative ideas into your wooden toy chest can transform it into a personalized treasure that your child will love. This personal touch not only adds character to their space but also teaches them about organization and ownership. For more inspiration, you can check out The Spruce Crafts and HGTV for additional creative ideas.
Safety Tips for Building and Using a Toy Chest for Children
Creating a toy chest for your children can be a rewarding project, but safety must be your top priority. As you build and use the toy chest, keeping your little ones safe from potential hazards ensures a fun and enjoyable space for playtime. Here are some essential safety tips to consider.
Choose the Right Materials
When making a toy chest, selecting safe, non-toxic materials is crucial. Look for child-safe wood that is free from harmful chemicals. Solid woods like pine, maple, or birch are excellent options. Avoid using plywood that may contain formaldehyde or other toxic substances. Also, it’s advisable to use a child-safe finish to keep your little ones safe.
Design Features to Enhance Safety
- Soft Edges: Ensure all edges and corners are rounded. This helps reduce the risk of cuts and bruises.
- Lid Support: Install a lid support hinge to prevent the lid from slamming down.
- Finger Guards: Use a finger guard or a hydraulic hinge that ensures the lid doesn’t close quickly.
Sizing Matters
The size of the toy chest is essential for safety and functionality. Ensure it’s not too high for your child to reach into or too heavy to move. A well-proportioned toy chest should be easy for children to open and close without struggling.
Keep It Organized
A toy chest that is organized promotes safety. Teach your children to put their toys back in their designated spots. This not only helps reduce the risk of tripping hazards but also makes it easier for them to find their favorite toys. Use containers or bins within the chest to separate different types of toys.
Regular Maintenance Checks
- Hinges and Screws: Ensure that they are secure and functioning correctly. Tighten any loose parts.
- Surface Condition: Regularly inspect the chest for splinters, cracks, or other damages.
Educate Your Children
Teaching your children about safety can significantly reduce the risk of accidents. Talk to them about the importance of keeping the toy chest closed, How To Make A Wooden Toy Chest safe for play, and not climbing on top of it.
Monitor Playtime
Keep an eye on your children while they play with toys stored in the chest. This supervision not only ensures they play safely but also allows you to step in quickly if any dangerous situations arise. Building a toy chest can be a delightful project that promotes organization and tidiness. However, prioritizing safety through materials, design features, and child education is critical. For more information, check resources such as Verywell Family or Parents.com. By following these guidelines, you can create a beautiful toy chest that serves its purpose while keeping your children safe.
Conclusion
Creating a wooden toy chest is not only a rewarding project but also a way to add a touch of personalization to your child’s space. Following the step-by-step guide ensures that you can craft a sturdy and functional toy chest that fits your home’s style. Equipping yourself with essential tools will smooth the process, allowing for precision and creativity in your work. When choosing the right wood, consider both durability and aesthetics. Opting for quality wood ensures that the toy chest will withstand the test of time, providing a safe storage option for years to come. Once built, personalizing your toy chest can transform it into a unique piece that reflects your child’s personality, whether through paint, decals, or fabric accents.
Safety is paramount in any project, especially one intended for children’s use. By incorporating safety tips, you create a secure environment for your child to play in, ensuring that the toy chest operates smoothly and safely. As you embark on this project, remember that each step offers an opportunity for creativity and fun. Making a wooden toy chest strengthens bonds with your little ones, providing them with a place to store their treasures. By investing your time and effort into this craft, you not only provide a functional piece of furniture but also create lasting memories that your family will cherish for years to come. Happy crafting!