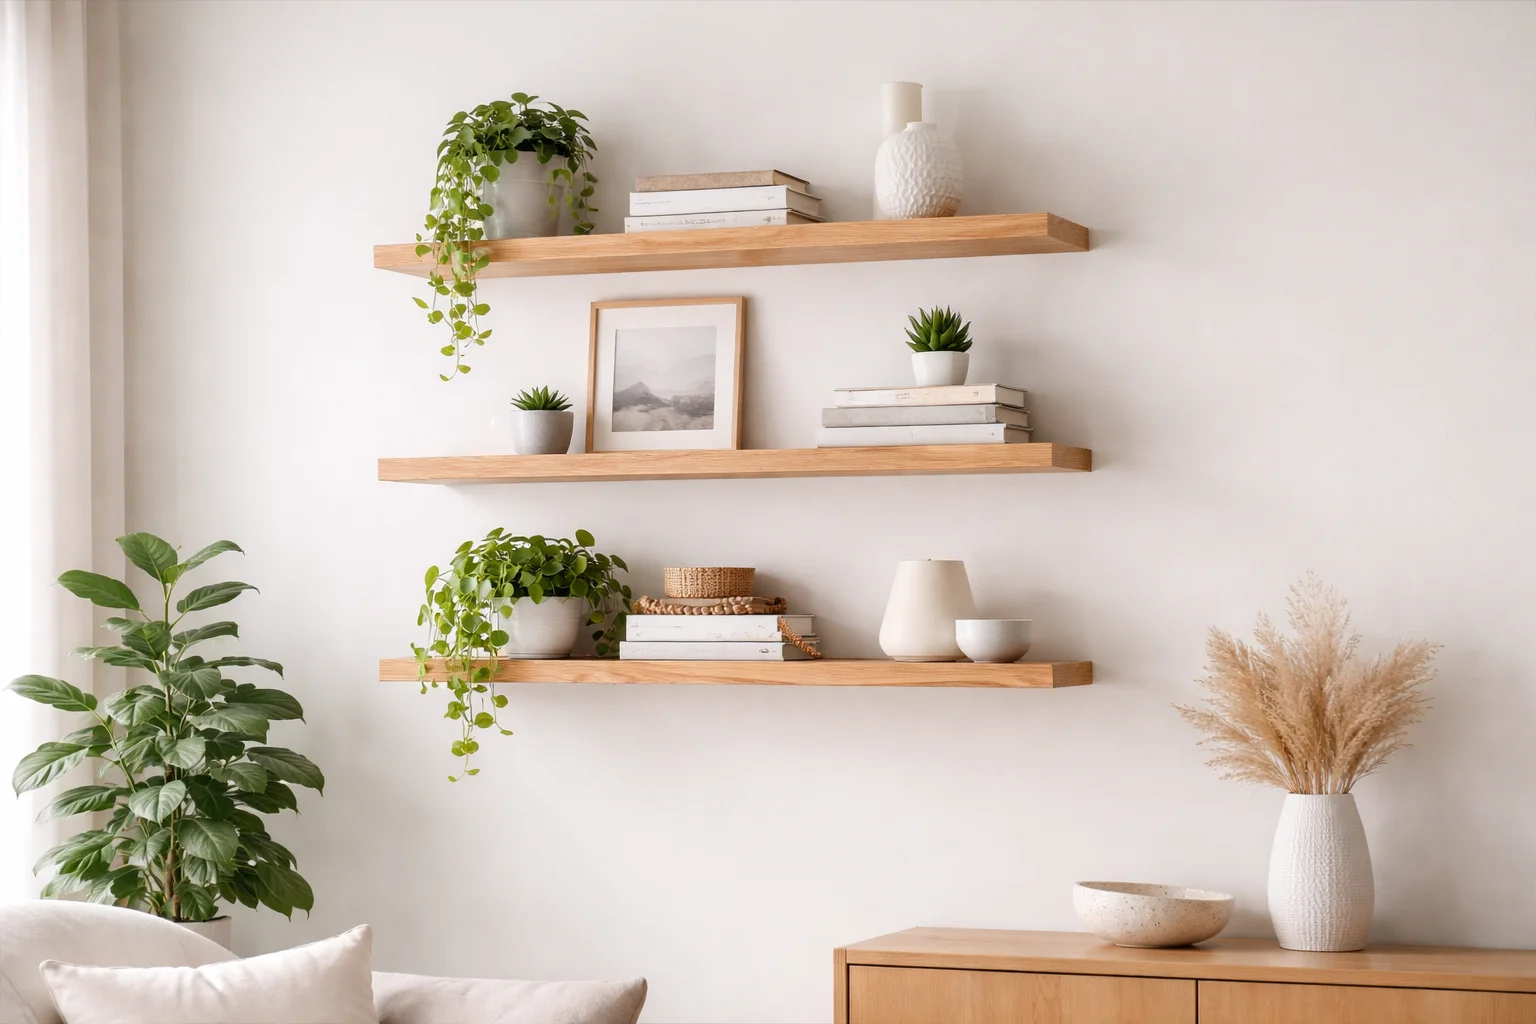
Wall-mounted wooden shelves are not just a practical storage solution; they can also add charm and style to any room. If you’re looking to elevate your interior decor with a personal touch, here are some creative ideas for DIY Wall-mounted Wooden Shelves that you can easily implement.
First, choosing the right type of wood is essential. Options like pine, oak, and cedar are popular due to their durability and aesthetic appeal. You can also select reclaimed wood for an eco-friendly approach, giving your shelves unique character and history.
Floating Shelves
Floating shelves consist of a flat piece of wood installed flush against the wall without visible brackets. This minimalist design creates a clean and modern look. You can use these shelves to display books, plants, or art pieces. To create your floating shelves:
- Cut the wood to your desired length and width.
- Sand the wood to ensure a smooth finish.
- Drill hidden brackets to the shelf before mounting.
- Use a level to ensure proper alignment when attaching them to the wall.
Corner Shelves
Utilizing corner spaces can maximize storage and enhance the aesthetics of your room. Corner shelves can be designed in various configurations, such as triangular or rounded edges. For corner shelves, follow these steps:
- Measure the corner space to determine the size of your shelves.
- Cut the wood accordingly, making sure each piece fits the specified angle.
- Secure the shelves with brackets or wood adhesive.
Geometric Shelves
Geometric shapes can add a trendy twist to your decor. Consider building hexagon or diamond-shaped shelves for a fun and unique display. Here’s how to create them:
- Sketch out your geometric design to visualize what you want to achieve.
- Cut the wood into the necessary shapes, ensuring accurate angles for easy assembly.
- Assemble your shapes with wood glue and screws.
- Attach your geometric shelf to the wall securely.
Rustic Ladder Shelf
A ladder shelf combines style with functionality. This shelf type is ideal for showcasing plants, books, or art. It can also be a great focal point in your room. To build a rustic ladder shelf:
- Cut two long pieces of wood for the sides of the ladder.
- Cut the rungs (shelves) to your chosen length.
- Attach the rungs evenly spaced to the side pieces using wood screws.
- Secure it to the wall for stability.
Adjustable Shelving
Adjustable wooden shelves are perfect for those who frequently change their decor or storage needs. You can install rails on the wall and create shelves that slide easily up and down. To create adjustable shelving:
- Install vertical wall-mounted tracks at the desired height.
- Cut the shelves to fit within those tracks.
- Add shelf brackets that allow for height adjustments.
Decorative “Box” Shelves
Box shelves can act as both decor and storage. They come in various sizes and can be painted or stained to match your interior theme. They’re perfect for showcasing collectibles or creating a mini gallery wall. Create decorative box shelves using these steps:
- Cut wood into squares or rectangles for your boxes.
- Assemble the pieces using wood glue and nails.
- Mount them on the wall in an eye-catching pattern.
Whatever design you choose, remember to finish your shelves with a clear coat or paint to protect the wood and enhance its appearance. For more inspiration and step-by-step guides, check out Wood Magazine or The Spruce.
Creating DIY Wall-mounted Wooden Shelves allows you to personalize your space while providing necessary storage. With the right tools and materials, you can turn mundane walls into stylish displays that reflect your unique taste and personality.
Essential Tools and Materials for Building Wooden Shelves
Building wooden shelves is a satisfying project, whether you want to create functional storage or display beautiful decor. Before you get started, it’s crucial to gather the right tools and materials. This preparation will ensure that your DIY project runs smoothly and provides stunning results.
Essential Tools
Having the right tools can make all the difference in your building process. Here’s a list of must-have tools for creating DIY Wall-mounted Wooden Shelves:
- Measuring Tape: A measuring tape is essential for precise measurements. Accurate dimensions will ensure your shelves fit perfectly in your chosen space.
- Level: This tool helps ensure that your shelves are perfectly horizontal. A level helps avoid the frustration of tilted shelves.
- Drill/Driver: A power drill is necessary for making holes in walls and for driving screws. Choose a model with adjustable speed settings for different tasks.
- Saw: A circular saw or miter saw is ideal for cutting wooden boards to size. This tool allows for clean and precise cuts.
- Screwdriver: While a drill can drive screws, having a manual screwdriver is handy for adjusting screws or replacing stripped ones.
- Sandpaper: Use sandpaper to smooth the edges and surfaces of your wooden shelves. This finishing touch enhances the overall look of your project.
- Safety Gear: Don’t forget your safety goggles and dust mask. They protect you from dust and debris, keeping you safe while you work.
Materials Needed
In addition to tools, having quality materials is key to ensuring a sturdy and attractive shelf.
- Wood: Choose wood that fits your style and budget. Common options include pine, oak, or plywood. Each type has its decorative qualities and strengths.
- Brackets: Use heavy-duty brackets for support. The size and type of brackets depend on how much weight your shelves will hold.
- Wood Screws: These are essential for attaching brackets to the wall and securing the shelves. Make sure to choose screws that match your bracket size.
- Finish: Stains or paints enhance the wood’s look and protect it from wear. Select a finish that complements your furniture and decor.
- Wall Anchors: These help secure your shelves to the wall, especially if you’re mounting them in drywall. Choose anchors rated for the weight of your shelf and its contents.
Step-by-Step Guide
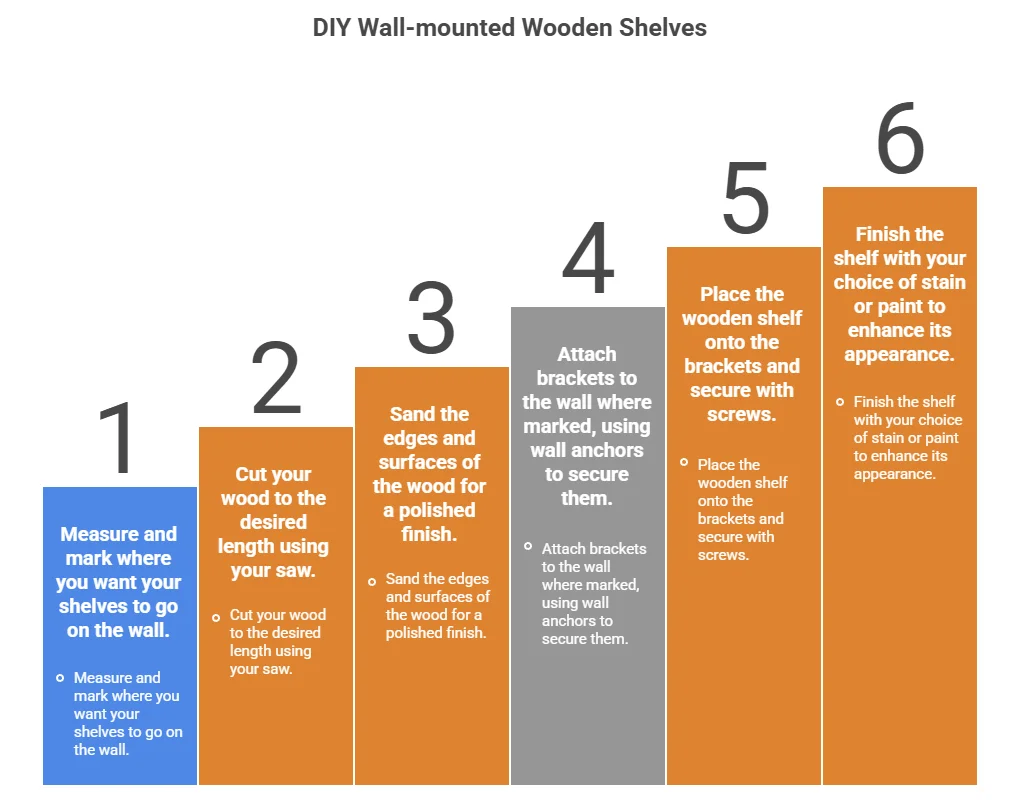
Once you have your tools and materials, follow these steps to get started on your DIY Wall-mounted Wooden Shelves:
- Measure and mark where you want your shelves to go on the wall.
- Cut your wood to the desired length using your saw.
- Sand the edges and surfaces of the wood for a polished finish.
- Attach brackets to the wall where marked, using wall anchors to secure them.
- Place the wooden shelf onto the brackets and secure with screws.
- Finish the shelf with your choice of stain or paint to enhance its appearance.
Where to Find Resources
To deepen your understanding and find more resources on building wooden shelves, check out these websites:
- Wood Magazine: A great resource for woodworking articles, tips, and techniques.
- Family Handyman: Offers detailed guides on various home improvement projects, including shelf-building.
- Ana White: Provides free furniture plans along with great tips for beginners.
- HomeAdvisor: Features articles on building shelves and other home projects.
Building DIY Wall-mounted Wooden Shelves can enhance your home and showcase your style. With the right tools and materials, plus a bit of time and patience, you can create sturdy and beautiful shelves that meet your needs.
Step-by-Step Guide to Installing Wall-Mounted Shelves
Installing DIY Wall-mounted Wooden Shelves can transform any space in your home. They offer practical storage solutions while adding a decorative touch to your walls. To ensure a smooth installation process, follow this step-by-step guide.
Before you begin, it’s essential to gather all necessary materials and tools. Here’s a quick checklist:
- Wooden shelves
- Brackets
- Mounting hardware (screws, anchors)
- Drill
- Level
- Tape measure
- Pencil
- Screwdriver
- Stud finder (optional)
Now that you have your materials, you can start the installation process!
1. Choose the Location
First, decide where you want to install your shelves. Consider a spot that will serve your storage needs and enhance your room’s aesthetic. Avoid spots with excessive moisture, like above sinks or in bathrooms, unless materials are specifically designed for such environments.
2. Measure and Mark
Using a tape measure, determine the height at which you want to place the shelves. Mark the spot lightly on the wall with a pencil. Ensure your marks are level by using a level tool. If you’re installing multiple shelves, measure equal distances between them and mark these points on the wall.
3. Locate the Studs
If possible, use a stud finder to locate wall studs for stronger support. If there are no studs available in your desired location, you can use wall anchors, ensuring they are rated for the weight you intend to place on the shelves.
4. Install the Brackets
Position your brackets over the marked areas, ensuring they are level. If you’re using screws directly into studs, drill pilot holes and attach the brackets using appropriate screws. For anchors, follow the manufacturer’s instructions to install them first before securing the brackets.
5. Attach the Shelves
Once the brackets are securely fastened to the wall, simply place your wooden shelves on top. Make sure they sit evenly on the brackets. If desired, you can secure the shelves to the brackets with screws for extra stability, especially if they will hold heavier items.
6. Finishing Touches
After installing your shelves, take a moment to inspect the installation. Ensure everything is secure and level. Consider painting or staining the shelves if you’d like to match your decor. You can also decorate the shelves with books, plants, or accessories to personalize your space further.
Optional: If you’re interested in more complex shelf arrangements, there are various styles and designs you can explore. You might want to check out resources such as The Spruce for creative ideas and advanced techniques.
By following these steps, you can successfully install DIY Wall-mounted Wooden Shelves that enhance both the functionality and beauty of your home. Remember to always prioritize safety when using tools and lifting heavy items.
If you need more in-depth advice, feel free to visit Wood Magazine. They offer a wealth of information on choosing the right materials for your shelf projects.
Happy decorating! Enjoy your new functional DIY Wall-mounted Wooden Shelves and the added charm they bring to your space.
Decorative Styles: How to Personalize Your Wooden Shelves

Wooden shelves are not only functional but also an excellent way to display your personality and style. Personalizing your wooden shelves allows you to create a unique space that reflects who you are. Here are several decorative styles to consider when customizing your wooden shelves to make them truly yours.
Embrace Minimalism for a Clean Look
If you appreciate simplicity, a minimalist approach might suit you best. Choose a few key items to display, ensuring that every piece has significance. Here’s how to achieve this style:
- Opt for natural wood finishes or white-washed shelves.
- Use transparent glass accessories to maintain an airy feel.
- Limit your color palette to neutral tones to keep the focus on the items.
- Incorporate greenery with small plants in simple pots for a touch of nature.
Rustic Charm with Reclaimed Wood
For a cozy, inviting atmosphere, rustic wooden shelves created from reclaimed wood are a fantastic choice. This style often features imperfections that add character. Here’s what to include:
- Add vintage books and framed photographs.
- Utilize charming handmade items, like pottery or woven baskets.
- Consider metal brackets for a stylish industrial vibe.
- Layer textures using soft throw pillows or quilts displayed nearby.
Bright Colors for a Fun Space
If you love vibrant colors, don’t shy away from painting your wooden shelves. Bold hues can make a statement in any room. Here’s how to make the most of colorful shelves:
- Select a color that complements your room’s palette.
- Incorporate items that contrast with the shelf color, using white or metallics for balance.
- Use art pieces or colorful books to create a playful display.
- Highlight your shelves with LED lights for added flair.
Layering and Grouping for Visual Interest
Another effective way to personalize your wooden shelves is through layering and grouping objects. This technique creates a dynamic visual display. Follow these tips:
- Group items in odd numbers for a more appealing look.
- Mix different heights using stands, books, or boxes to create depth.
- Incorporate both large and small items within your arrangement.
- Leave some space open to avoid a cluttered appearance.
Utilizing Theme-Based Arrangements
Creating a theme can offer coherence to your displays. Whether it’s a travel destination, a favorite hobby, or a color scheme, here are some ideas:
- Travel Vibes: Use souvenirs, maps, and travel books.
- Nature Inspired: Display plants, natural wood, and earthy decorations.
- Books and Literature: Focus on literary items, like favorite novels and art prints.
Wooden shelves can be transformed into a personal gallery by using these creative ideas. Each shelf becomes a canvas for expressing who you are.
Sources for Your Supplies
When looking to personalize your wooden shelves, finding the right materials and accessories is essential. Consider exploring:
- Wood Magazine: Offers guides on woodworking materials.
- Kreg Tool: Great for tools and tips on building shelves.
- Home Depot: A reliable source for supplies and décor.
Remember that your shelves should reflect your personality. Consider combining different styles or focusing on a single theme. The beauty of DIY Wall-mounted Wooden Shelves is that they can be a true expression of who you are. Have fun, experiment, and let your creativity shine on those wooden canvases!
Maintenance Tips to Keep Your Shelves Looking Great

Maintaining the beauty and integrity of your DIY Wall-mounted Wooden Shelves is essential to keep them looking great over time. With proper care, these shelves can serve both functional and aesthetic purposes in your home. Here are some practical tips to ensure your wooden shelves remain in top shape.
Regular Cleaning
A simple regular cleaning routine can prevent dust accumulation and keep your shelves looking their best. Here’s how to do it:
- Use a Soft Cloth: Choose a microfiber cloth to dust the shelves gently. This material picks up dust without scratching the wooden surface.
- A Mild Cleaning Solution: For deeper cleaning, mix water with a few drops of mild dish soap. Dampen the cloth with this solution, and wipe down the shelves carefully.
- Dry Immediately: After cleaning, use a dry cloth to remove any moisture. This step is crucial to prevent water damage.
Avoiding Water Damage
Wood is particularly prone to water damage. Here are some tips to protect your shelves:
| Tip | Description |
|---|---|
| Coasters | Always use coasters for beverages or any items that may sweat or spill. |
| Avoid Excess Moisture | Refrain from placing wet or damp items directly on the shelves. |
| Sealants | Consider applying a sealant to your shelves for added protection against moisture. |
Protecting Against Scratches
Your wooden shelves can easily get scratched if you’re not careful. Here are some good practices to avoid this:
- Use Felt Pads: Place felt pads on the bottom of decorative items or appliances to avoid scratches when moving them.
- Avoid Harsh Objects: Don’t slide heavy or sharp items across the shelf. Always lift them instead.
- Regular Inspections: Check the shelves for any scratches or damages, and address them immediately to prevent further issues.
Reapplying Finish
Over time, the finish on your shelves may wear down. To maintain their aesthetic, you might want to reapply a wood finish:
- Choose the Right Finish: Depending on your style, choose a varnish, polyurethane, or wood oil suitable for your shelves.
- Preparation: Sand the surface lightly before applying a new coat to ensure good adhesion.
- Application: Use a clean brush and apply evenly. Follow the manufacturer’s instructions for drying times.
Humidity Control
Humidity changes can impact wooden shelves, causing them to warp or crack. Here’s how to manage humidity around your shelves:
- Use a Dehumidifier: If you live in an area with high humidity, consider using a dehumidifier to maintain an optimal indoor environment.
- Monitor Indoor Temperature: Keep your home at a stable temperature to reduce rapid humidity fluctuations.
- Ventilation: Ensure the room where the shelves are located is well-ventilated, especially in humid weather.
Regularly Assessing Structural Integrity
Part of maintenance is ensuring the mounting hardware is secure. Here’s what you need to do:
- Check Brackets: Regularly inspect the brackets and screws holding the shelves. Tighten any loose fittings to ensure stability.
- Weight Limit Awareness: Be mindful of the weight capacities of your shelves to avoid any accidents or damage.
- Evaluate Wall Anchoring: If you notice any sagging, reassess how the shelves are anchored to the wall and adjust as necessary.
For more tips on maintaining your wooden shelves and enhancing your DIY projects, visit Wood Magazine and explore their resources.
By following these maintenance tips, you can ensure that your DIY Wall-mounted Wooden Shelves remain a beautiful and functional part of your home decor for years to come.
Conclusion
Creating your own DIY Wall-mounted Wooden Shelves can be a rewarding experience that not only showcases your craftsmanship but also adds a personal touch to your home. By exploring creative ideas, you’ve likely discovered various styles that resonate with your unique taste. Whether you prefer rustic charm or modern minimalism, the possibilities are endless.
Equipping yourself with the essential tools and materials ensures a smooth building process. Remember, having the right setup is key to achieving professional-looking results without the hassle. Following the step-by-step guide simplifies the installation process, making it accessible no matter your skill level. With careful measurements and the right techniques, you’ll have sturdy shelves that elevate your space.
Personalizing your wooden shelves through decorative styles adds flair and character to your home. You can choose to display your favorite books, plants, or cherished collectibles, effectively making each shelf a reflection of your personality.
Consistency in maintenance is vital to keep your shelves looking their best. Simple tasks, such as dusting regularly and treating the wood with care, can prolong their life and beauty. With these tips in mind, you’re well-equipped to embark on your DIY journey confidently.
Embrace creativity, enjoy the process, and let your DIY Wall-mounted Wooden Shelves transform your living space into a stunning showcase of artistry and functionality. Happy building!